Friday, February 28

New for Spring 2014


It's here! I'm talking about this sweet floral fabric collection I wrote about in January :) As with all new fabric I was a bit afraid to cut into it, but eventually I did and here's what I made...
*
Sie sind da! Ich spreche von den süßen floralen Stoffen, die ich bereits in Januar erwähnt hatte :) Neue Stoffe wage ich mir eine Weile nicht anzuschneiden...geht es Euch NäherInnnen ähnlich? Aber dann mache ich es doch und dies ist das Resultat...

 ♥

Pretty florals and paisley
*
Florale Muster & Paisleys


Make "laundry day" more fun by storing your pegs (clothes pins) in these cute peg bags I recently designed. They are fully lined and have a ruffle trim and a little shabby chic bow tied around the wooden hanger.
*
Diese Wäscheklammerbeutel habe ich neulich entworfen, damit in Zukunft "Waschtag" ein wenig bunter und fröhlicher wird! Die Beutel sind gefüttert und haben ringsherum eine Rüsche im Shabby Stil.


After you've done the laundry you deserve to relax with a cup of coffee and a good book :)
*
Nachdem die Wäsche erledigt ist gönnt man (frau) sich eine Auszeit mit einer Tasse Kaffee und einem guten Buch :)


You can check out my handmade items at Peridot by Duni and my images at Duni Studio Design
*
Die genähten Sachen gibt es in meinem Peridot Shop und die Fotodrucke gibt es bei Duni Studio Design

Happy Weekend!!

Thursday, February 27

The Frida Kahlo Costume - Overview


I received some messages asking me about the tutorials for this costume and I realized I probably should post a summary, so they are all in one place and easier to find! Below you'll find the links to each one. I hope this helps!
*
In den letzten Tagen habe ich wieder sehr nette Mails zu meinem FK Kostüm erhalten :) und ich habe Euren Wunsch beherzigt die Links zu den einzelnen Anleitungen in einem (diesem) Post festzuhalten. Ich hoffe es ist jetzt übersichtlicher!


Nr. 2 - Boho Scarf
Nr. 4 - Boho Skirt Part One + Part Two
Nr. 5 - Parrot Bag

Happy Sewing!

Wednesday, February 26

Wordless Wednesday

staying on ground floor / ignoring treat on second floor
Linking up with my friend Verena today!

Tuesday, February 25

The Pleated Cuff

pleated cuff with fabric yoyo

Hello everybody! I had some of the pretty fabric by Swafing left over from when I did my huge DIY project a three weeks ago. I wanted to use up some of it, so I designed and made this funky pleated cuff, which some of my readers who have seen this on Facebook requested a tutorial! So, from my rough sketches I worked out a tutorial which I'd like to share with you today!
*
Hallo, ihr Lieben! Von meinem großen DIY Projekt hatte ich noch den hübschen Julia-Stoff von Swafing übrig...daraus habe ich ein von mir entworfenes, gefältetes Stoffarmband genäht, welche einige Leser bereits bei Facebook gesehen und mich nach einer Anleitung gefragt haben! Also habe ich mich an die Arbeit gemacht und heute zeige ich Euch wie es geht!


You'll need

2 strips of cotton fabric: 3.5 " wide and approx. 22" long (the length depends on your wrist circumference.) This will fit a regular wrist.

=> TIP - try out the pleating with a strip of paper first to determine the length.

Ribbon for tying, decorative trims, button for the yoyo

Ihr braucht

2 Stoffstreifen aus Baumwolle: 8 cm breit und ca. 56 cm lang (die Länge hängt vom Handgelenkumfang ab). Dies ist für eine Standardgröße berechnet.

=> TIPP - mit einem Papierstreifen die Fältelung vorher ausprobieren.

Satinband zum Binden, Borten, Knopf für Yoyo


Step One // Schritt Eins

Lay the fabric strips right sides together. Sandwich two pieces of satin ribbon (enough to tie a bow) at either end and pin all around leaving a 4 inch gap on one long side. Stitch using a narrow seam. Turn right side out and iron flat.
*
Die Stoffstreifen rechts auf rechts legen. An jedem Ende ein Stück Satinband (genug um daraus eine Schleife zu binden) mittig dazwischen legen und rundherum mit Stecknadeln fixieren. Auf einer langen Seite eine 10 cm Öffnung zum Wenden lassen. Schmalkantig steppen. Wenden und bügeln.


Step Two // Schritt Zwei

Top stitch all around using a 0.3 inch seam. Now comes the fiddly bit :) Starting from the middle, make two pleats either side about 1.5 inches wide. Continue pleating and pinning down both sides until you reach both ends. The pleating will vary slightly depending on your wrist circumference and how narrow or wide you'd like your pleats to be. Try it out before stitching down the pleats! I simply eyeballed it. Secure the pleats by stitching down on both long sides approx. 0.5 inches from the edge. Iron.
*
Stoffstreifen ringsherum knappkantig absteppen, dabei Öffnung schließen. Jetzt kommt der kniffelige Teil :) Von der Mitte aus rechts und links den Stoff in eine breite Falte legen (ca. 3 cm). Dann Streifen bis zum jeweiligen Ende in überlappenden Falten legen. Diese Maße weichen je nach Handgelenkumfang leicht ab. Am besten vorher ums Handgelenk legen und eventuell die Fältelung enger oder lockerer machen. Wenn Ihr zufrieden seid, den Streifen auf jeder Seite 1 cm vom Rand der Länge nach absteppen.

PomPomborte und Spitze von Union Knopf

Step Three // Schritt Drei

Now you can embellish the cuff with pretty trims and lace! Once you've stitched those down make a fabric yoyo and sew it on by hand to the center pleat.
*
Nun könnt Ihr nach Belieben Borte und Spitze aufnähen! Zuletzt noch ein Stoff-Yoyo fertigen und mit Handstichen mittig an das Stoffarmband nähen.

Happy Sewing!

Monday, February 24

Monday Moodboard

Hello everybody!      Hallo, Mädels!

Thanks for your kind comments and messages to my Parrot bag :) I appreciate it so much!
*
Vielen Dank für Eure lieben Kommentare und Mails zu meiner Papageientasche :) Ich habe mich darüber sehr gefreut!


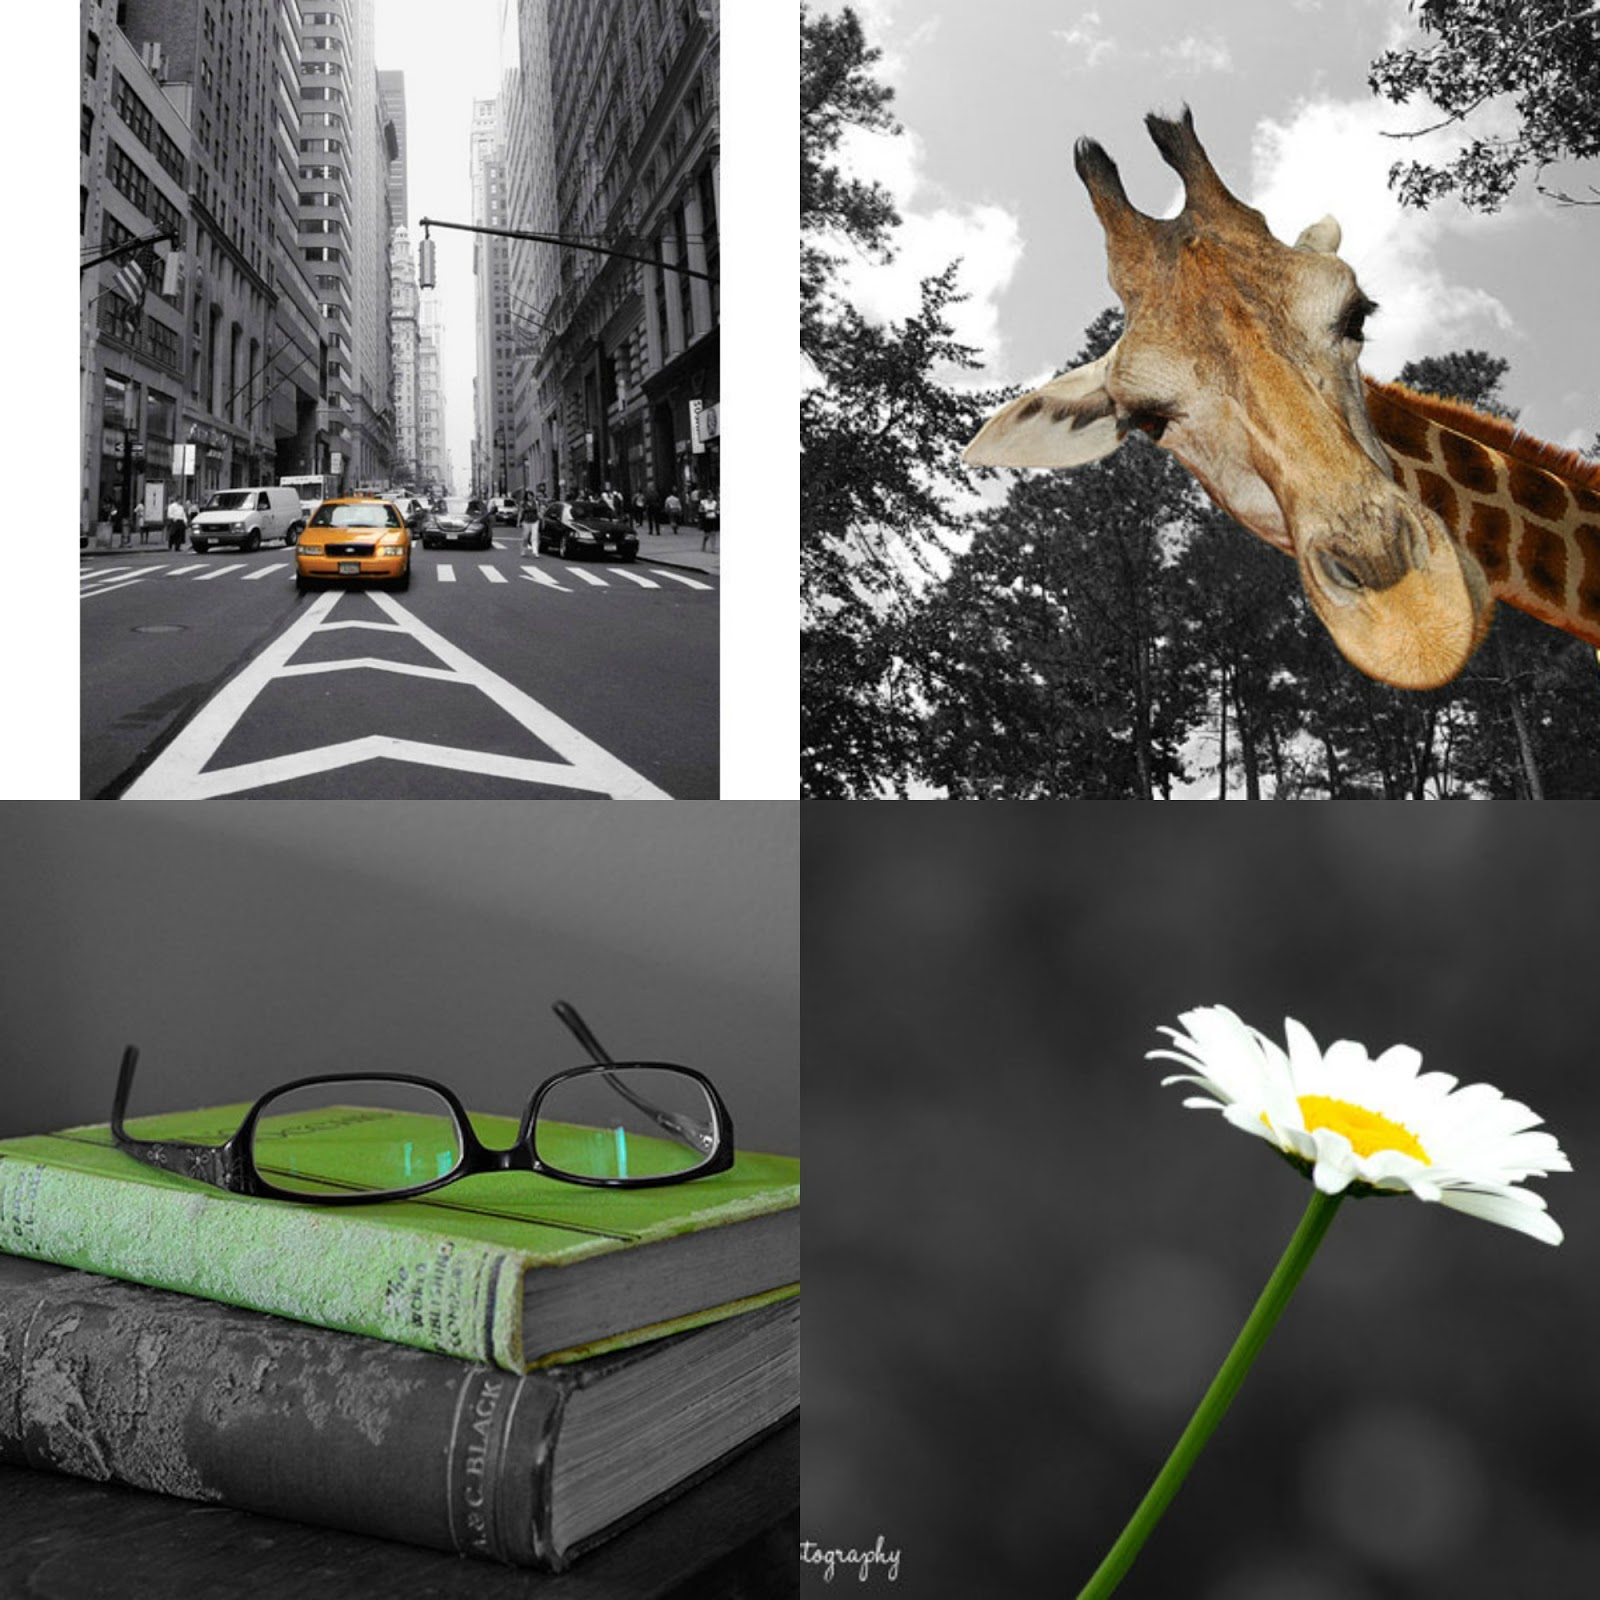
I'm a big fan of black and white photography with selective colouring. I have a few examples in my second Etsy shop, Duni Studio Design. So today I'm showcasing this type of work from other artisans on Etsy. Enjoy!
*
I'm bin großer Fan von Schwarz-Weiß-Fotos mit selektiver Kolorierung. Einige Beispiele gibt es in meinem zweiten Etsy Shop, Duni Studio Design. Heute zeige ich eine Auswahl solcher Fotografien, die ich bei Etsy gefunden habe. Ich hoffe sie gefallen!

1 -- 2 -- 3 -- 4

Friday, February 21

Parrot Tote Bag - Tutorial

A number of my readers have been anxiously waiting for my tote bag tutorial. Here it is -  the last installment of the DIY Frida Kahlo costume!
*
Interessierte LeserInnen/NäherInnen wollten wissen wann ich denn endlich die Anleitung für die Papagei Tasche poste...nun, heute ist es soweit! Dies ist die letzte Anleitung meines DIY Frida Kahlo Kostüms. Danke für Eure Geduld!


This is a simple bag shape that I designed to fit the Mollie Makes magazine or two. The parrot appliqué requires some handsewing and patience :)
*
Diese Tasche habe ich so entworfen, dass die Mollie Makes Zeitschrift oder auch zwei perfekt reinpasst! Die Papagei Applikation bedarf etwas Geduld :)

You'll need

2 pieces 30 cm x 35 cm main fabric
2 matching pieces of Decovil stabilizer
2 pieces 30 cm x 35 cm lining fabric
2 matching pieces of H630 interfacing
contrasting fabric for the parrot 
Vliesofix (fusible webbing)
assorted buttons, 1 small black one for the eye
2 x 72 cm pieces of webbing
2 x 72 pieces of rick rack trim
sewing machine + basic sewing kit

Ihr benötigt

2 Rechtecke 30 cm x 35 cm Hauptstoff
2 passende Stücke Decovil I Light
2 Rechtecke 30 cm x 35 cm Futterstoff
2 passende Stücke H630 Vlies
Kontraststoff für die Papagei Applikation
Vliesofix
Knopfsortiment, 1 kleiner schwarzer Knopf für das Auge
2 x 72 cm Webband (Träger)
2 72 cm Zackenlitze
Nähmaschine + Basic Nähutensilien

Step One // Schritt Eins

Start by ironing on the Decovil (a thin pelmet like interfacing) onto the wrong side of the main fabric pieces and the H630 interfacing onto the wrong side of the lining fabric pieces.
Next, stitch the rick rack trim on the two webbing pieces. I used contrasting ones. Set aside.
Sew lining pieces together right sides facing at the sides and bottom using a 1 cm seam allowance. Leave a 12 cm gap at the bottom. Snip off corners. Iron seams open.
*
Zunächst das Decovil auf die linke Seite der Hauptstoffteile und das H630 Vlies auf die linke Seite der Futterteile nach Herstelleranweisung bügeln. Dann, die Zackenlitze mittig auf die zwei Webbänder (Träger) steppen. (Meine sind verschieden farbig, da es von jedem Band nur jeweils eine Farbe gab). Beiseite legen.
Futterteile rechts auf rechts legen und Seitennähte und Boden der Futterteile steppen (1 cm Naht). Unten eine 12 cm Öffnung zum Wenden lassen. Ecken kurz vor der Naht abschneiden. Nähte auseinander bügeln.


Step Two // Schritt Zwei

Now go to your computer and google "free parrot drawing for coloring" or "free parrot drawing for kids" and print out your preferred parrot image. Remember it should fit on the front panel of the tote. Cut out the parrot image only (ignore any leaves, trees or branches).
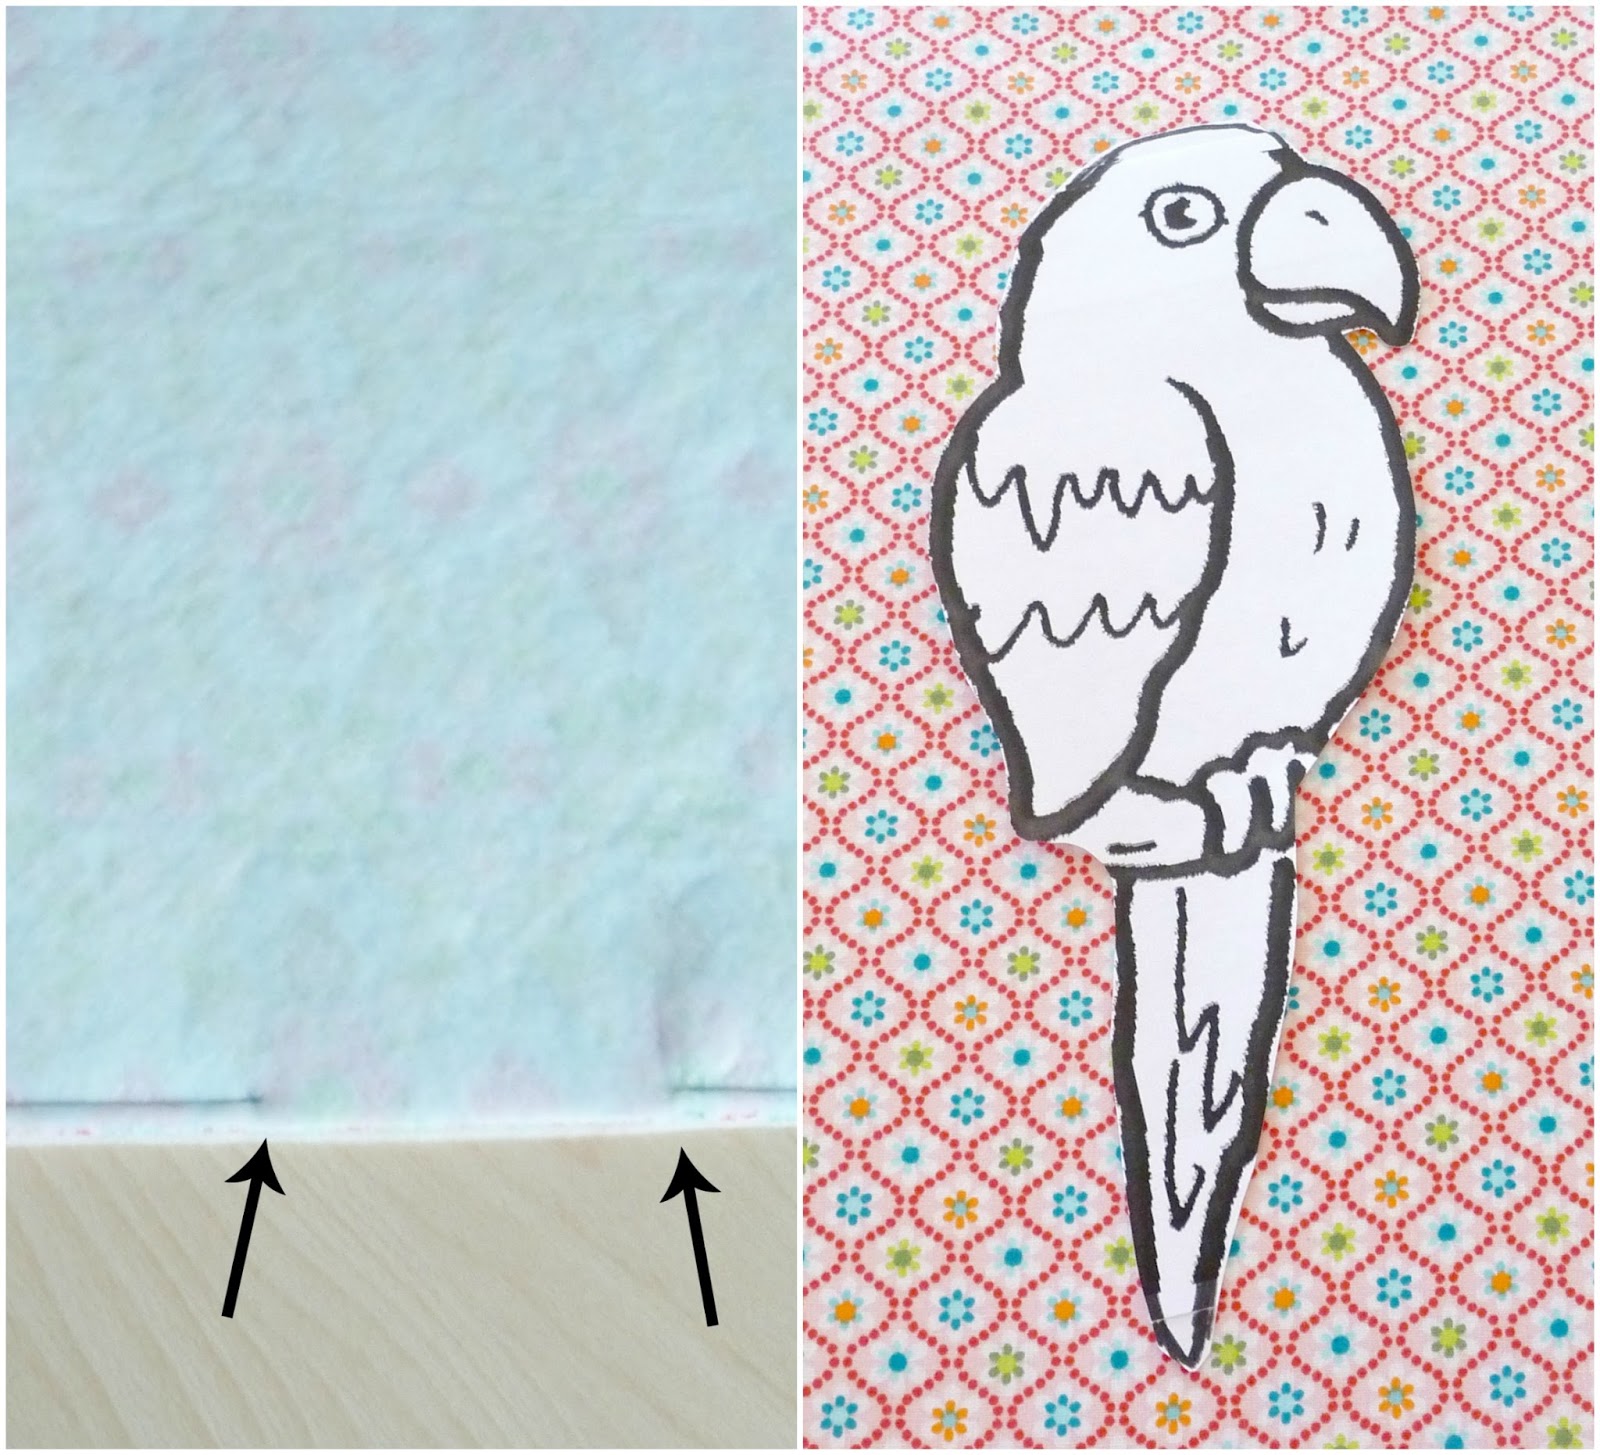
Iron a suitably sized piece of fusible webbing onto the wrong side of the contrasting fabric. Trace the parrot template and cut out. Pull off the backing of webbing and iron the parrot onto the middle of the front panel (main fabric piece).
Using a tiny zigzag stitch on your machine (try out on a scrap of fabric first) sew along the contours of the parrot and important areas, such as the beak and wings. Go slowly!
Now sew on the button eye and fill in the wing(s) with colorful buttons. Optional - sew a handmade tag on the back bag piece.


Nun bei Google die Stichwörter "Papagei kostenlose Malvorlage" oder "Papagei malen Kinder" ein und schon bekommt Ihr seitenweise Papagei-Bilder. Euer Wunschbild ausdrucken und auschneiden (Bäume, Blätter, Äste etc. ignorieren). Ein passendes Stück Vliesofix auf die Rückseite des Kontraststoffes bügeln. Papagei als Vorlage zum Nachzeichnen verwenden. Ausschneiden, Folie abziehen und mittig auf ein Hauptstoffteil bügeln. Mit der kleinsten Zickzack-Einstellung der Nähmaschine (vorher an einem Reststück ausprobieren) entlang der Umrisse und wichtige Linien wie Schnabel und Flügel langsam! nähen. Den kleinen schwarzen Knopf als Auge annähen und den Flügel mit farblich passenden Knöpfen plastisch hervorheben. Wer möchte näht noch ein "Handmade" Tag an das rückwärtige Hauptteil.

Step Three // Schritt Drei

Next, baste the handles to the main fabric pieces, 7 cm from each side.
Then sew the main fabric pieces together at the sides and bottom, right sides facing. Make sure the handles are tucked inside, safely out of the way of your seams. Snip corners as before. Iron seams open and turn bag right side out.


Als nächstes die Träger an den Hauptstoffteilen 7 cm von jeder Seite heften (rechts auf rechts). Dann die Stoffteile rechts auf rechts legen und Seiten- und Bodennaht (1 cm) steppen. Darauf achten, dass die Träger nicht im Weg sind. Ecken kurz vor der Naht abschneiden. Nähte auseinander bügeln und Tasche wenden.


Main bag inside lining bag, handles tucked inside // Außentasche in Futtertasche, Träger innenliegend

Finishing the bag. Insert the main bag into the lining bag, right sides facing. The handles should be tucked inside. Make sure the side seams align. Then pin all around the top edge and stitch (1 cm seam). Carefully pull the main bag through the opening in the lining. Close the gap by hand. Push the lining down into the main bag and iron the entire bag thoroughly, being careful not to iron over the buttons! Finish the top edge by edge-stitching along the entire circumference. 
Congratulations, you're done!
*
Nun die Außentasche rechts auf rechts in die Futtertasche stecken, Träger innenliegend. Seitennähte treffen aufeinander. Obere Kante mit Nadeln fixieren und 1 cm breit absteppen. Die Außentasche vorsichtig durch die Öffnung der Futtertasche ziehen. Loch mit ein paar Handstichen schließen. Futtertasche in die Haupttasche stecken und die gesamte Tasche gut bügeln, dabei die Knöpfe aussparen. Zuletzt rundum an der oberen Kante knappkantig absteppen. Glückwunsch, Ihr habt's geschafft!

p.s. comments for this post are off, but if you have any questions feel free to drop me a line or leave a comment on the main post here

P.S. Kommentare habe ich für diesen Post abgeschaltet, aber falls Ihr Fragen habt, könnt Ihr mir gerne eine Mail schreiben oder einen Kommentar im Hauptpost hinterlassen.

Wednesday, February 19

Monday, February 17

Monday Moodboard

I don't know about you, but the weather here is behaving like unpredictable April. Sleet, rain, high winds, a little sunshine, rain again...you name it, we've got it. Kind of looks like my moodboard today ...and I totally identify with the cat :)
*
Wir haben ja erst Februar, d.h. eigentlich noch Winter, aber irgendwie fühlt es sich z.Zt. sehr nach wechselhaftem Aprilwetter an. Sturm, Regen, mal Sonne und wieder Regen. Sieht so aus wie meine Collage heute...und mir geht's so wie der Katze :)

1 -- 2 -- 3 -- 4

Saturday, February 15

Frida meets Karneval - Boho Scarf Tutorial

This is Part Four of my Frida Kahlo carneval costume. Some of you have written that you really like this scarf. Good news - the boho scarf is simple to sew and easily finished in an hour or so! I chose three coordinating fabrics.
*
Dies ist Teil Vier meines Frida Kahlo Karnevalkostüms. Einige von Euch haben mir geschrieben, dass Euch der Schal besonders gut gefällt. Gute Nachricht - dieser Boho-Schal ist einfach zu nähen und im Nu fertig! Ich habe drei aufeinander abgestimmte Stoffe gewählt.


You'll need:

Fabric A - 2 rectangular pieces 92 cm x 30 cm
Fabric B - 4 rectangular pieces 22 cm x 30 cm
Fabric C - 4 rectangular pieces 15 cm x 30 cm
sewing machine and basic sewing kit
scarf-accessory (optional)

Ihr braucht:

Stoff A - 2 rechteckige Stoffteile 92 cm x 30 cm
Stoff B - 4 rechteckige Stoffteile 22 cm x 30 cm
Stoff C - 4 rechteckige Stoffteile 15 cm x 30 cm
Nähmaschine und Basic Nähutensilien 
Schalaccessoire (optional)


Step One // Schritt Eins

Lay fabric pieces B at each end of fabric pieces A, right sides facing. Pin and stitch using a 1 cm seam allowance. Iron seams open. 
Lay fabric pieces C at each end of fabric pieces B, right sides facing. Pin and stitch using a 1 cm seam allowance. Iron seams open.
*
Stoffteile B jeweils links und rechts auf Stoffteile A legen (rechts auf rechts). Feststecken und absteppen (1 cm Naht). Nähte auseinander bügeln.
Stoffteile C jeweils link und rechts auf Stoffteile B legen (rechts auf rechts). Feststecken und absteppen (1 cm Naht). Nähte auseinander bügeln.


↑ Fabric B on A and Fabric C on B *** Stoffteile B auf A und Stoffteile C auf B ↑

Step Two // Schritt Zwei

Lay one long strip right side up. Cut pompom trim to fit along the short edges of this strip. Pin and stitch down close to the edge. The pompoms should be facing toward the fabric.
*
Einen langen Steifen ausbreiten, rechte Seite oben. Pompomborte an den kurzen Enden mit Nadeln feststecken und nah am Rand absteppen. Die Pompoms schauen in Richtung Stoff. ↓


Step Three // Schritt Drei

Lay the other long strip on top of the first long strip, making sure seams meet. Pin all around leaving a 10 cm (4 inch) gap on one long side. Stitch using a 1 cm seam allowance. Be careful when sewing along the pompom edges. You should be sewing just inside the first stitching line you made when sewing on the trim. Snip the corners carefully, then gently turn right side out through the gap. Iron the scarf. Use a decorative stitch on both long sides (thereby closing the gap). 
Now throw it around your neck and have fun wearing it!
*
Den zweiten langen Streifen rechts auf rechts auf den ersten legen. Darauf achten, dass alle Nähte aufeinander treffen. Ringsum abstecken, dabei an einer langen Seite eine 10 cm Öffnung zum Wenden lassen. Absteppen (1 cm Naht). An den kurzen Seiten vorsichtig nähen. Die Naht sollte knapp neben der ersten Naht sein. Ecken knapp abschneiden und Schal vorsichtig durch die Öffnung auf rechts wenden. Bügeln. An beiden langen Seiten einen Zierstich nähen, dabei Öffnung schließen. 
Nun könnt Ihr den fertigen Schal stolz um den Hals legen! Viel Spaß!

designed by Duni
Happy Weekend!

p.s. comments for this post are off, but if you have any questions feel free to drop me a line or leave a comment on the main post here

P.S. Kommentare habe ich für diesen Post abgeschaltet, aber falls Ihr Fragen habt, könnt Ihr mir gerne eine Mail schreiben oder einen Kommentar im Hauptpost hinterlassen.

Friday, February 14

Hazelnut Hearts - Happy Valentine's Day


Today is Valentine's day and if you were expecting something red on my blog today, well...sorry to disappoint! Instead, I'll share my recipe of these delicious nutty and chocolate-y heart-shaped muffins! Since I know Sharla loves hearts this blogpost is also my entry for my Etsy team BBA February challenge brought to us by Sharla @BeadedTail . Sharla creates beautiful handmade jewelry for animal lovers (like myself) and 50% of ALL sales proceeds benefiting animal awareness causes!
*
Heute ist Valentinstag und einige von Euch haben vielleicht etwas Rotes auf meinem Blog vermutet...diesmal nicht! Anstatt dessen gibt es heute ein nussiges, schokoladiges Rezept für herzförmige Muffins!


How to:

Preheat oven to 180°C (356°F). Butter a heart-shaped muffin pan. In a medium bowl mix dry ingredients well. In another medium bowl whisk softened butter, egg and milk until smooth. Add to dry ingredients and stir until combined. Spoon into muffin molds and bake until toothpick inserted in center comes out clean. About 15 minutes. Remove pan, cool for 10 minutes, then remove from pan onto a rack to cool completely. Chop a bar of dark chocolate in a small pan and melt on low heat. Drizzle over muffins and sprinkle chopped hazelnuts on top. Makes 8 medium sized muffins. Enjoy!
*
Und so geht's:
Ofen auf 180°C vorheizen. Ein "Herzform" - Muffinblech einfetten (oder Silikonform benutzen). In einer Schüssel trockene Zutaten mischen. In einer zweiten Schüssel die weiche Butter, Ei und Milch cremig rühren und zu den trockenen Zutaten geben. Gut umrühren. Der Teig sollte zähflüssig sein. In die Muffinform geben und ca. 15 Minuten backen - mit einem Holzspieß prüfen, ob die Muffins durch sind (es sollte kein Teig drankleben). 10 Minuten abkühlen lassen. Dann aus der Form lösen und auf einem Gitter vollständig auskühlen lassen. Eine Tafel dunkle Schokolade zerstückeln, in einen kleinen Topf geben und bei sehr niedriger Temperatur schmelzen, über die Muffins träufeln und gehackte Haselnüsse darüber streuen. Macht 8 mittelgroße Muffins. Guten Appetit!


Thursday, February 13

Frida meets Karneval - PomPom Headband & Earrings

Hello lovelies! Today I have a fun and easy tutorial in store for you - Part Three of the Frida Kahlo costume I showed you last week.
*
Hallo, ihr Lieben! Heute zeige ich Euch die Anleitungen für den Pompom Haarreif sowie die Ohrringe - Teil Drei des Frida Kahlo Karnevalkostüms von letzter Woche.


all yarn kindly sponsored by Lana Grossa
Wolle freundlicherweise von Lana Grossa gesponsert

You'll need // Ihr braucht

1 wide plastic hairband preferrably the kind with the comb
1 breiter Plastikhaarreif mit Kamm
colourful yarn
Wolle in verschiedenen Farben
cardboard
Pappe
compass
Zirkel
scissors
Schere
hotglue gun
Heißklebepistole
trims
Bommelborte


Step One // Schritt Eins

First you'll need to make pompom template from the cardboard. I made one large and two small pompoms. Use a compass to draw the circles:

Large = 7 cm diameter, 1.5 cm hole
Small = 5.5 cm diameter, 1.2 cm hole

Cut two pieces per size. Then make a diagonal cut through both cardboard circles and cut out the center.
*
Zunächst müsst Ihr mit Hilfe des Zirkels und der Pappe die Vorlage für die Pompoms zeichnen. Ich habe einen großen und zwei kleinere Pompoms gefertigt. Größen wie folgt:

Groß = 7 cm Durchmesser, 1,5 cm Loch
Klein = 5,5 cm Durchmesser, 1,2 cm Loch

Zweimal pro Größe ausschneiden, dann beide Pappkreise diagonal einschneiden und zuletzt die Mitte ausschneiden.

Step Two // Schritt Zwei

Unwind a fair amount of yarn from your ball of yarn and start wrapping around the two identical cardboard pieces, beginning and ending at the diagonal cut. The center of the pompom must be filled with yarn completely if you want the result to be full and fluffy! Cut off a 20 cm piece of yarn.
*
Eine gute Länge Wolle abwickeln. Dann an der Schnittkante beginnend die Wolle um die zwei Pappkreise wickeln, schön dicht, bis das Loch in der Mitte gefüllt ist. Dies ergibt ein schönes Resultat! Einen 20 cm Wollfaden abschneiden.

Step Three // Schritt Drei

Grip the wool-covered cardboard in the middle, then use your scissors to make a small snip inbetween the two cardboard pieces. Do this all around carefully. Remember to hold on to the yarn tightly. Gently widen the gap, then tie the 20 cm piece of yarn around the middle and pull tightly. Knot several times. Remove the cardboard.
*
Die mit Wolle umwickelten Pappkreise in der Mitte gut festhalten. Mit der Schere einen kleinen Schnitt zwischen den Pappteilen machen und langsam ringsherum einschneiden. Die Wolle dabei gut festhalten. Die Pappkreise vorsichtig lösen, aber noch nicht ganz abziehen. Den 20 cm Wollfaden um die Mitte binden und recht fest zuziehen. Mehrmals verknoten. Die Pappkreise entfernen.

Step Four // Schritt Vier

Cut of excess yarn, trim and fluff up your pompom by rolling in your hands. Make two more!
*
Wollfaden kürzen, überstehende Wolle zurückschneiden und den Pompom mit den Händen zum puscheligen Ball formen. Zwei weitere fertigen!

Step Five // Schritt Fünf

Now you can start winding yarn around your headband. I hotglued one end of the yarn to the inside of the headband and then started winding. If yours has a comb then use the tines as a guide. It's very easy. I wrapped it quite thickly. Add a spot of hotglue to the other end as well. Hotglue a length of trim around the headband to finish. Set aside to dry.
*
Nun könnt Ihr die Wolle um den Haarreif wickeln. Das geht ganz einfach. Ein Ende habe ich mit Heißkleber an die Innenseite fixiert und dann schön dicht gewickelt. Am Ende ebenfalls mit Heißkleber fixieren. Zum Schluß um den Bogen noch eine Bommelborte ankleben. Gut trocknen lassen.

Step Six // Schritt Sechs

Glue the pompoms and buttons to the headband as desired. Finished.
*
Mit Heißkleber die Pompoms und Knöpfe am Haarreif befestigen. Fertig.


The button earrings are self-explanatory. In fact you can be as creative as you like! Take a look at my examples below for inspiration!
*
Die Ohrringe mit Knöpfen sind selbsterklärend. Hier könnt Ihr Euch nach Lust und Laune austoben! Laßt Euch von den nachfolgenden Beispielen inspirieren!

Basic material needed // Grundmaterial

button assortment, blank earrings studs, jewelry glue, jewelry wire, earring findings
Knopfsortiment, Ohrstecker-  bzw. Ohrhängerrohlinge, Schmuckkleber, Schmuckdraht


Ideas ~

you can loop a few button onto hoops, string them in a row and attach them to earwires or stick them onto a blank earstud. The possibilities are endless!

Ideen ~

Ihr könnt, z.B. mehrere Knöpfe auf Ohrreifen fädeln, hintereinander auf Schmuckdraht fädeln und an Ohrhaken befestigen oder mit Schmuckkleber auf Blanko-Ohrstecker kleben. Es gibt unzählige Möglichkeiten!

Happy Crafting!

p.s. comments for this post are off, but if you have any questions feel free to drop me a line or leave a comment on the main post here

P.S. Kommentare habe ich für diesen Post abgeschaltet, aber falls Ihr Fragen habt, könnt Ihr mir gerne eine Mail schreiben oder einen Kommentar im Hauptpost hinterlassen.

Wednesday, February 12

Baked Goat's Cheese - Appetizer


Here's a quick appetizer I made the other day. Super delicious still warm from the oven!
*
Diese Vorspeise (Eigenkreation) ist schnell gemacht. Am besten schmeckt der gebackene Ziegenkäse frisch aus dem Ofen!


How to:
Preheat the grill on your oven to high 428°F. Cut the roll of goat's cheese in 2 cm slices. Place on a baking sheet. Wash rocket salat, dry well and  lightly dress with oil/vinegar and season to taste with salt and pepper. Divide up on small appetizer plates.  Bake the goat's cheese slices for 5 minutes until top begins to brown. Meanwhile, in a small saucepan heat oil, add finely chopped mango and cook until very soft, add a little water to liquify. Purée. Add a few thin slices of chili and 4 TBSP honey. Stir well. The mango honey should be quite liquid, so add a bit of water if necessary. Turn off heat, but keep saucepan on the cooking plate. Remove baked goat's cheese rounds with a spatula and place on salad portions. Spoon over mango-chili-honey. Serve straight away!

Und so geht's:
Grill des Ofens auf 220°C vorheizen. Die Rolle Ziegenkäse in 2 cm Scheiben schneiden (eventl. die Endstücke entfernen). Auf ein Blech mit Backpapier setzen. Salat gut waschen und trocken schleudern. Eine leichte Vinaigrette zubereiten, je nach Geschmack salzen, pfeffern und auf kleine Vorspeisenteller portionieren. Die Ziegenkäsescheiben in den Ofen schieben und ca 5 Minuten backen bis sie goldbraun sind. Währenddessen in einer kleinen Bratpfanne Öl erhitzen, fein gehackte Mango dazugeben und anbraten. Ein wenig Wasser dazugeben und pürieren. 4 EL Honig und wenige dünne Scheibchen Chilli untermischen. Gut umrühren. Der Mango-Honig sollte flüssig sein, eventl. etwas Wasser nachgießen. Platte ausschalten, aber die Pfanne drauf lassen. Ziegenkäse mit dem Pfannenwender vom Backblech heben und auf den Salat geben und mit Mango-Honig anrichten.
Sofort servieren!

Bon Appétit!

Tuesday, February 11

Frida meets Karneval - Part Two

This past weekend I posted the instructions for making the Boho Skirt. Today comes the fun part - embelleshing with fabric yoyos, buttons and a belt, if desired!
*
Am vergangenen Wochenende habe ich beschrieben, wie der Boho Rock genäht wird. Heute wird er verziert bzw. zeige ich Euch wie Ihr die Stoffyoyos und den Gürtel fertigt!


Step One // Schritt Eins

we'll start with the yoyos. You will need approx 16 - 20 yoyos and buttons depending on the circumference of your bottom panel C. I know that there are special plastic yoyo-makers that you can buy, but as mentioned before, I like to keep things simple and minimize costs where possible.
You will need a plate or bowl approx. the diameter of 10 cm. It doesn't matter if it is a little larger. Use this as your template to draw the desired amount of circles on the wrong side of your choice of fabric. Cut out, fold in a small edge and iron lightly.


Je nachdem wie groß der Umfang von Eurem Rocksaum ist benötigt Ihr ca. 16 - 20 Stoffyoyos und Knöpfe. Ich weiß, es gibt spezielle Yoyomacher aus Plastik, aber das Geld könnt Ihr Euch sparen. Ihr braucht nämlich nur einen kleinen Teller oder eine Schüssel mit einem Durchmesser von ca. 10 cm. Es spielt keine Rolle wenn er ein bisschen größer ist. Dies benutzt Ihr nun als Vorlage, um die Kreise auf die Rückseite des Stoffes zu zeichnen. Ausschneiden, knappen Rand nach innen falten und leicht bügeln.

Step Two // Schritt Zwei

Now thread a needle with a long thread, double and knot the end. With the scant edge folded under push the needle through fabric and pull thread through. Continue stitching along the circumference close to the edge. Longer stitches make a tighter center, while shorter stitches create a more open center.


Einen langen Faden in eine Handnähnadel einfädeln, doppeln und am Ende verknoten. In den umgeschlagenen Rand stechen und Faden durchziehen. Nun entlang des Kreisumfangs nah am Rand nähen. Lange Stiche ergeben eine kleine, kurze Stiche ergeben eine größere Öffnung in der Mitte.

Step Three // Schritt Drei

Once you've stitched all the way around gently pull on thread until edges gather toward the center.
Make a couple of stitches to secure your gathers, then knot and trim your thread. Arrange the gathers evenly and then press your yoyo flat with your hand. Make required number of yoyos.


Am Anfang wieder angekommen zieht Ihr nun leicht am Faden, bis der Rand sich in kleine Fältchen legt. Mit den Fingers etwas zur Mitte bewegen und Fältchen gleichmäßig verteilen. Nun macht Ihr ein paar Stiche durch den Rand, damit die Form erhalten bleibt. Faden abschneiden und gut verknoten. Yoyo mit der Hand flachdrücken. So viele anfertigen, wie benötigt wird.


Step Four // Schritt Vier

Now it's time to sew the yoyos onto the hemline of the skirt. You can sew them on in one line or in a zigzag like I did. Choose matching buttons or use all different ones. Be creative!
*
Nun könnt Ihr die Yoyos an den Saum des Rocks annähen. Entweder in einer geraden Linie oder im ZickZack, wie ich es gemacht habe. Ihr könnt einfarbige oder bunte Knöpfe verwenden - Wie Ihr mögt!


all buttons sponsored by Union Knopf
Alle Knöpfe von Union Knopf gesponsert


Next up...the belt with ribbons // Und nun zum Gürtel...


In the DIY parcel provided I found various trims, ribbons and webbing. Not all of them were the same length, so I had to go with what worked for a belt. You'll need 1 m webbing, 1 m each of three different coloured narrow ribbons plus two large buttons.
*
Im DIY Paket waren diverse Bänder, Borten und Gurtbänder. Die waren allerdings unterschiedlicher Länge, somit habe ich mich für das rosa Band entschieden und farblich passende Bänder. Ihr braucht also 1 m Gurtband, je 1 m schmales Dekoband in drei Farben sowie zwei große Knöpfe.


Step One // Schritt Eins

Place the webbing around your waist or hips - depending where you want the belt to sit. Mark and add 2 cm. Cut. Fold under 1 cm each side and stitch down, remember to backstitch at the beginning and end. Cut the three ribbons in half. You now have three 50 cm ribbons per side. Arrange and overlap them so they match width of your webbing. Use a small zigzag stitch to attach to the underside. This will help keeping them from fraying also. Do the same with the ribbons on the other side. Snip the ends as shown in the picture top right. Sew two large buttons on top of the ends. The ribbons are used to close/tie the belt.


Gurtband um die Taille bzw. Hüfte legen - im Prinzip dort wo später der Gurt sitzen soll. Die Stelle markieren + 2 cm. Abschneiden. An jedem Ende 1 cm einschlagen und absteppen, am Anfang und Ende mit Rückstichen sichern. Die Dekobänder zur Hälfte schneiden. Jeweils drei Bänder pro Gurtende auf die Breite des Gurtbandes überlappend arrangieren und mit einem kleinen Zickzackstich annähen. Dies verhindert gleichzeitig das Ausfranzen. Die Enden der Bänder einschneiden wie oben recht gezeigt. Das Gleiche auf der anderen Seite wiederholen und zum Schluß auf der Vorderseite einen großen Knopf annähen. Der Gurt wird mit den Bindebändern geschlossen.


p.s. comments for this post are off, but if you have any questions feel free to drop me a line or leave a comment on the main post here

P.S. Kommentare habe ich für diesen Post abgeschaltet, aber falls Ihr Fragen habt könnt Ihr mir gerne eine Mail schreiben oder einen Kommentar im Hauptpost hinterlassen.