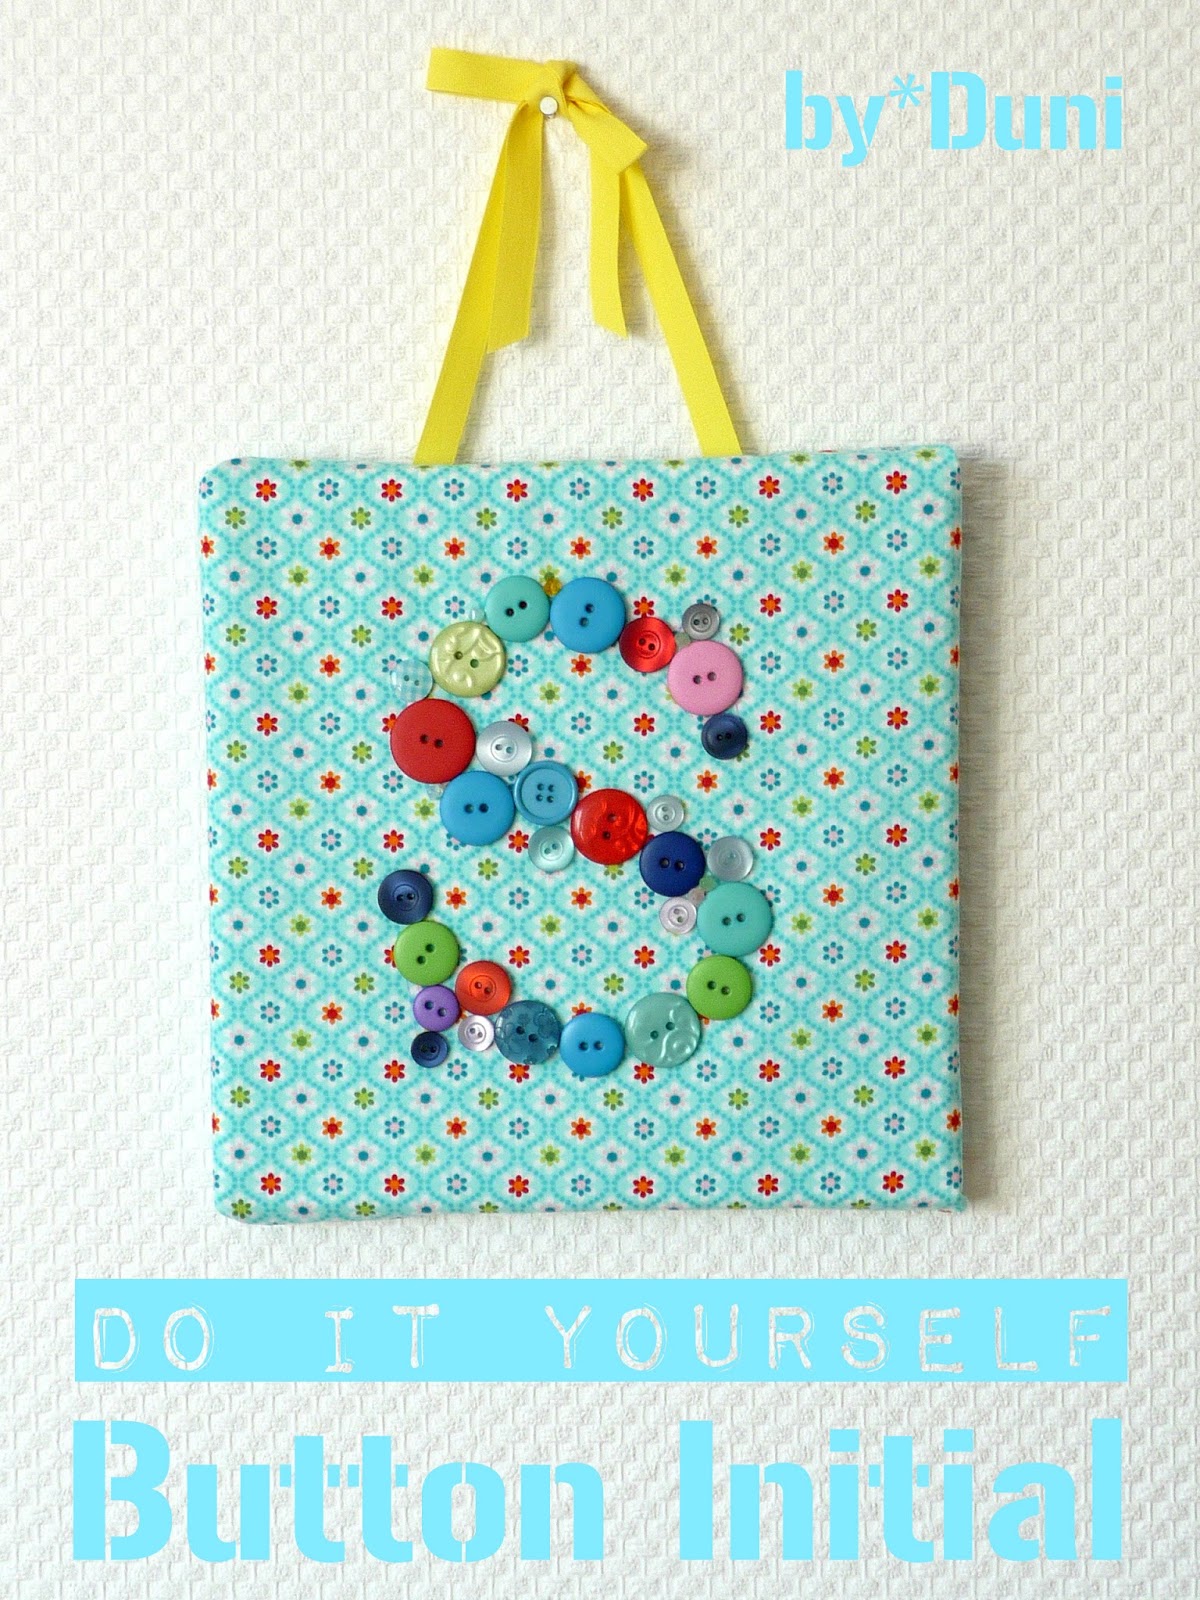
Some of you may remember that I received loads of fabric and button
supplies for my
DIY challenge a couple of weeks ago. Although I used up a fair amount I still have some fabrics and lots of buttons left. So today I'm sharing a fun button tutorial - a button initial on a small canvas that can be hung in your child's room!
*
Einige meiner lieben Leser erinnern sich vielleicht, dass ich vor ein paar Wochen ein großes
Stoff- und Knopfsortiment für mein
DIY Blogger Projekt erhalten habe. Obwohl ich davon eine Menge verbraucht habe sind noch diverse Stoffe und Knöpfe übrig. Heute zeige ich Euch ein einfaches Knopf DIY - eine schöne Deko für's Kinderzimmer!
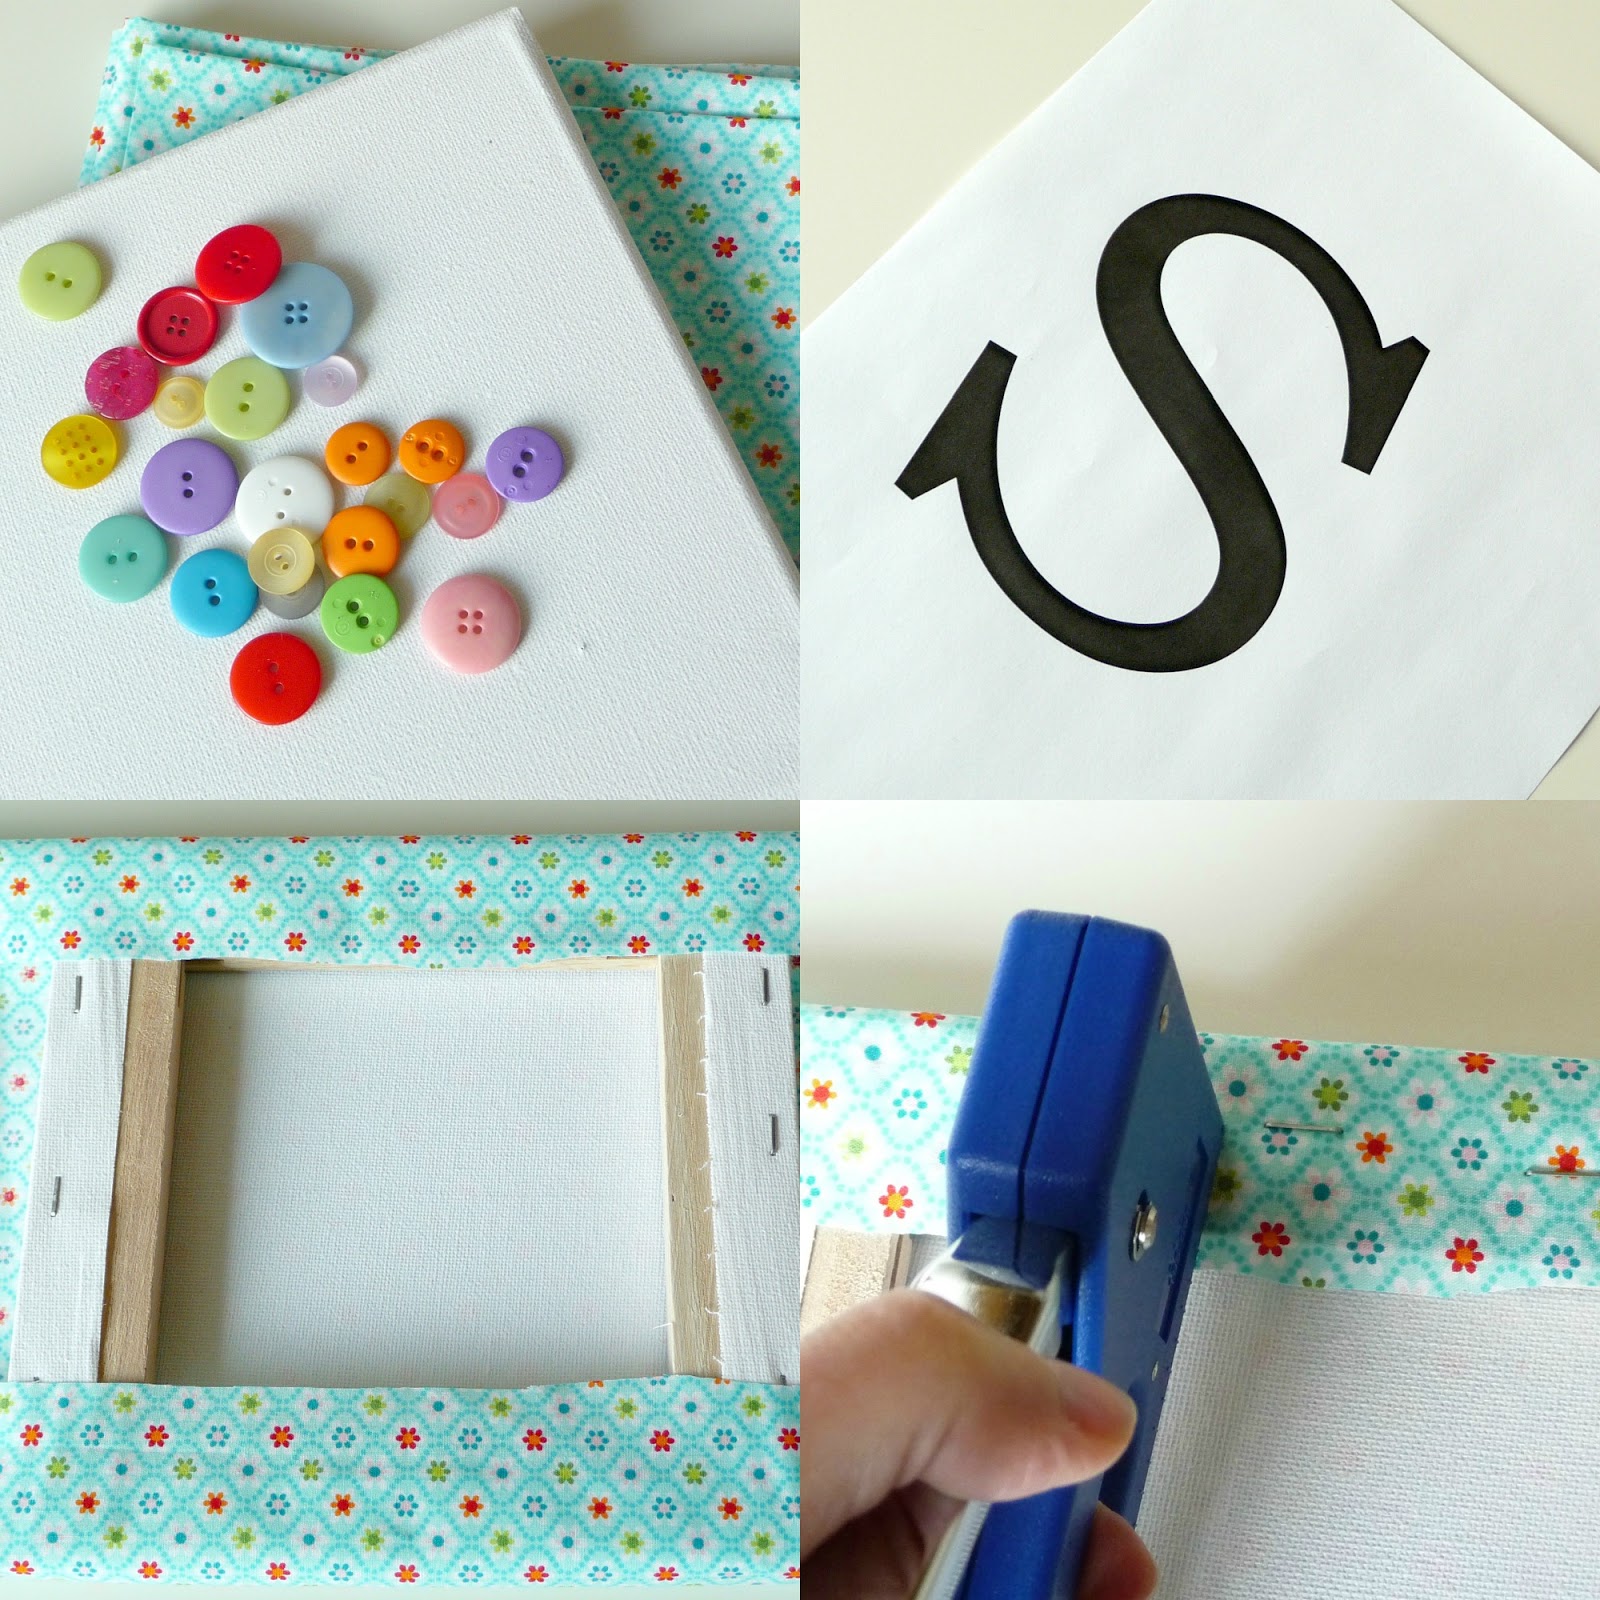
You'll need // Ihr benötigt
an 8 x 8 canvas // ein 20 x 20 cm Keilrahmen
fabric to cover canvas // genug Stoff um den Rahmen zu bespannen
button assortment // Knopfsortiment
staple gun // Handtacker
hot glue gun // Heißklebepistole
ribbon // Band zum Aufhängen
Step One // Schritt Eins
choose a bold font for your initial, nothing swirly. Enlarge to 500, print and cut out. Cut fabric with an overlap of 2.5 " all around. Iron. Lay canvas front side facing the wrong side of fabric. Starting on one side and with fabric stretched taut staple the overlapping bit to the back of the frame. Next do the same on the remaining three sides. Fold the corners like you'd normally wrap a present :)
*
Am Computer den gewünschten Initial aussuchen. Am besten einfache Buchstaben aussuchen, ohne Schnörkel etc. Auf 500 vergrößern, ausdrucken und ausschneiden. Aus dem Stoff ein Quadrat schneiden, welches 6 cm größer als den Rahmen ist. Bügeln. Keilrahmen mit der Vorderseite auf die linke Seite des Stoffes legen. Stoff gut festhalten und hinten am Rahmen festtackern. Die Ecken einschlagen, wie man das beim Einpacken von Geschenken kennt :)
Step Two // Schritt Zwei
Center your paper initial on the canvas and draw the outline with the fabric marker. Arrange your buttons until you're satisfied with the look and hot glue them on one by one. Leave to dry at least an hour. Lastly, attach a ribbon to the back of the frame with your staple gun and tie a bow at the top. Finished!
*
Die Papiervorlage mittig auf den Stoff legen und mit dem Stoffmarker die Umrisse nachzeichnen. Knöpfe so arrangieren, bis Ihr mit dem Ergebnis zufrieden seid. Dann nacheinander die Knöpfe mit Heißkleber auf den Stoff fixieren. Eine gute Stunde trocknen lassen. Zuletzt auf der Rückseite am Rahmen zwei Bänder tackern, oben zur Schleife binden. Fertig!
***
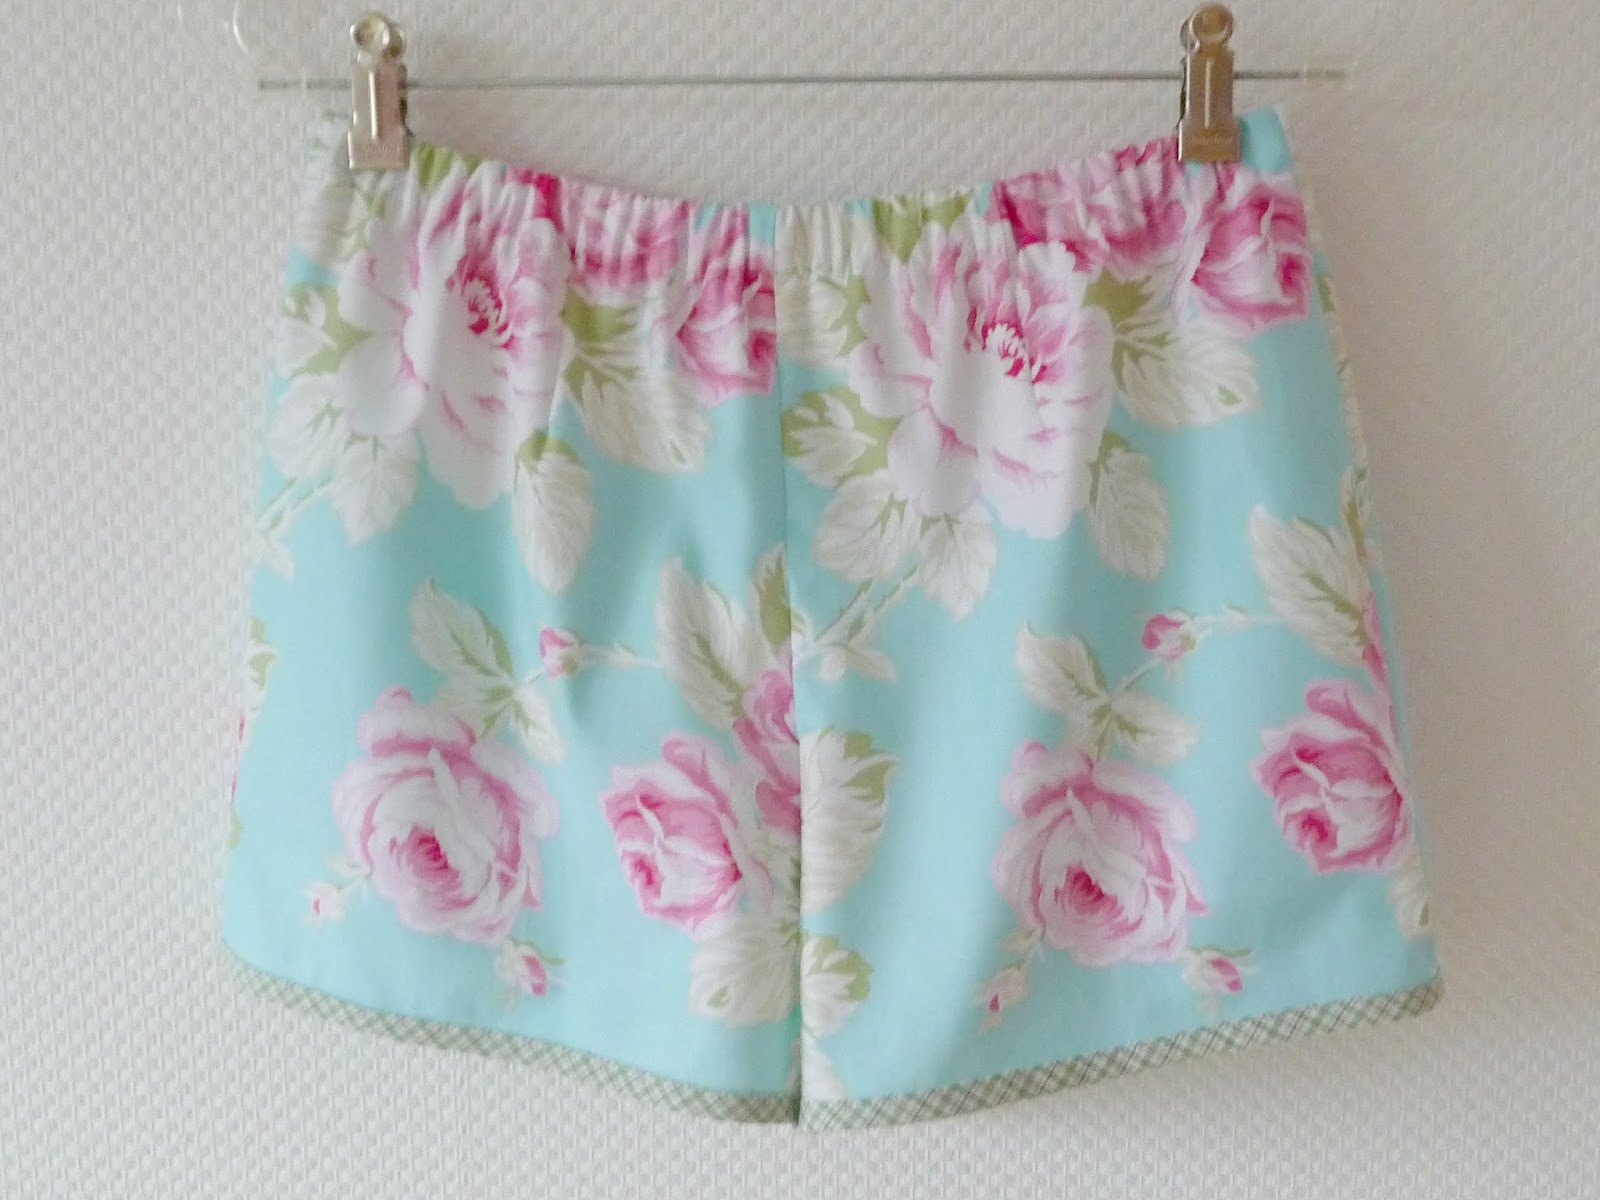
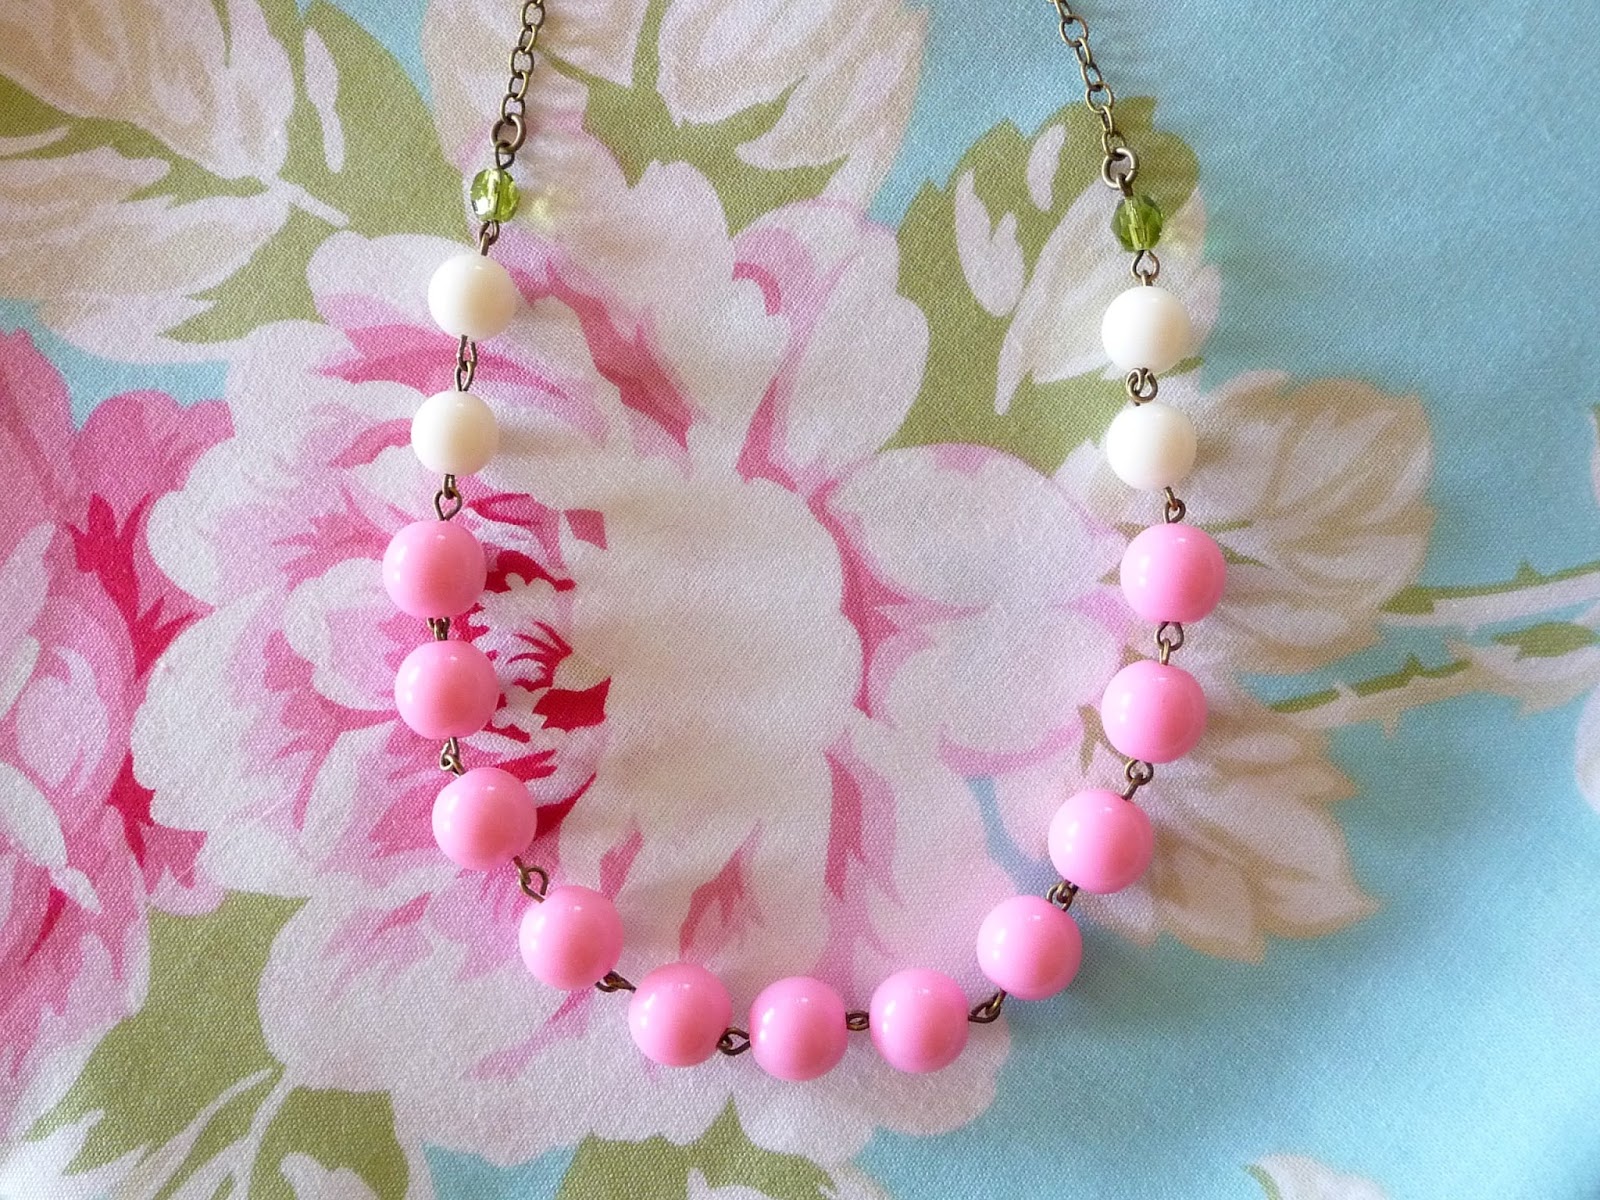
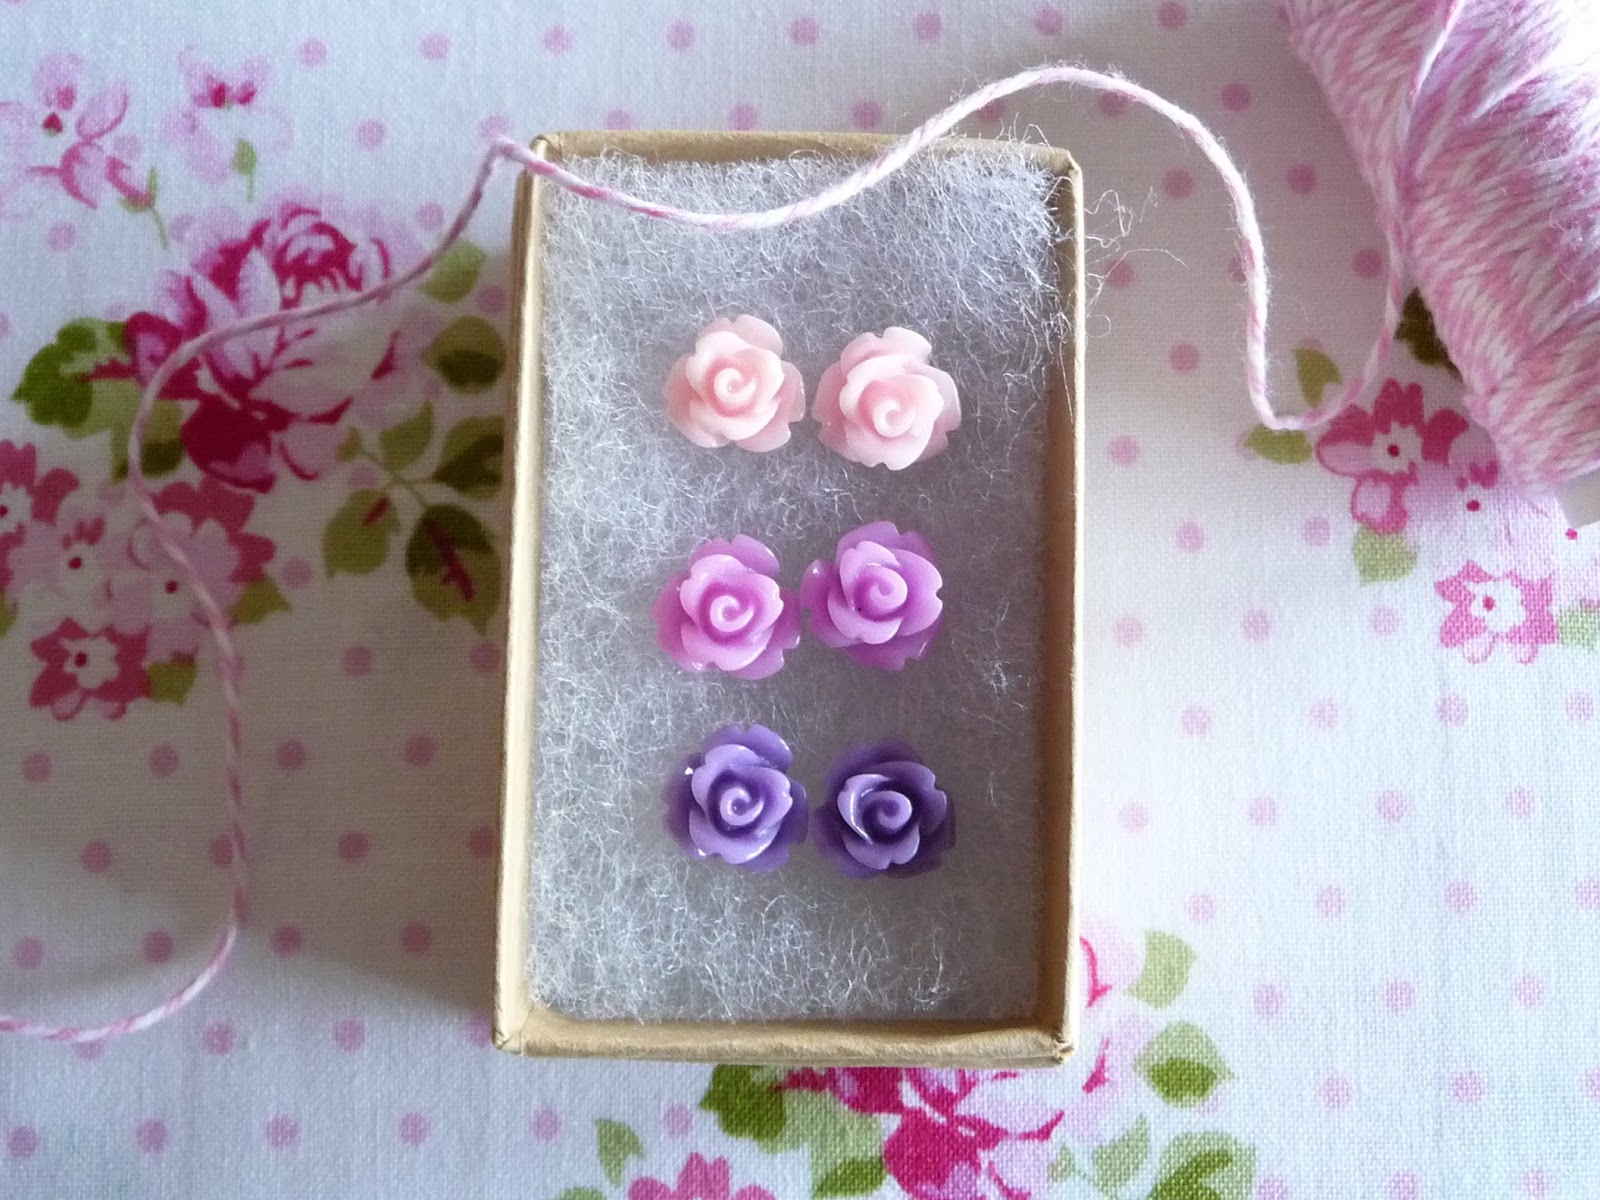
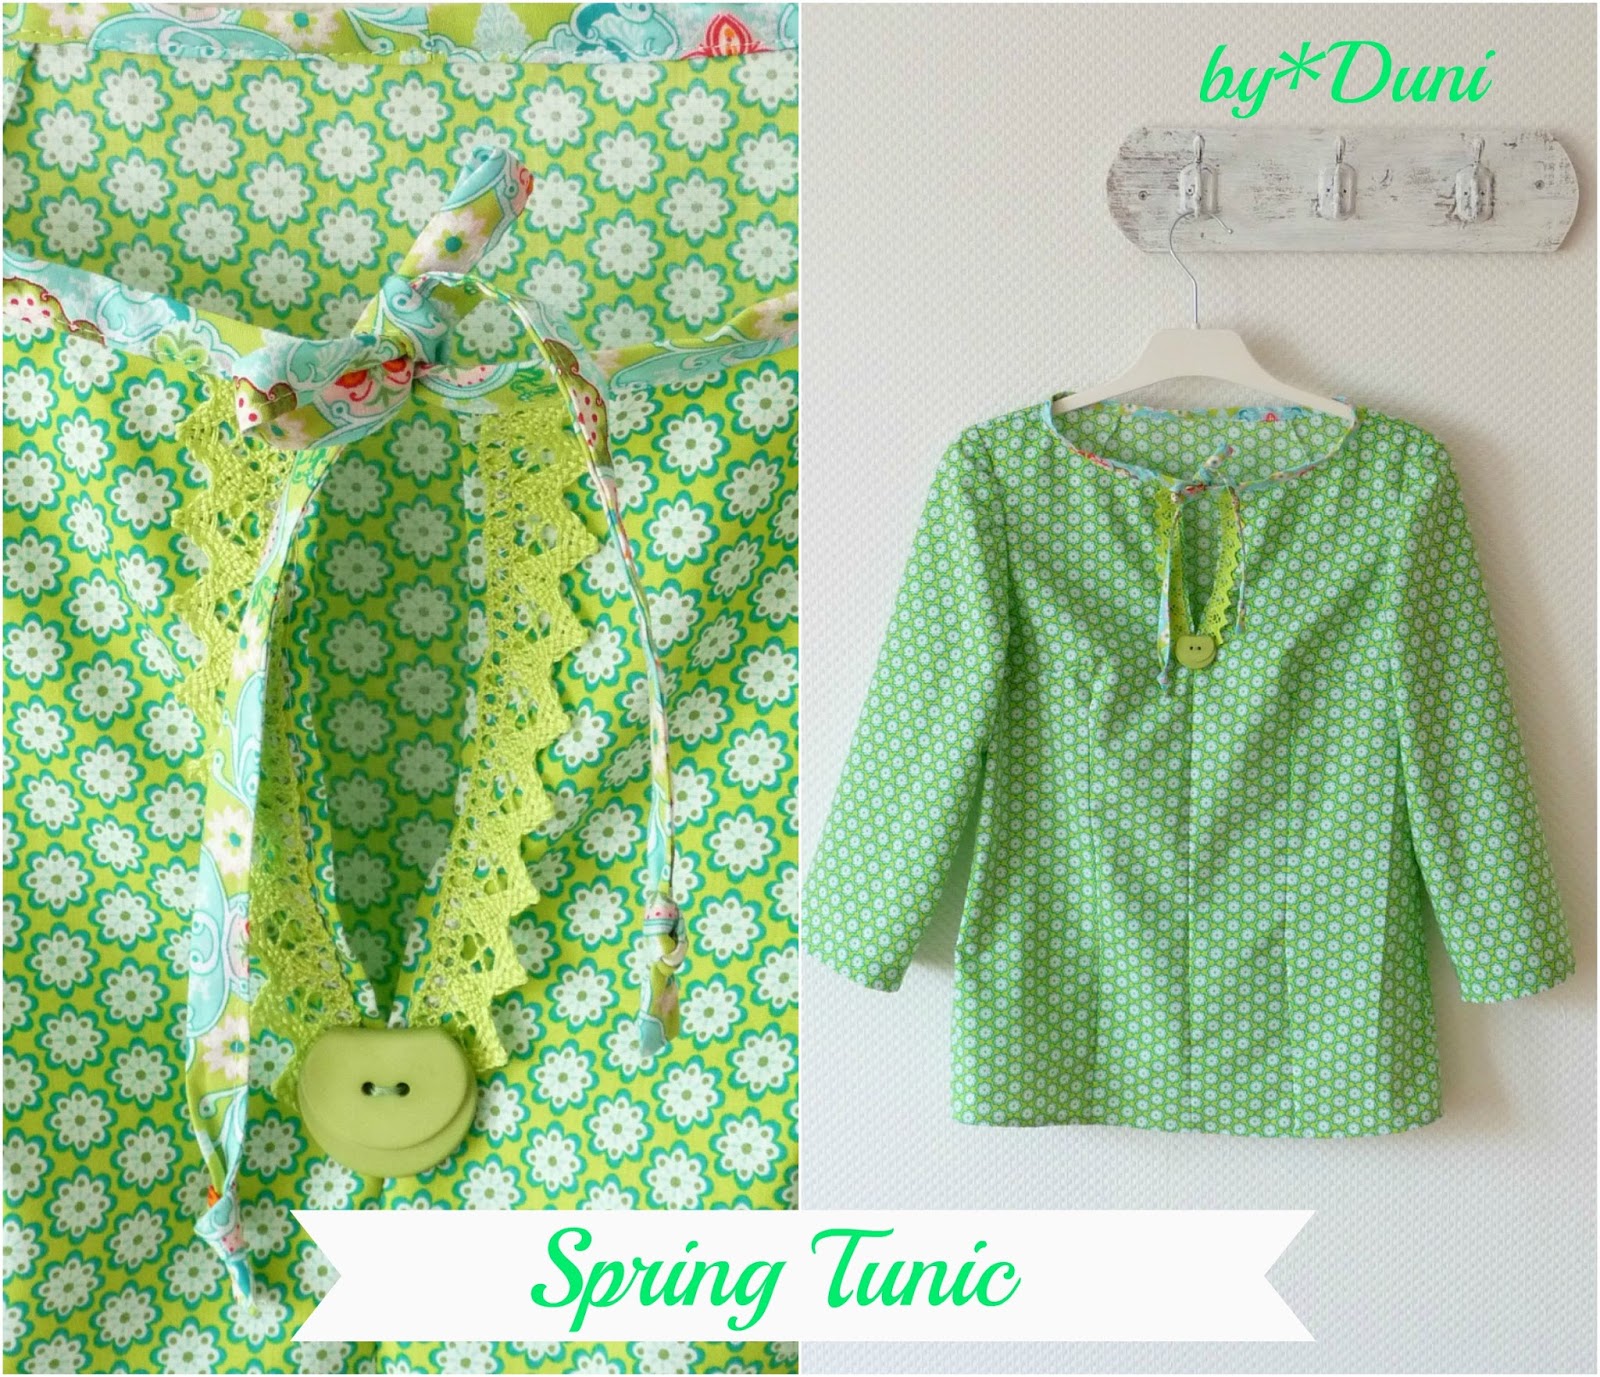
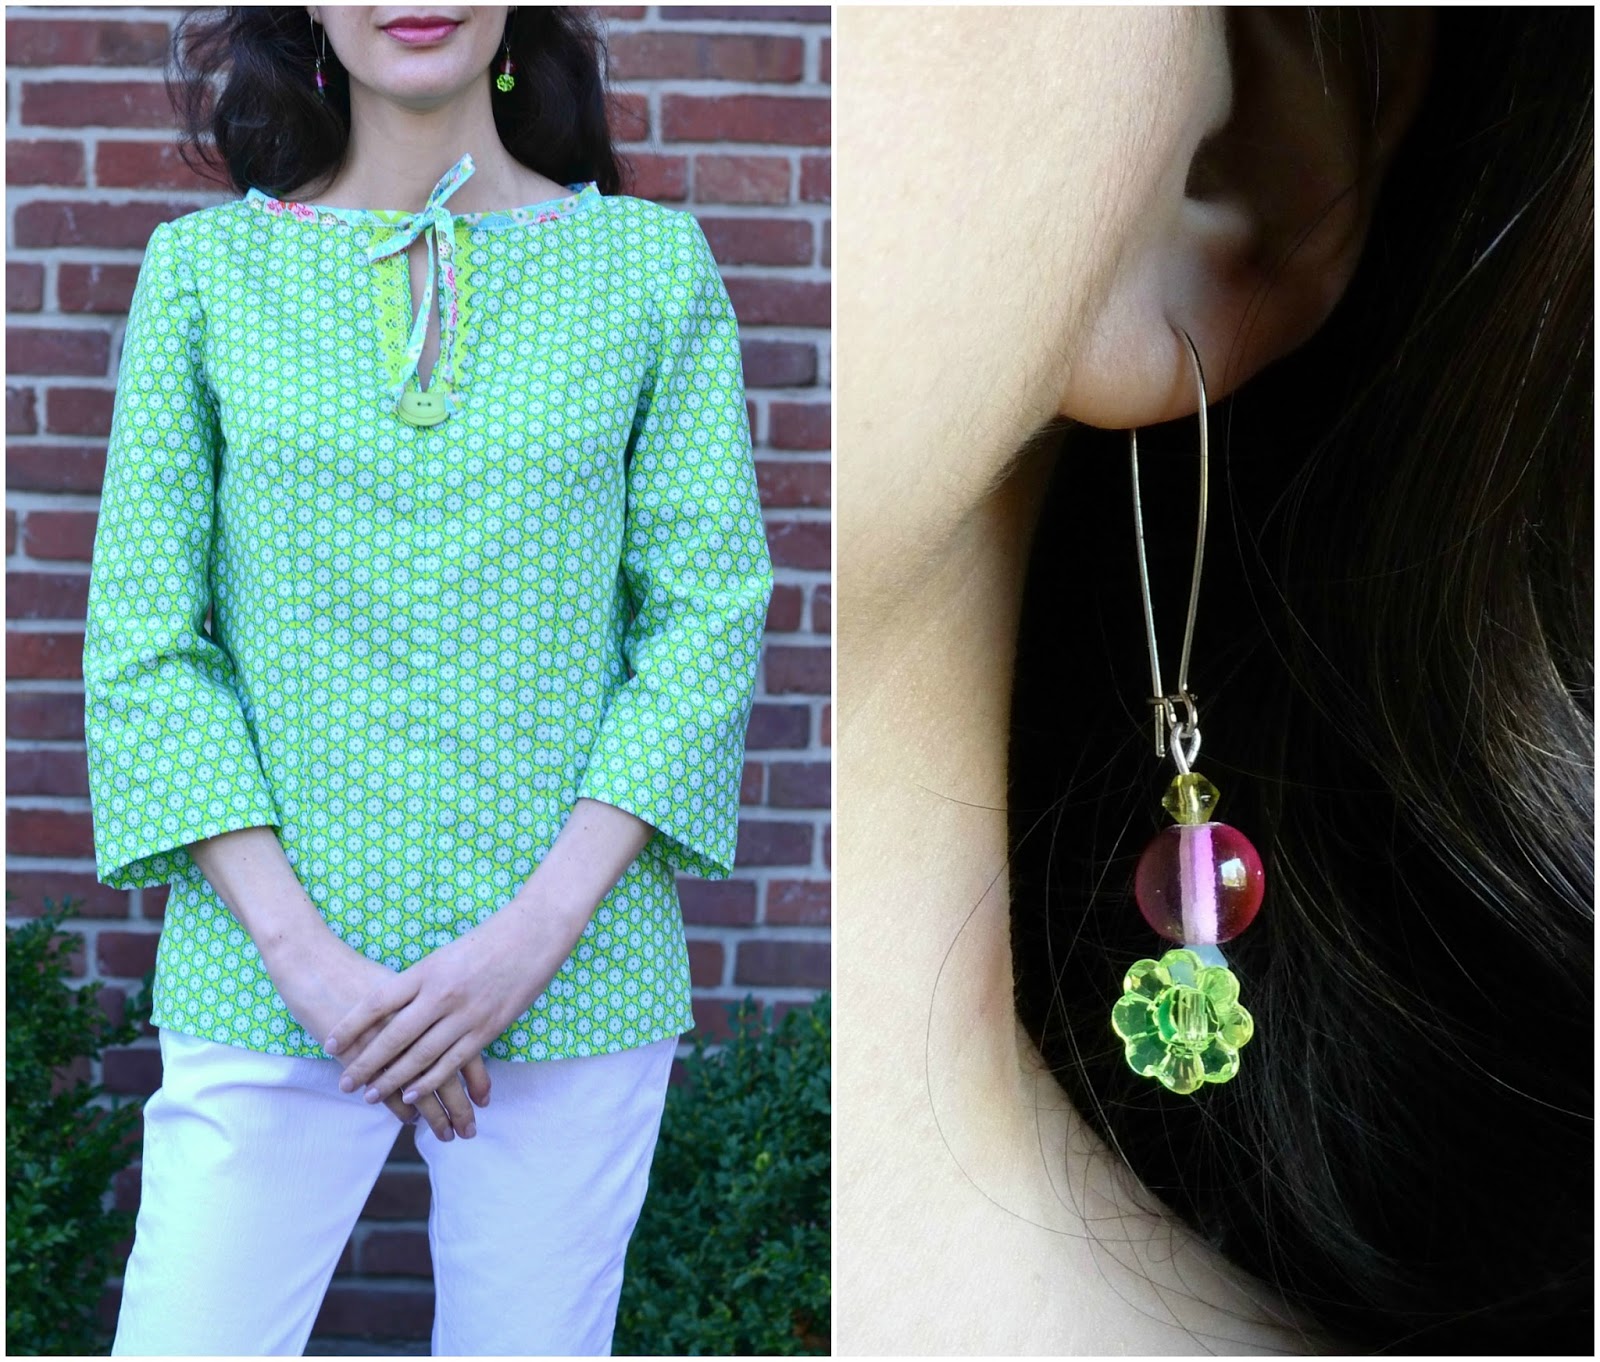
Back in January one of my plans was to sew an item of clothing for me each season. I didn't use any of the green fabric in my stash, so I decided to make myself a spring tunic...and matching earrings! The design is based on an old tunic off of which I took the pattern. I changed the sleeves into 3/4 length ones. I embellished the front with some lace and a funky button!
*
Im Januar hatte ich mir vorgenommen pro Saison ein Teilchen für mich zu nähen. Da von dem grünen Stoff noch viel übrig war, habe ich mir daraus eine frühlingshafte Tunika genäht (und passende Ohrringe gefertigt). Das Design basiert auf eine alte Tunika, jedoch habe ich die Ärmel in 3/4 Länge geändert. Am Ausschnitt ist sie mit einem hübschen Knopf und Spitze verziert!
wishing you a beautiful day!
habt einen wunderschönen Tag!