Hello lovelies! 💗 Hallo ihr Lieben!
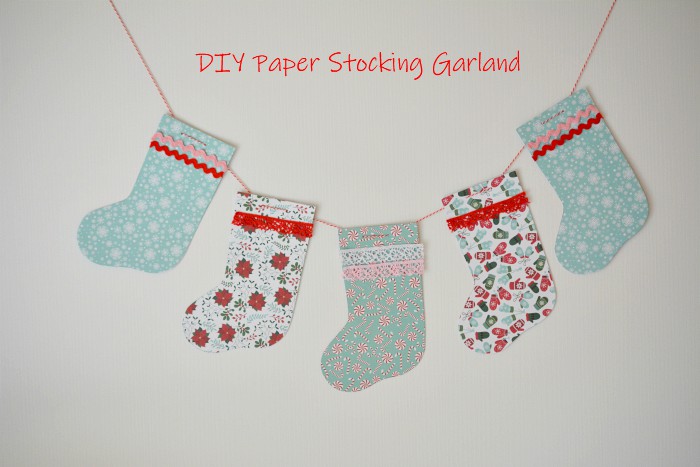
Here's a fun little paper craft project just in time for the holidays. It's been really dark these past few days, so the pics aren't the best quality.
Hier zeige ich euch eine einfache und schnelle Deko-Idee. Leider war es in den letzten Tagen so dunkel, dass die Bildqualität nicht die Beste ist.

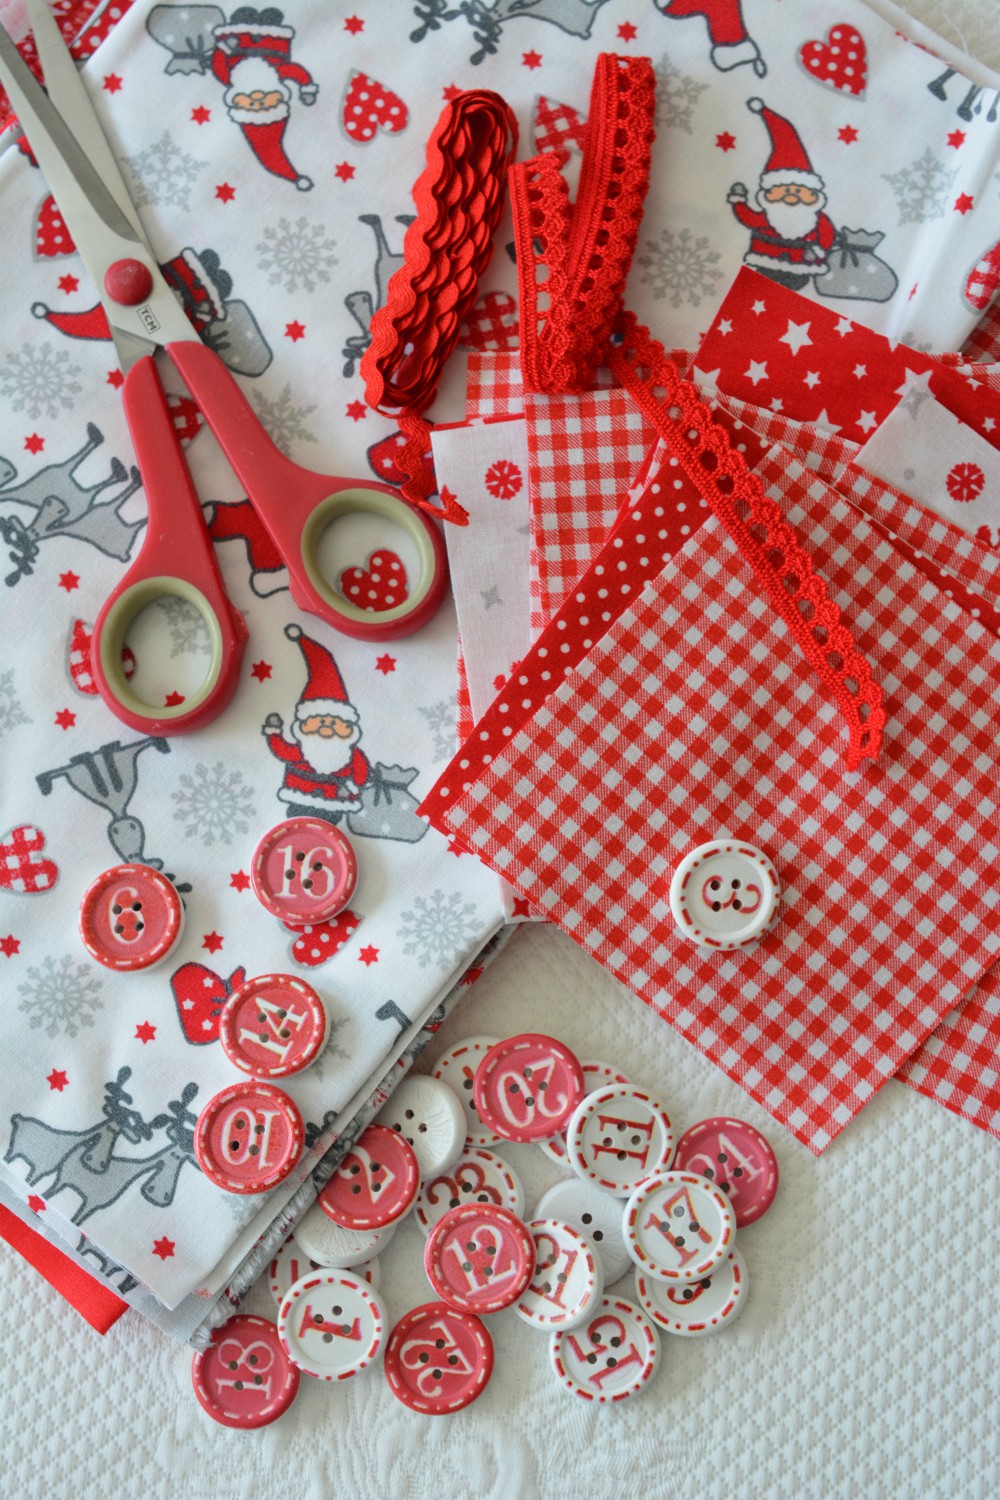
You will need // Ihr braucht
Assortment of Christmas-themed cardstock // Scrapbook Papier mit weihnachtlichen Motiven
Various bits of trims // kleine Stücke Spitze, Zackenlitze etc. zum Verzieren
Thin double-sided tape // Dünnes doppelseitiges Klebeband
Twine // Bastelgarn
Scissors // Schere
Needle with large eye // Nadel mit großem Öhr
Pencil // Bleistift
Awl // Ahle
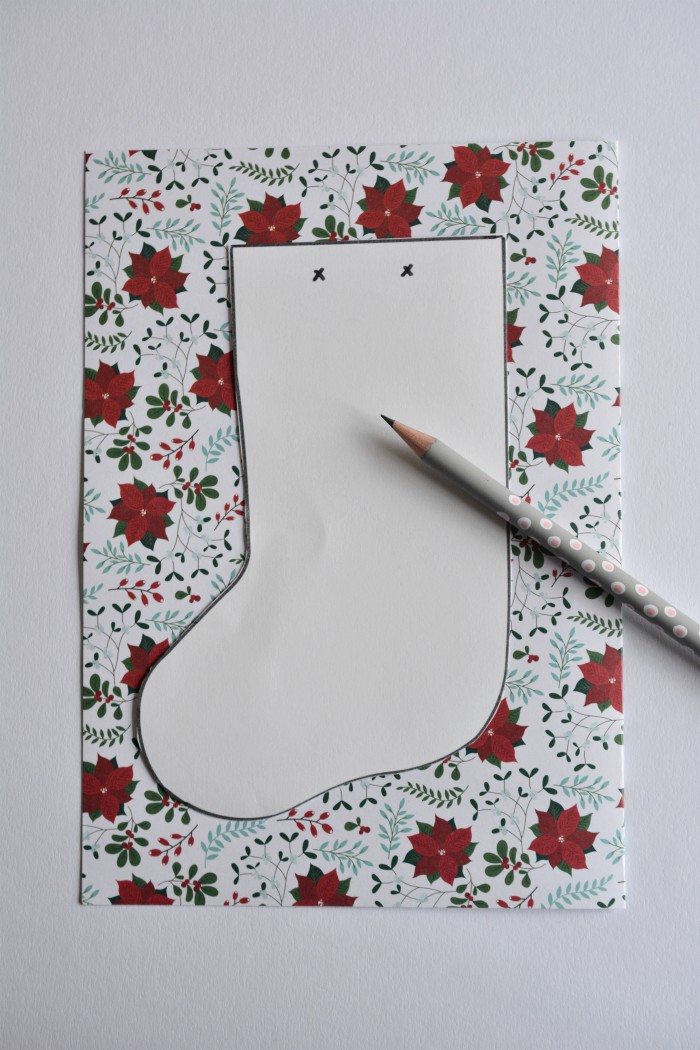
Download mini stocking template (see link above) and print. Cut out the shape. Use this template to trace as many stockings as you wish your garland length to be. Then cut them out. Since I don't have a lot of space for hanging mine is a small one with just five stockings.
Die Vorlage downloaden (siehe Link oben) und ausdrucken. Entlang der schwarzen Linie ausschneiden. Diese Vorlage mit Hilfe des Bleistifts auf das Papier übertragen und soviel Socken ausschneiden wie die Girlande lang sein soll. Da ich nicht viel Platz zum Aufhängen habe, habe ich eine Mini-Girlande mit nur fünf Socken gebastelt.
Step One
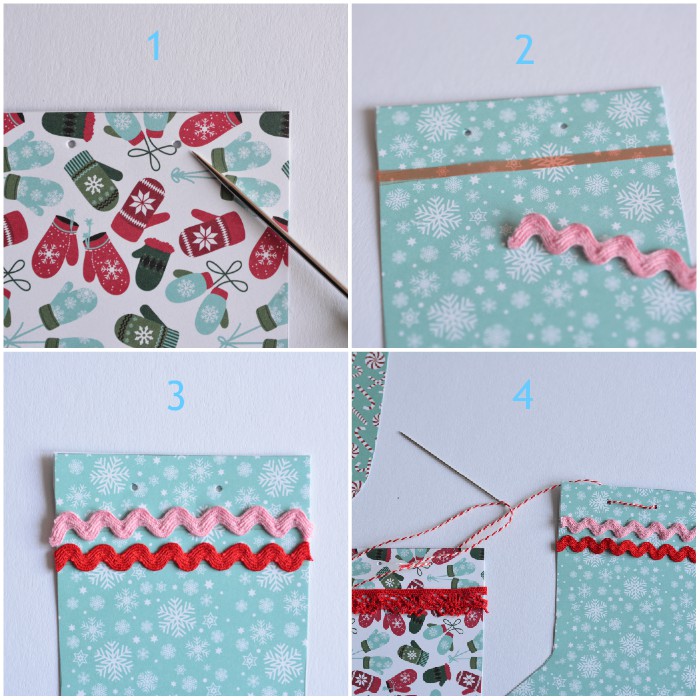
Mark the holes on each stocking. Then use the awl to gently punch the two holes.
Step Two
About 1 cm beneath the holes stick a strip of double-sided tape. Peel off the backing. Attach a bit of trim to it and press well.
Step Three
You can customize your stocking as you wish, for example, add one or two more rows of trim.
Step Four
Thread the needle with a long piece of twine. Starting from one end, thread needle through the first hole from the back and down through the second hole. Up through the back of the next stocking and down again through the second hole until you have threaded all stockings. Space them apart equally.
☃
Schritt Eins
Die Position der Löcher markieren. Dann mit der Ahle je zwei Löcher pro Socke machen.
Schritt Zwei
Circa 1 cm unter den Löcher ein Stück doppelseitiges Klebeband befestigen. Dann ein gleich langes Stück Borte, Spitze etc. abschneiden und fest andrücken.
Schritt Drei
Je nach Wunsch könnt Ihr die Socken mit weiteren Borten verzieren.
Schritt Vier
Das Bastelgarn in die Nadel einfädeln und von einer Seite beginnend von hinten durch das erste Loch führen, dann von vorne durch das zweite Loch, dann in das erste Loch von hinten von der zweiten Socke und wieder von vorne durch das nächste Loch...bis alle Socken aufgefädelt sind. Die Socken gleichmäßig auf der Schnur verteilen.

And now the garland is ready for hanging in your favorite place!
💗
Und nun ist die Papiergirlande fertig zum Aufhängen!