Showing posts with label floral. Show all posts

Friday, August 30

DIY Vintage Style Accordion Book


Hi crafty friends!

For the longest time I wanted to make an altered accordion booklet. Well, last weekend I set some time aside to finally make one! Patience is required to make one of these, as a lot of prep work has to be done and the drying time between each layer takes some time. I wanted mine to have a vintage feel with soft colors and plenty of floral motifs. And as an animal lover I wanted to add animal images as well.


I pulled out a bunch of art supplies...acrylic inks, paints, stamp pads, assorted collage papers, pens, stamps and stencils. I usually decide which ones to use, while I am doing the actual crafting. That's the beauty of mixed media art!


One of the first things I did was make lots of floral ephemera. I stamped a whole bunch of floral images on white drawing paper, then I colored these in with gouache paints, and once dry I fussy cut them all out. This was quite a task, but I love how these turned out!


I started by randomly stamping a grid pattern on all the pages of the booklet. While the ink was drying I then altered a mini envelope (see top left corner). I would later add this to one of the pages. It's a fun touch and you can keep some special and personal notes in there. While this isn't a full tutorial - that would take hours - you can watch the demo below:


https://youtu.be/8VPJBnTDthk

If you are watching this on YouTube, a "like" or share would be massively appreciated ♥ Happy Friday!


Sunday, October 7

Guest Room Fabric & Easy DIY Idea


[Werbung/Anzeige/Advertisement]


Hello everyone!

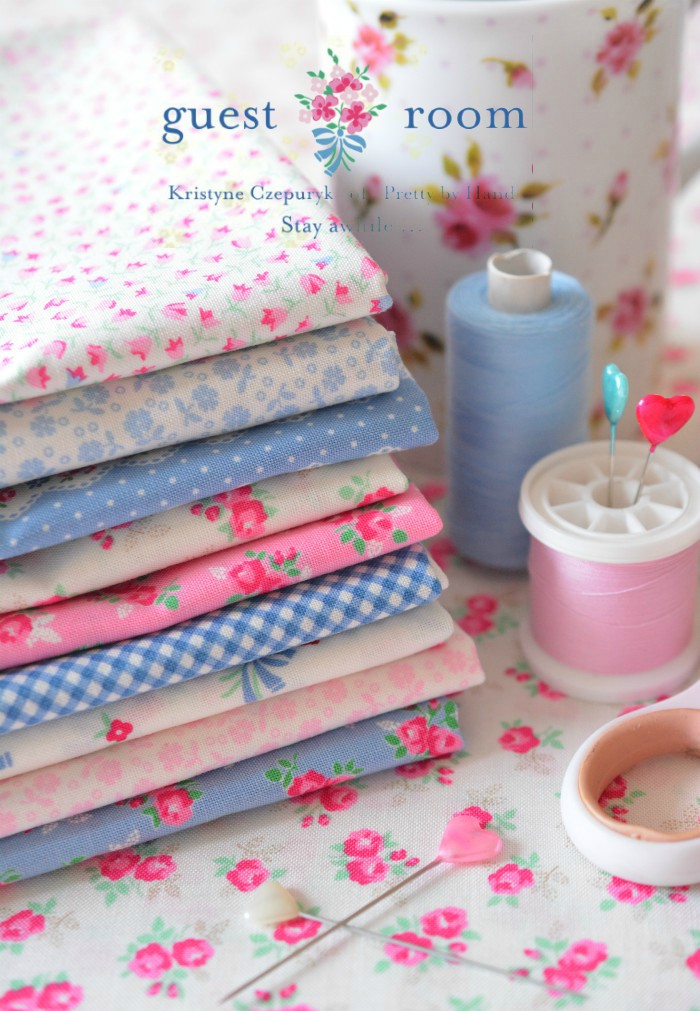
I recently received this sweet floral fabric collection from Canadian designer Kristyne Czepuryk called "Guest Room" featuring pretty roses, whimsical posies, tiny ginghams, a charming floral stripe and pin dots. I'm particularly loving that chambray blue and can imagine making all sorts of pretties with these premium cotton fabrics. The small scale prints are great for making dolls clothes and other smaller items, such as pin cushions. 
🌸
Hallo, ihr Lieben!

Ich habe vor kurzem diese süße Stoffkollektion namens "Guest Room" von der kanadischen Designerin Kristyne Czepuryk erhalten. Die Kollektion beinhaltet nostalgische Röschen, kleine Bouquets mit Schleife, süße ton-in-ton Blümchen, Vichy und Polkadots in aufeinander abgestimmten Farben. Besonders das Kornblumenblau gefällt mir! Die Stoffe sind einfach bezaubernd und eignen sich für vielerlei Nähprojekte, z.B. Nadelkissen, Täschchen und Puppenkleidung!


Today I'd like to share a simple DIY idea using these fabrics. The entire project is done by hand, but don't worry, you can finish it in one afternoon :)

Heute zeige ich euch ein kleines DIY. Das Projekt wird ganz von Hand genäht, aber keine Sorge, es ist an einem Nachmittag geschafft :)

You will need // Ihr braucht

7 different cotton scraps // 7 verschiedene Baumwollstoffreste
one 5.5" hoop // Einen 14 cm Stickrahmen
1.5" hexagon template // 4 cm große Hexagon Vorlage
Piece of solid color fabric larger than hoop // ein Stück Stoff in Uni, größer als der Rahmen
textile glue // Textilkleber
fabric marker pen // Stoffmarkierstift
thread // Garn
hand sewing needle // Handnähnadel
embroidery thread // Stickgarn (optional)
fabric scissors // Stoffschere
iron and board // Bügeleisen und Brett


Step One:


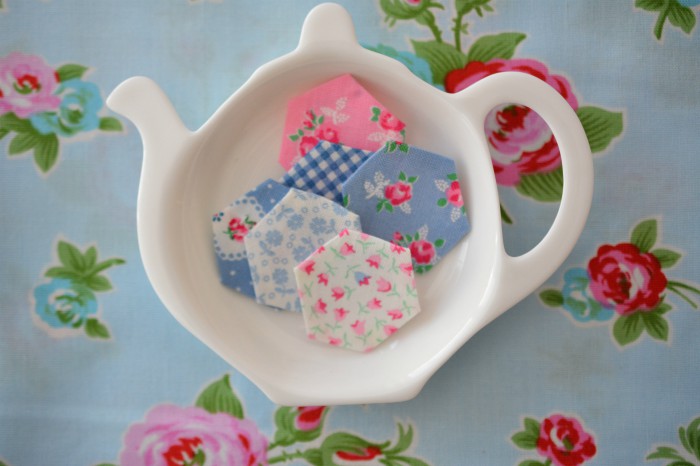
Use paper hexagon template and fabric marker to trace shape onto the back of seven fabric scraps. Carefully cut out.

Step Two:


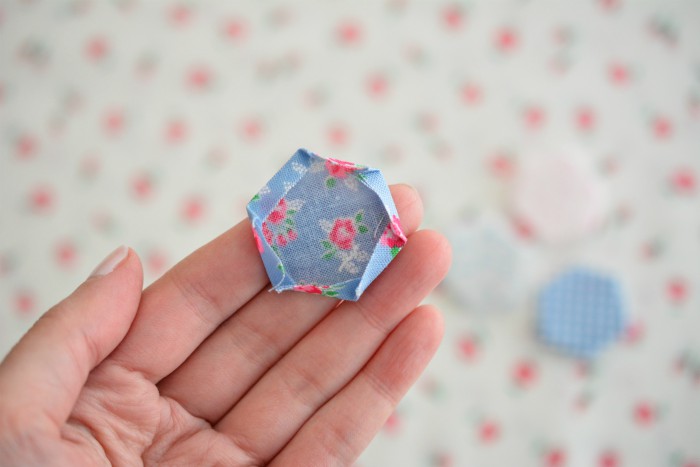
Take one fabric hexagon and fold a scant 1/4 " to the wrong side. Press with hot iron and continue folding all sides. Repeat with the rest of the fabric hexies.
Instead of sewing I'm using the glue method - add a drop of textile glue onto a toothpick and dab into the overlapping corners only. Press firmly and let dry.

Step Three:


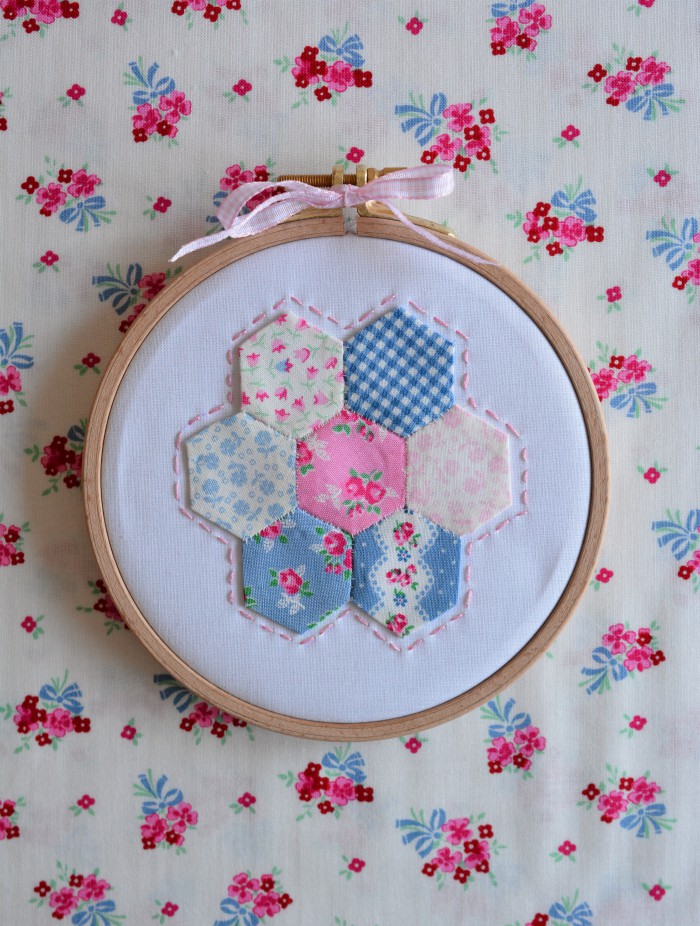
Thread your needle with one long strand of thread, and starting with the center hexagon, sew another hexagon to one side (right sides together) using the whipstitch method. Use small, even stitches. Continue adding hexies to the center one. Once all remaining hexies are attached to the center one, start closing the sides. You should now have a flower shape. Press with hot iron.

Step Four:


Place your solid color fabric into the frame and make sure it is smooth before tightening the screw. Cut away the overlapping fabric at the back. Dab a little textile glue onto the back of the hexagon flower. Make sure you get some on the edges. Center the flower onto the solid fabric. Textile glue doesn't dry immediately, so you have a minute to adjust the placement. Once you're satisfied press gently with your finger. Let dry. 

Optional: If you wish, you can use embroidery thread to stitch along the outline of the flower - I made a couple of wonky stitches, please ignore ;-)


Schritt Eins:


Mit dem Stoffmarkierstift auf der Rückseite der Stoffreste und mit Hilfe der Papiervorlage die Hexagons nachzeichnen und vorsichtig ausschneiden.

Schritt Zwei:


Nun ein Stoffhexie nehmen und die Ränder knapp 0,4 cm nach links falten und mit einem heißen Bügeleisen flach bügeln. Dies bei des restlichen Stoffhexies wiederholen. Für diese winzigen Hexies habe ich Textilkleber verwendet, um die überlappenden Ecken zu fixieren. Dafür habe ich den Kleber auf einen Zahnstocher gegeben und in die Ecken getupft. Danach von der rechten Seite überbügeln.

Schritt Drei:


Die Nähnadel mit einem langen Faden einfädeln. Das mittige Hexie nehmen und eine Kante mit einem zweiten Hexie rechts auf rechts mit einem Überwendlingsstich zusammennähen. Dabei kleine, gleichmäßig Stiche machen. So fortfahren bis alle sechs Hexies mit dem mittigen verbunden sind. Anschließend die offenen Seiten auf die gleiche Art zusammennähen. Nun habt ihr eine Hexie-Blume. Mit dem Bügeleisen flach bügeln.

Schritt Vier:


Das Stück unifarbenen Stoff in den Stickrahmen spannen, dabei darauf achten, dass er schön glatt ist. Etwas Textilkleber auf die Rückseite, besonders die Ränder der Hexie-Blume tupfen und mittig auf den unifarbenen Stoff platzieren. Der Kleber trocknet nicht sofort, so dass man noch eine Minute Zeit hat die Blume richtig zu platzieren. Mit dem Finger andrücken. Trocknen lassen. 

Optional: wer möchte kann nun mit etwas Stickgarn die Hexie-Blume umranden. Bei mir sind ein paar Stiche verrutscht - bitte ignorieren ;-)


Happy Crafting!
🌸
Viel Spaß!

 photo signature_zpscqkypdzs.png

Wednesday, May 29

Floral & Mint

This month has been super busy! What with the studio renovation, a whirlwind visit to my mom plus unpacking, labelling and uploading beautiful new fabrics to my fabric shoppe. On top of that I made some handmade items as gifts (you know I love gifting handmade).
*
Diesen Monat war ich ganz schön fleißig! Zwischen Studio renovieren und wunderschöne neue Stoffkollektionen auspacken und im Stofflädchen einstellen, habe ich es trotzdem noch geschafft diese Handmade Geschenke zu fertigen. Ich verschenke einfach zu gern Handmade :)

***

I designed this envelope clutch and chose a romantic floral fabric from J. Paganelli in soft mint green. Details include a pretty lace embellishment on the flap as well as a handrolled shabby chic flower using the same technique as I explained here.
*
Diese Clutch (Eigenentwurf) habe ich aus einem romantisch geblümten Stoff in pastelligem Mint von der US Designerin J. Paganelli gefertigt und mit mintfarbener Spitze verziert. Außerdem ziert eine handgerollte Stoffblume die vordere Patte. Wie das geht zeigte ich bereits hier.

  Both fabric + lace can be found in my shop * Stoff + Spitze gibt's in meinem Lädchen

***
I made this necklace for a very special person
 
 Diese Kette habe ich für eine ganz besondere Person gefertigt


...and while I had the beadbox out I made a pair of hot pink rose earrings pour moi
as a little reward for all the hard work this month :)
*
...und zum guten Schluß (wo ich schon die Kiste mit den Perlen draußen hatte) habe ich diese pinken Rosenohrringe gefertigt...als kleine Belohnung für mich :)


Thanks for stopping by and have a lovely day!
*
Ich wünsche Euch einen wunderschönen Tag!

Friday, May 20

Short - Shorter - Summer Shorts!

These floral shorts are the shortest and most figure hugging shorts in my PeriDot collection! They are perfect for warm weather picnics or lazy days on the beach. Pair them with a simple tank top and you have a cute ensemble for lounging or sleeping in! I added two darts to the front to shape the silhuoette, while the elastisized waistband makes them easy to slip on over your swimsuit. This style will be available in sizes S, M, L and XL. Each pair of shorts is edged with a charming trim in different colours and patterns - no two shorts are alike!

Tuesday, February 3

Kaffe Fassett make up bag

Kaffe Fassett is a well-known textile designer, innovative knitter, quilter and author. His first book 'Glorious Knitting' was the first knitting book ever to make it on the bestseller list. Born in San Francisco in 1937, he went on to study at the renowned School of the Museum of Fine Arts in Boston, and in 1964 moved to London where he now works and resides. He is the first living artist ever to have been invited to exhibit at the Victoria & Albert Museum in London. He has a distinctive style, and the fabrics he designs are cheerful and explode with colour. In fact, Kaffe Fassett is all about colour. His colour-combinations are inspired by nature's wealth of colours, oriental ceramics and paintings. The jumpers he designs for Rowan Yarns may contain up to 60 colours! It's truly amazing. I used one of Kaffe Fassett's fabrics for this new make-up bag. As you can see it's colourful and just the right thing to brighten up a dreary winter's day. I altered the shape, so that more of your make up and other essential utensils may fit inside! I am also offering to ship this bag 'flat-packed' to reduce the postage. I got this piece of valuable advice from my blogging friends rkdsign88 and The sewing mom. I've alerted my customers to this alternative type of shipping in my shop and I hope it will help to increase sales.

Saturday, October 25

Pink Peony

Slightly larger make up bag to show off this gorgeous fabric! Bright pink peonies on an ivory background with pale green dots. This fabric really makes a statement. The lining has a scallop pattern in matching pale green on ivory. Front pocket handy for keeping combs, nail files or hairclips! Measures approx. 16 x 14 x 7.5 cm or 6.5 x 5.5 x 3 inches. This unique bag is available in my online shop. Check it out here.