
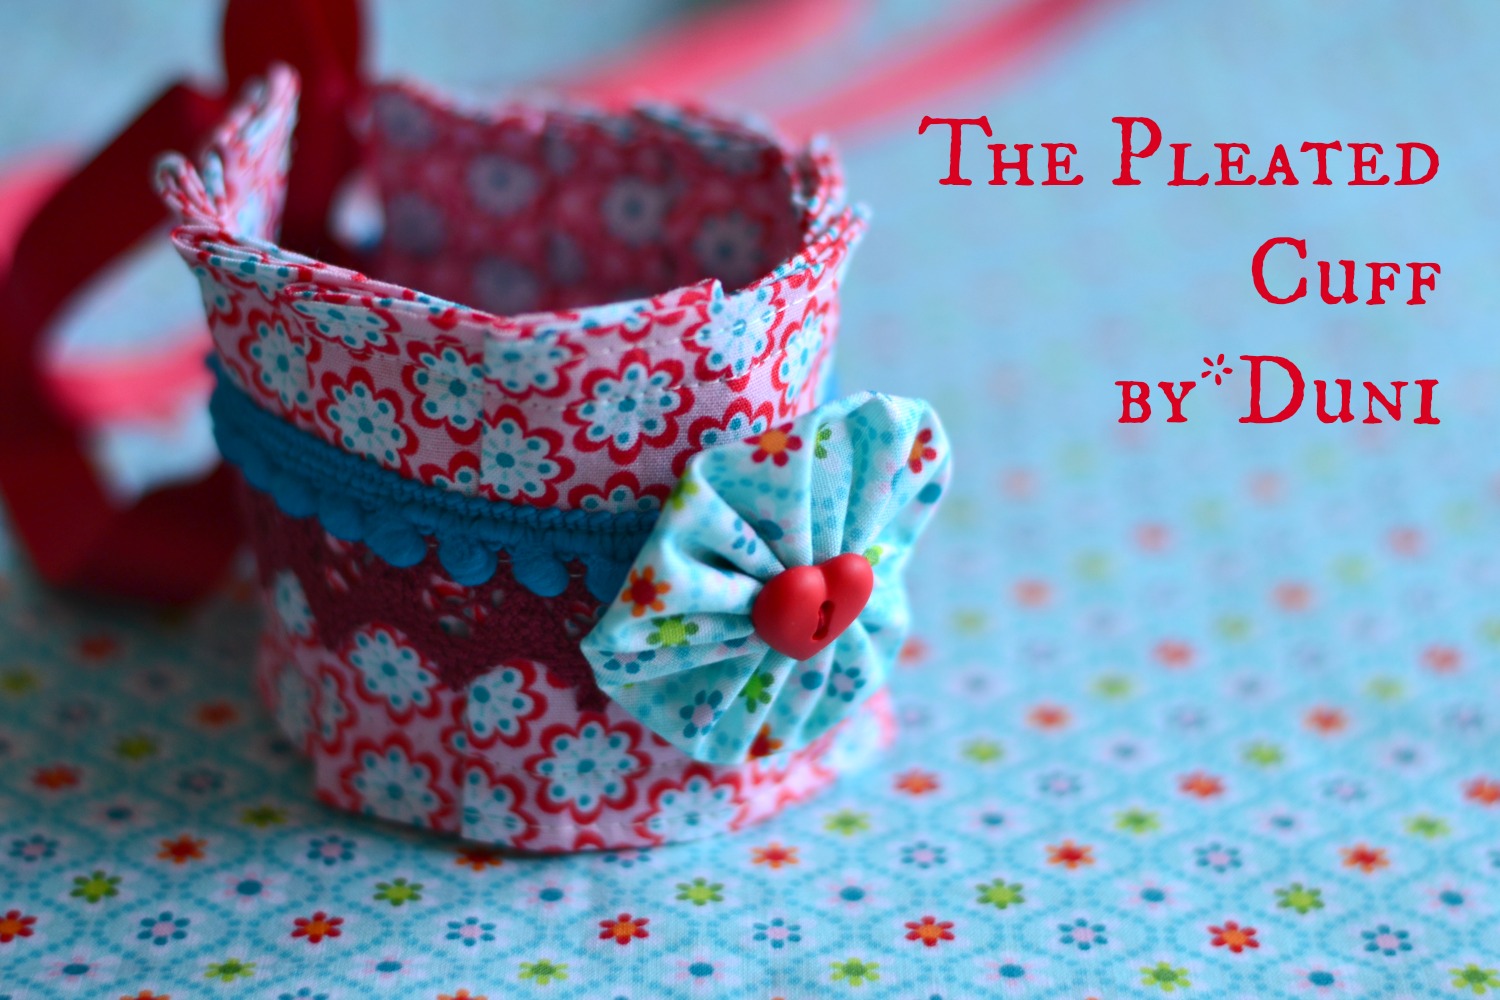
 |
| pleated cuff with fabric yoyo |
 Hello everybody! I had some of the pretty fabric by Swafing left over from when I did my huge DIY project a three weeks ago. I wanted to use up some of it, so I designed and made this funky pleated cuff, which some of my readers who have seen this on Facebook requested a tutorial! So, from my rough sketches I worked out a tutorial which I'd like to share with you today!
*
Hallo, ihr Lieben! Von meinem großen DIY Projekt hatte ich noch den hübschen Julia-Stoff von Swafing übrig...daraus habe ich ein von mir entworfenes, gefältetes Stoffarmband genäht, welche einige Leser bereits bei Facebook gesehen und mich nach einer Anleitung gefragt haben! Also habe ich mich an die Arbeit gemacht und heute zeige ich Euch wie es geht!
You'll need
2 strips of cotton fabric: 3.5 " wide and approx. 22" long (the length depends on your wrist circumference.) This will fit a regular wrist.
=> TIP - try out the pleating with a strip of paper first to determine the length.
Ribbon for tying, decorative trims, button for the yoyo
Ihr braucht
2 Stoffstreifen aus Baumwolle: 8 cm breit und ca. 56 cm lang (die Länge hängt vom Handgelenkumfang ab). Dies ist für eine Standardgröße berechnet.
=> TIPP - mit einem Papierstreifen die Fältelung vorher ausprobieren.
Satinband zum Binden, Borten, Knopf für Yoyo
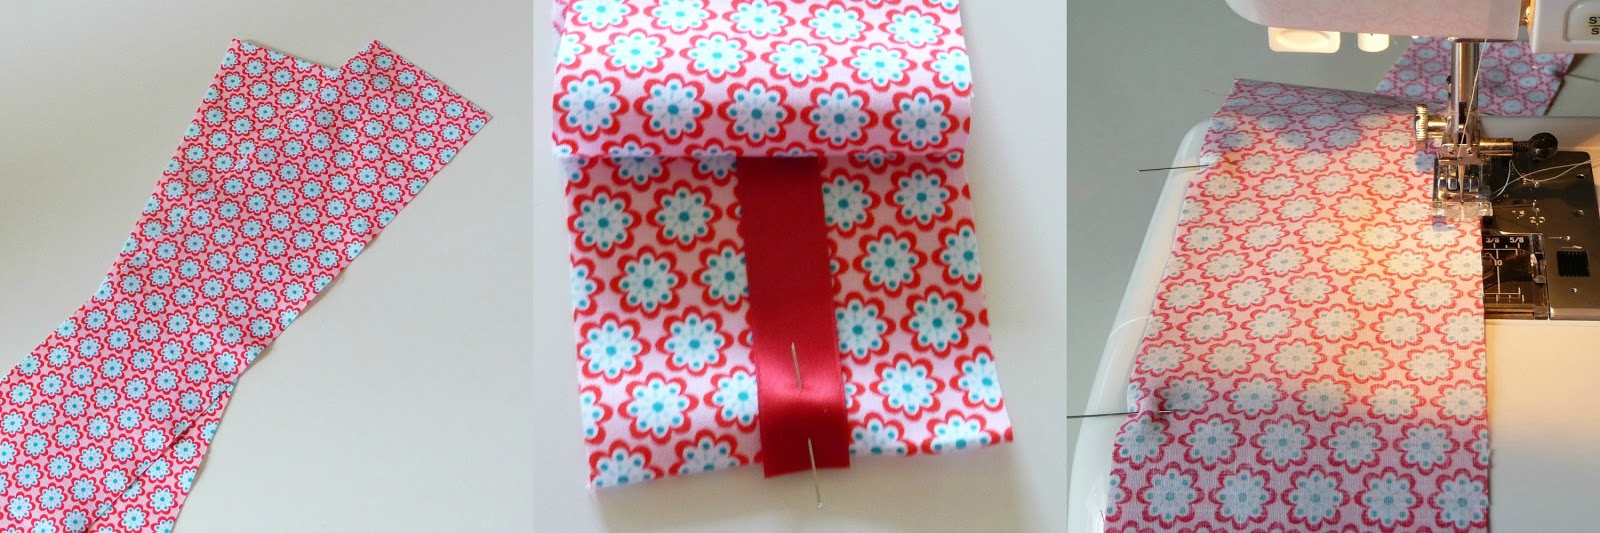
Step One // Schritt Eins
Lay the fabric strips right sides together. Sandwich two pieces of satin ribbon (enough to tie a bow) at either end and pin all around leaving a 4 inch gap on one long side. Stitch using a narrow seam. Turn right side out and iron flat.
*
Die Stoffstreifen rechts auf rechts legen. An jedem Ende ein Stück Satinband (genug um daraus eine Schleife zu binden) mittig dazwischen legen und rundherum mit Stecknadeln fixieren. Auf einer langen Seite eine 10 cm Öffnung zum Wenden lassen. Schmalkantig steppen. Wenden und bügeln.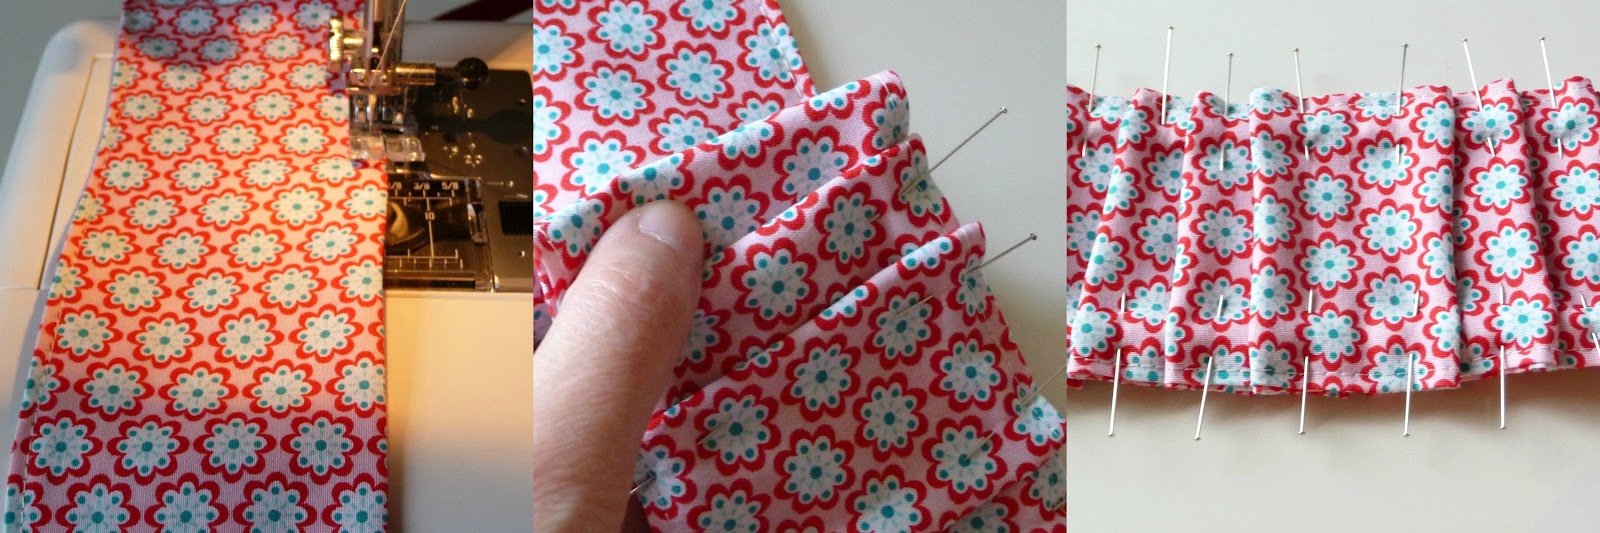
Step Two // Schritt Zwei
Top stitch all around using a 0.3 inch seam. Now comes the fiddly bit :) Starting from the middle, make two pleats either side about 1.5 inches wide. Continue pleating and pinning down both sides until you reach both ends. The pleating will vary slightly depending on your wrist circumference and how narrow or wide you'd like your pleats to be. Try it out before stitching down the pleats! I simply eyeballed it. Secure the pleats by stitching down on both long sides approx. 0.5 inches from the edge. Iron.
*
Stoffstreifen ringsherum knappkantig absteppen, dabei Öffnung schließen. Jetzt kommt der kniffelige Teil :) Von der Mitte aus rechts und links den Stoff in eine breite Falte legen (ca. 3 cm). Dann Streifen bis zum jeweiligen Ende in überlappenden Falten legen. Diese Maße weichen je nach Handgelenkumfang leicht ab. Am besten vorher ums Handgelenk legen und eventuell die Fältelung enger oder lockerer machen. Wenn Ihr zufrieden seid, den Streifen auf jeder Seite 1 cm vom Rand der Länge nach absteppen. |
| PomPomborte und Spitze von Union Knopf |
Step Three // Schritt Drei
Now you can embellish the cuff with pretty trims and lace! Once you've stitched those down make a fabric yoyo and sew it on by hand to the center pleat.
*
Nun könnt Ihr nach Belieben Borte und Spitze aufnähen! Zuletzt noch ein Stoff-Yoyo fertigen und mit Handstichen mittig an das Stoffarmband nähen.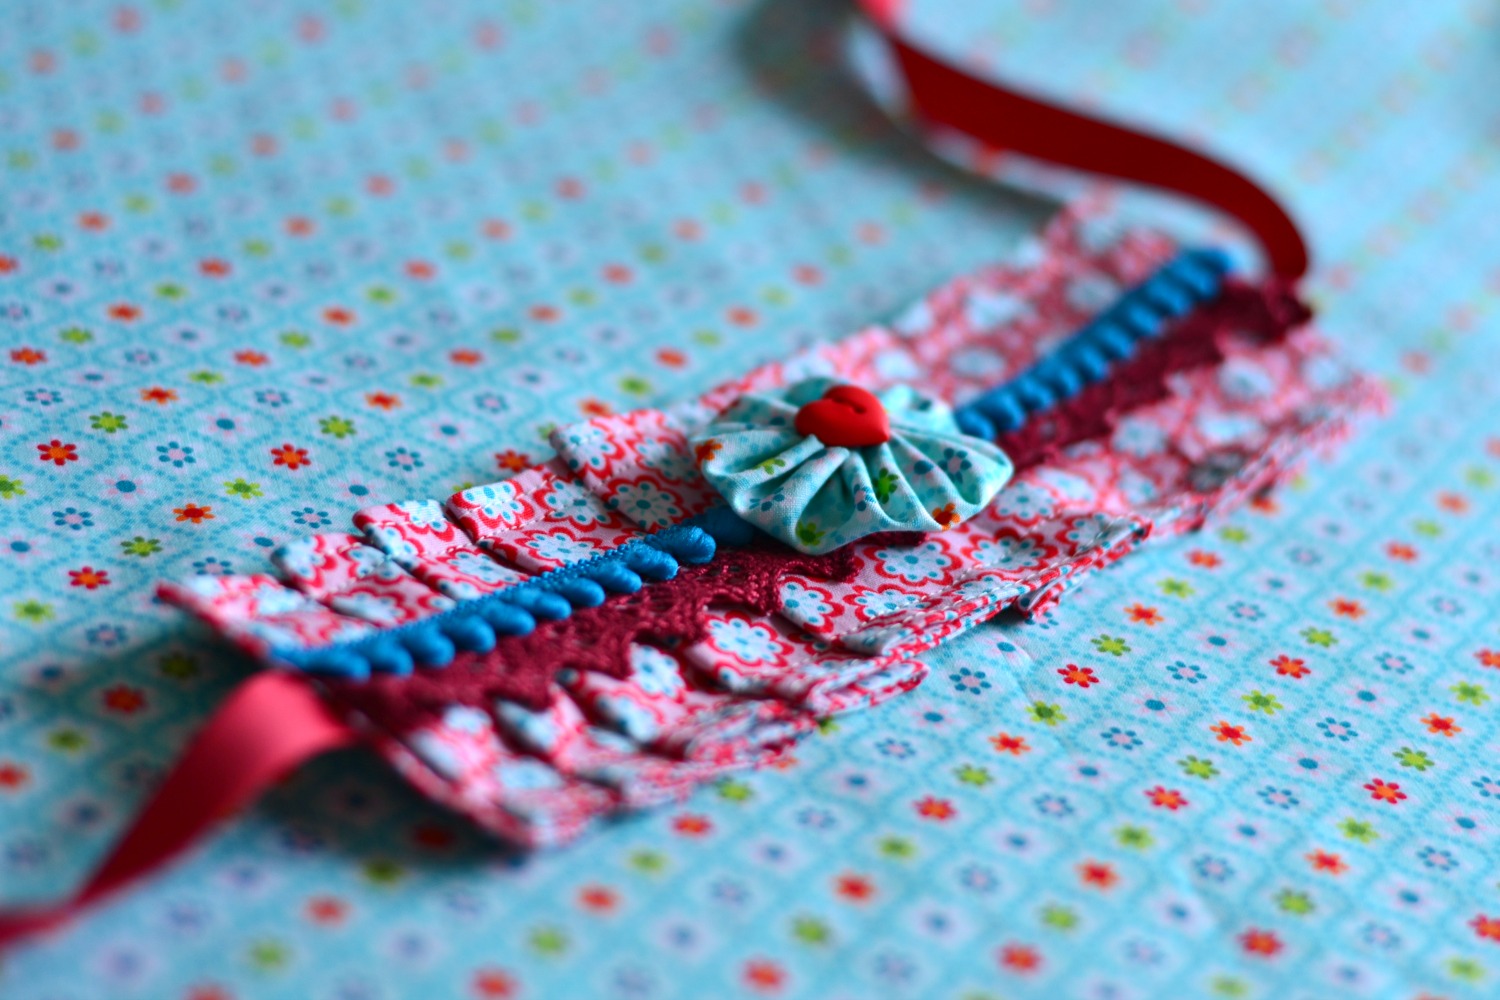
♥
Happy Sewing!



 //
//