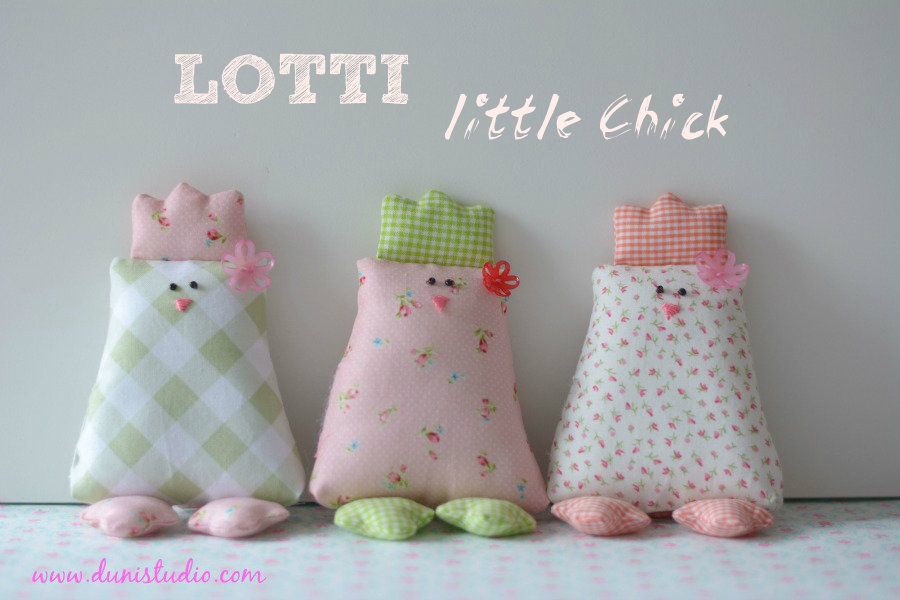
In nur ein paar Wochen ist schon Ostern! Und da ich letztes Jahr mit meinen Osterbasteleien spät dran war gibt es heute schon eine kleine DIY Idee für Euch ~ Lotti, das kleine Küken :) Schwierigkeitsgrad: ✄ ✄ (mit Näherfahrung)
*
In just a few weeks it's Easter! Last year I was so behind that I failed to post some Easter crafts. So here's my little DIY idea for you today ~ Lotti, the little chick :) Sewing level: ✄ ✄ (intermediate)
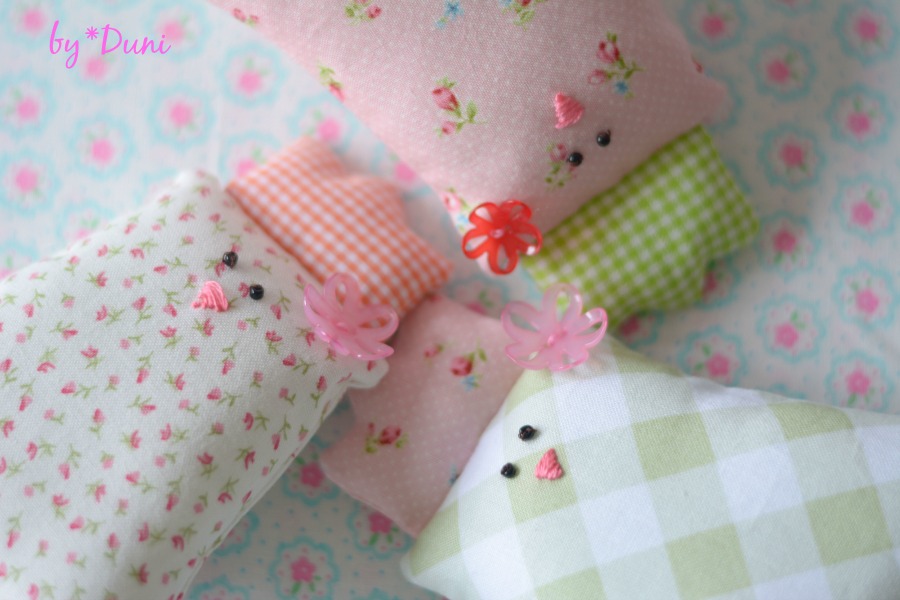
Lotti, das kleine Küken ist ca. 17 cm groß, und trägt eine hübsche Blume im "Haar". Um solch ein Kücken herzustellen benötigt Ihr meine Vorlage welche Ihr Euch
hier herunterladen könnt.
Hinweis - dies ist kein Kinderspielzeug. Nur zur Oster Deko zu verwenden. Sicher stellen, dass Euer Drucker bei 100% eingestellt ist und darauf achten, dass die vollständige Seite gedruckt wird!
*
Lotti, the little chick is about 17 cm tall and wears a cute flower in her "hair". In order to make your very own you will need to download my template right
here Important - this is not a kids toy. Use as Easter decoration only. Make sure your printer is set to 100%. Some printers require defining page area to be printed. Please print the entire page. Should you run in to difficulties just drop me a line via email.
Niedliche Blumenknöpfe von der
Firma Union Knopf. Die Knöpfe aus Kunststoff kommen in zwei Größen und diversen Farben. Damit lassen sich unzählige Projekte verzieren.
*
Very cute flower buttons kindly provided to me by the nice people over at
Union Knopf. The buttons come in two sizes and various colours and are the perfect embellishment for sewing projects.
Für ein Küken benögt Ihr:
Farblich passendes Nähgarn
Zwei kleine schwarze Perlen für die Augen
Rosa Stickgarn und Sticknadel
Füllwatte
Ein Blumenknopf
Stoffmarker
Textilkleber
Nähmaschine, Basic Nähutensilien
✄✄✄
For one chick you'll need:
Fabric scraps (cotton) - I recommend small prints
Matching thread
Two black seed beads for the eyes
Pink floss and embroidery needle
Fiberfill
Flower button
Disappearing ink fabric marker
Fabric glue
Sewing machine and basic sewing supplies
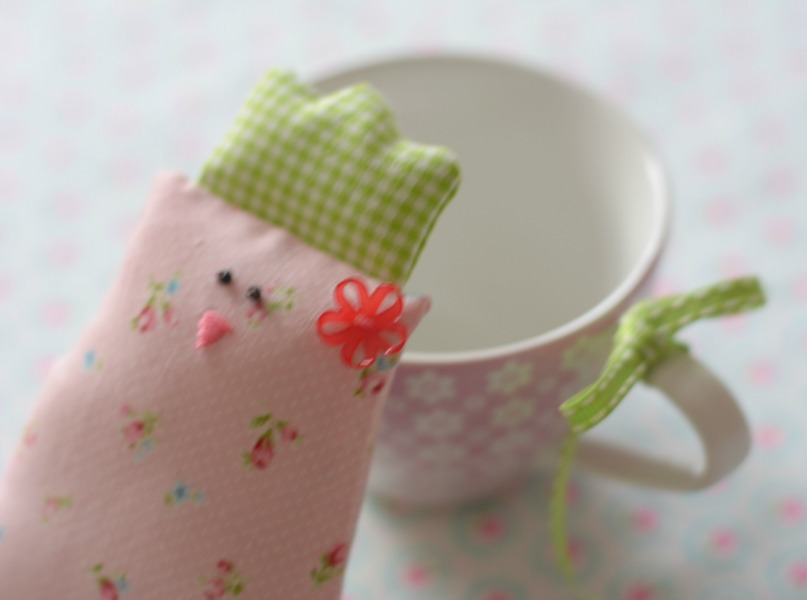
Lotti hat ein niedliches kleines Stummelschwänzchen
*
Lotti has a cute little stub tail
Und so wird's gemacht:
Zunächst die Teile Kamm, Körper, Fuß und Schwanz von der Papiervorlage kopieren und ausschneiden. Vom (gebügelten) Stoff die Körperteile zuschneiden. Auf einem Körperteil die Augen aufnähen. Zwei Fäden des Stickgarns entnehmen und einen kleinen dreieckigen Schnabel sticken. Die Positionierung könnt Ihr der Vorlage entnehmen. (Bilder 1 + 2)
How to make:
First, cut out the paper pieces - comb, body, foot, tail. Cut two body pieces from (ironed) fabric. Sew on the eyes. Separate two threads from the floss and stitch a triangular beak. Check the template for correct placement. (pictures 1 + 2)
Weiter...
Auf einer gedoppelten Lage Stoff, rechte Seite innen das kleine Schwänzchen, den Kamm und die Füsschen mit dem Stoffmarker nachzeichnen. Entlang dieser Linien nähen, aber
nicht die gestrichelte Linie. Die muß zum befüllen offen bleiben. Mit einem knappen Rand von 3 mm ausschneiden. Das Schwänzchen
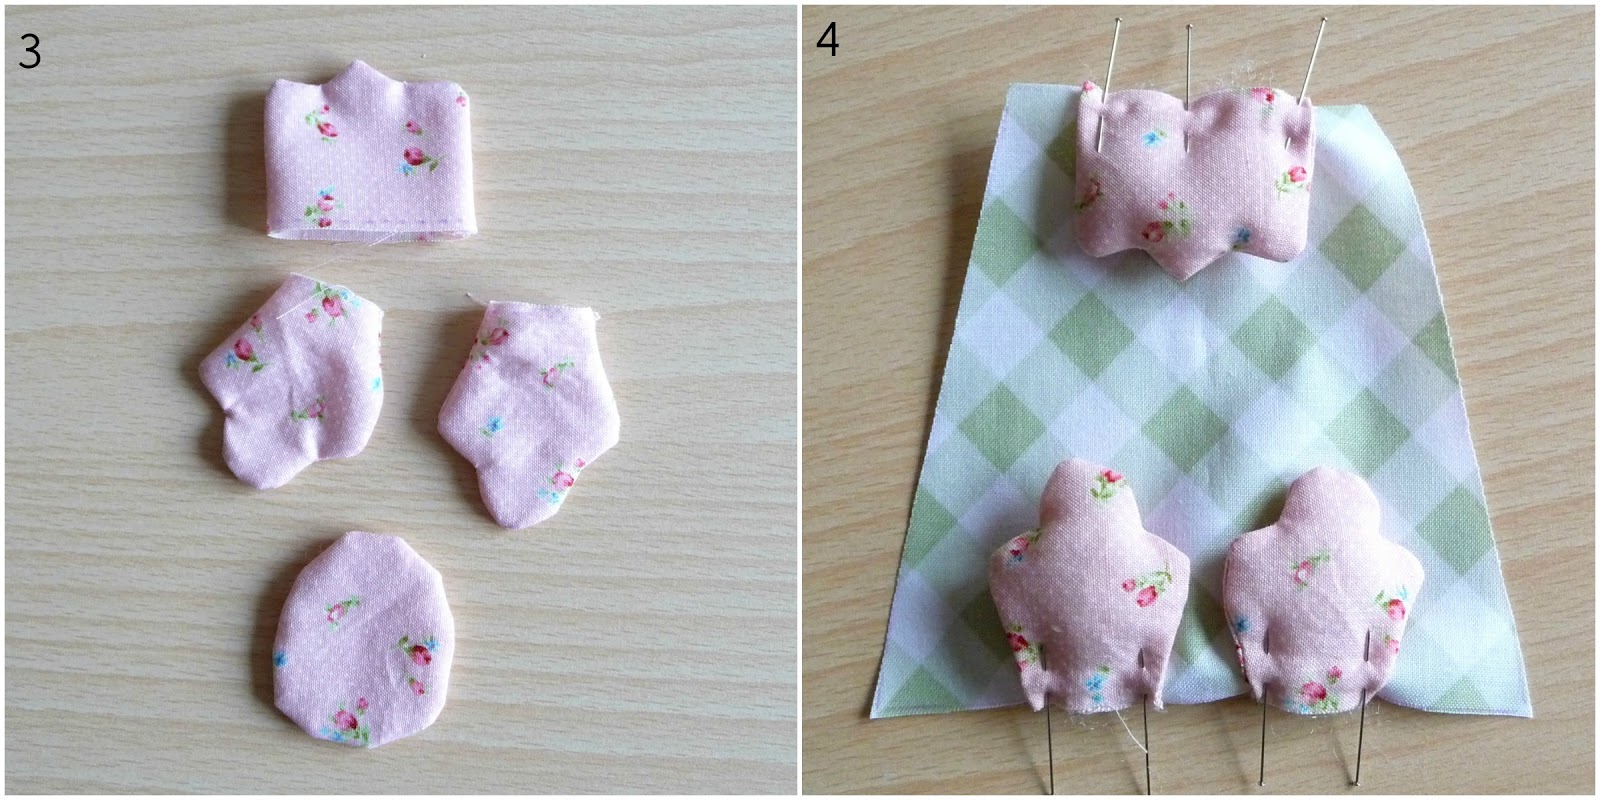
nur durch eine Lage Stoff mit einer spitzen Schere entlang der gestrichelten Linie einschneiden und durch die Öffnung wenden. Restliche Teile auf rechts wenden. Alle Teile bügeln. (Bild 3)
*
Cont'd...
Take a piece of fabric and fold in half, right sides facing. With fabric marker trace the tail, the itty-bitty feet and the comb. Sew along these lines, but leave dashed line open for turning. To turn the tail make a snip along the dashed line with a sharp pair of scissors
through one layer only and turn through opening. Turn all pieces right side out and iron. (picture 3)
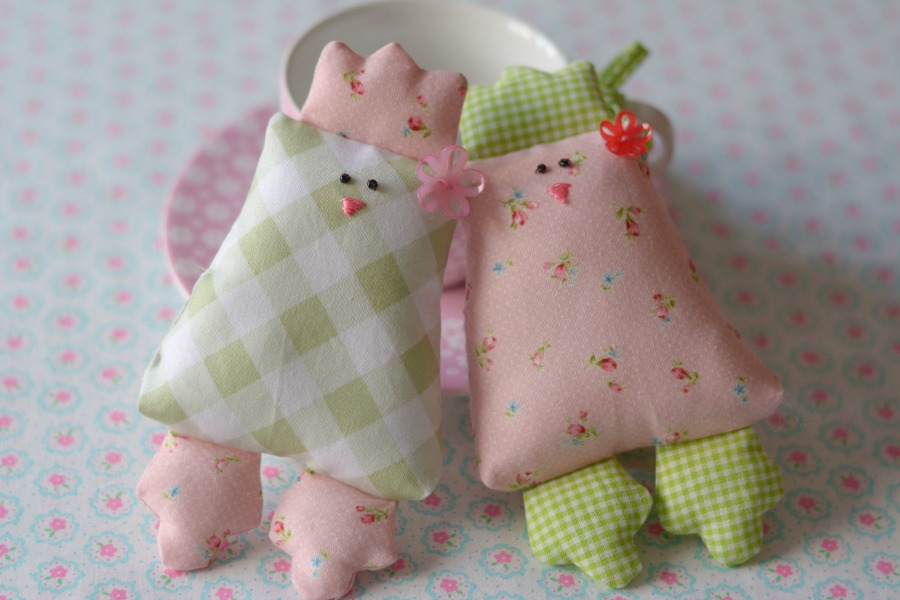
Nun die kleinen Teilchen mit Füllwatte füllen. Da sie so klein sind braucht man wirklich nicht viel. Am Kammteil die Mitte einzeichnen. Kamm-Mitte trifft auf obere Mitte des Körperteils. Füße jeweils 1 cm von der unteren Mitte entfernt feststecken. (siehe Bild Nr. 4)
*
Now fill the small pieces with fiberfill. As they are so small you really don't need much. Mark the center of the comb and match with center of body part at the top edge. Space the little feet 1 cm either side from the bottom center. (see picture 4)
Und weiter geht's...
Das zweite Körperteil rechts auf rechts auf das erste legen. Ringherum feststecken, dabei an einer Seite (wie auf der Vorlage eingezeichnet) eine 4 cm Öffnung zum Wenden lassen. 1 cm breit zusammensteppen. Die Ecken am Kopfende kurz vor der Naht abschneiden. Die Nähte der beiden Ecken am unteren Ende aufeinanderlegen, so dass ein flacher Boden ensteht. 1 cm von der Ecke markieren (Bild 6) und entlang dieser Linie nähen. Überhang abschneiden.
Let's continue...
Place the second body part right sides facing on the first body part. Pin all around, but leave a 4 cm gap on one side (as indicated on the template) for turning. Stitch together with a 1 cm seam allowance. Clip top corners. To make a flat bottom fold the corners at the bottom so that the seams meet. Mark 1 cm from corner and sew along this line (picture 6). Cut off excess.
Fast fertig :)
Nun das Küken vorsichtig durch die Öffnung auf Rechts wenden. Leicht bügeln. Den Körper mit Füllwatte füllen und die Öffnung mit ein paar Handstichen schließen. Dann das kleine Stummelschwänzchen mit etwas Textilkleber hinten aufkleben,gut andrücken und trocknen lassen. Zum Schluß den Blumenknopf annähen!
Almost done :)
Gently turn the chick right side out through the side opening. Iron lightly. Fill the body with fiberfill and close the opening with a couple of hand stitches. Then put a dollop of fabric glue on the little stub tail and attach to the backside. Leave to dry. And lastly sew on the flower button!
Hurrah, Eure erste Lotti ist fertig! Wenn Ihr mögt teile ich gerne Eure Kreation bei Pinterest. Schickt mir einfach ein Foto oder Link an meine Email! Bitte beachtet, dass meine Original Vorlage nur für den privaten Gebrauch und nicht für kommerzielle Zwecke gedacht ist. Vielen Dank für Euer Verständnis.
✄
Yay, you made a little Lotti chick! I'd love to see yours - simply send me a photo or link and I will upload to my
Easter Pinterest board!
Please note that my original template is for personal use only. Thanks for understanding.
xoxo








 //