Showing posts with label project. Show all posts

Friday, January 31

Sneak Peek - DIY Blogger Contest

Hi there, lovelies!            Hallo, Ihr Lieben!


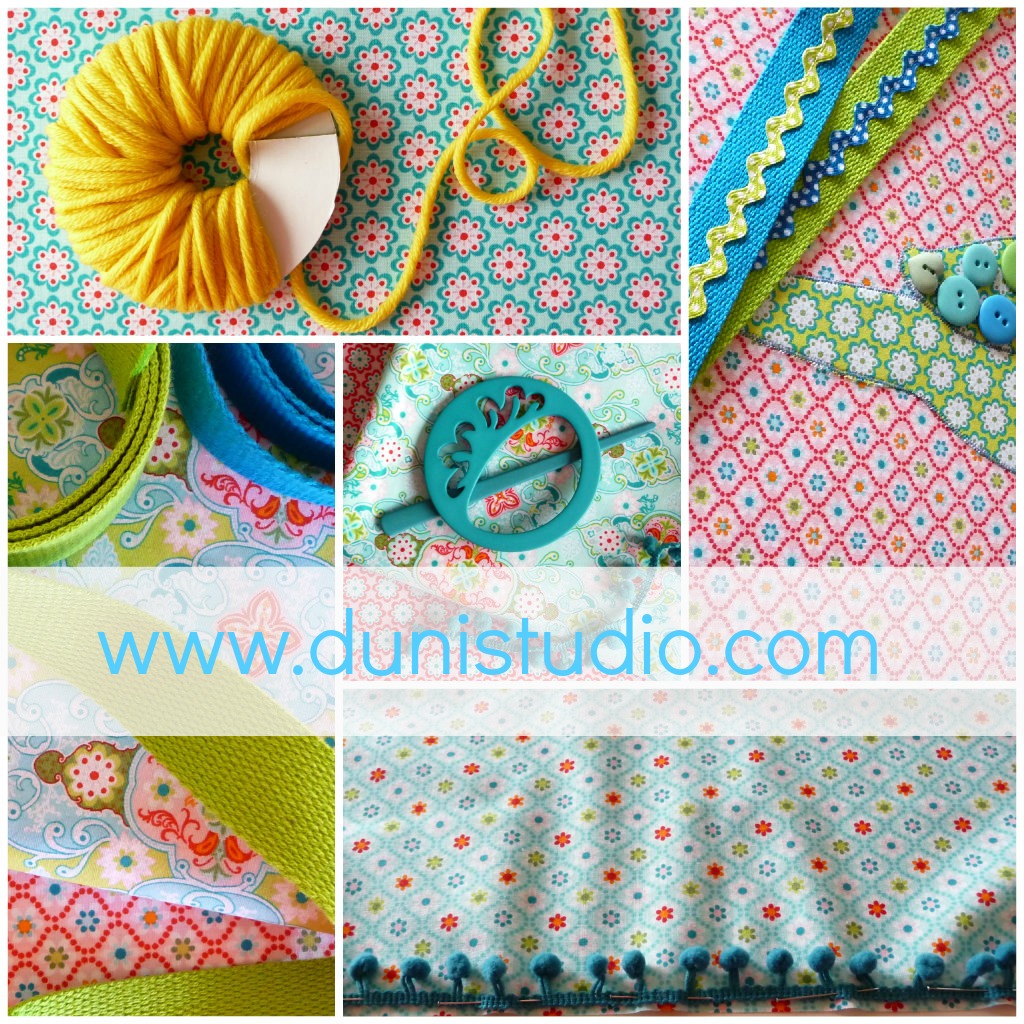
Ever since I found out I'm a finalist in a nationwide DIY Blogger Contest, hundreds of ideas have been swirling round in my head. I've been jotting down those that might work and sketching a few designs. Also, I've been sorting through the box full of buttons, which actually contained more than buttons - I discovered this funky teal colored accessory (see middle photo). And this inspired my entire project. I now have a theme = Frida & Carneval :) I will reveal a little more next week...stay tuned!
*
Seit ich erfahren habe, dass ich Finalistin beim DIY Blogger Contest bin, schwirren hunderte Ideen durch meinen Kopf. Einige davon habe ich mir notiert und entsprechende Designs skizziert. Und natürlich habe ich mich ausgiebig mit den Stoffen und Knöpfen beschäftigt. In der Box mit den Knöpfen befanden sich nämlich noch weitere schöne Dinge, z.B. Schnallen, Verschlüsse und dieses wunderschöne, türkisfarbene Accessoire (siehe oben mittiges Foto). Dies war letztendlich die Inspiration für mein komplettes Projekt. Nun habe ich ein Thema = Frida & Karneval :) Nächste Woche verrate ich ein wenig mehr...bis dahin!

Happy Weekend!
xoxo

Knöpfe/Mode Accessoires von Union Knopf
Stoffsortiment von Swafing Stoffe
Wolle von Lana Grossa

Monday, August 29

Bestseller

The bestselling item in my Etsy shop are my sleepmasks! They are selling faster than I can re-stock them. The funny thing is most people think these are easy to make. Actually, there's quite a bit of handsewing involved plus sewing the rounded edges takes a lot of practice.
Der Bestsellerartikel in meinem Etsy Shop sind die Schlafbrillen! Ich kann sie gar nicht so schnell nachnähen, wie sie sich verkaufen. Viele meinen die sind "mal eben schnell" genäht. Tatsächlich müssen einige Nähte per Hand genäht werden und die Rundungen bedürfen eine Menge Übung. Nicht zuletzt bin ich Perfektionistin, und da muss nähtechnisch wie optisch einfach alles stimmen!

Even though I love sewing these and other items, there comes a time when I suddenly feel inspired to try something entirely new! I was looking for something up in the attic when I stumbled across these old run-of-the-mill cabinets with wheels originally used for storing video and DVD recorders...
Obwohl ich das Nähen über alles liebe probiere ich gern mal etwas Neues aus! Neulich auf dem Dachboden fand ich diese zwei schlichten Rollschränkchen, ursprünglich zur Aufbewahrung von Videorekorder, DVD & Co...


...so with the help of my hubby I cleaned them, removed the wheels, sanded and primed them, then added two coats of acrylic paint in pure white.
...mit Hilfe von meinem Mann wurden sie geputzt, angeschliffen und grundiert. Anschließend wurden noch die Rollen entfernt. Zuletzt bekamen sie zwei Farbanstriche in reinweiß.


Voilà! My new cabinet now located upstairs in my own personal reading corner. The perfect place to keep my favourite magazines and books at hand! I'm very pleased how they turned out :)
Die zwei Schränkchen haben nun ihren perfekten Platz in der Dachstube (mein Rückzugsort und bevorzugte Leseecke) gefunden, meine liebsten Bücher und Magazine immer in Reichweite. Ich bin zufrieden :)

Wednesday, August 11

So much to do, so little time!

I haven't been online much these last couple of days as my BFF was here for a whirlwind visit and we had so much catching up to do. Oh, how time flies when you're having fun!

In between I developed a new pattern for this gorgeous Vintage 70s fabric I had found a while ago. I'm always hesitant when it comes to cutting original Vintage fabrics, but I think I'm ready to cut it any day now...I'm sure my fellow seamstresses out there will attest to this issue!
Note the handmade pincushion made from scraps and a fabric yoyo and button. Cute and functional!

I also discovered this cool tutorial on how to make your own dressform according to your actual measurements using only an old T-shirt and some duct tape on BurdaStyle. It's in German, but you can follow the how-to's very easily by clicking through the photos. Trust me, it is very easy to make. With the help of a good friend you'll have your finished dressform at the end of the day!

Sometime last week I made a fabric belt using a stripy satin and D-rings. Looks good with light-weight pants. The belt is adjustable and fits sizes S to M. I might make another one for sizes M to L. I didn't get a chance to make photos, because it's been grey and rainy for days.


Bloggers using Blogger - did you notice the new spam detection function? Finally!!! For months now I have been getting weird, ridiculous and annoying spam comments. One guy was using my blog as his personal promotion page. Not to mention all those Chinese, Japanese and Korean spam comments where the only word I understood was 'Viagra'. Reject, Reject, REJECT!!! So, thanks Blogger for this new and necessary function!

Oh, and I hope the skies clear this evening, because tonight a meteor swarm is supposed to be visible and I don't want to miss the opportunity to wish upon a shooting star ;-)

Friday, June 19

Three tiered lavender-filled cushion - TUTORIAL

Yay! This is my very first tutorial. I'm going to show you how to make the lavender cushion you see above. This project is suitable for beginners with some sewing experience. Don't worry - it's not difficult. A little handsewing will be necessary toward the end, but it shouldn't be a problem ;-) I took quite a number of photos; I hope Blogger will not cause me any problems. So, let's get started shall we? Basic tools you will need: Sewing machine Sharp fabric scissors Ruler, cutting mat and rotary cutter (you can use scissors, if you don't have one) Needle, colour-coordinated thread, straight pins Magic Marker Pen (ink disappears and leaves no trace on fabric) Round-tipped chopstick (for pushing out corners) Polyfill Fibre (stuffing used to make soft toys, plushies etc) Dried lavender (store bought or homegrown, if you have the time) Plastic funnel (optional) Your choice of fabric. I find 100% cotton works best. You can mix and match colours or use only solids. Here I used a lavender-themed combination: script, fine line and solid. You will also need some matching ribbon to tie up the cushions later on. Start by making three templates for each size cushion. Unfortunately it's not visible in my photo, but the cushions are three different sizes, the largest (bottom) measuring about 10 x 10 cm (approx. 4 inches) when finished. As you can see in the photo below, I have added a small tab on one side. This is the opening for turning and for filling up with lavender later on. I find the little extra bit of fabric helps when sewing up the opening, because when filled the cushion will be 'puffy', so you have a little fabric to hold on to.
Large - 11.5 x 11.5 cm (approx. 4.5 inches) Medium - 10.5 x 10.5 cm (approx. 4.1 inches) Small - 9.5 x 9.5 cm (approx. 3.8 inches)
Fold the first fabric in half, right sides facing. Now draw the square including the tab onto the reverse side like this: Now cut out the shape through both layers using your rotary cutter or sharp fabric scissors. Next pin the edges, still with right sides together, like so: Start sewing from one tab point (backstitch here) all around the entire square up until the other tab point (backstitch here). I used a narrow seam of 0.5 cm (approx. 1/4 inch) Turning fabric at corners - leave the needle lowered in fabric and lift the foot. Turn, lower foot. Continue sewing: When finished, remove all pins. I like to pull one loose thread onto the other side and secure with a knot, but you can skip this step. I just like it tidy, that's all :) Next, use a pair of sharp fabric scissors to cut off the corners. This reduces bulk when turning and makes neater corners. With the aid of your chopstick or other blunt stick turn your cushion right side out carefully. Make sure to push in the corners to make a nice shape: Iron your cushion on a cotton setting. Now comes the fun part! You can start filling your cushion with little bits of Polyfill fibre. Push into the corners and along the sides, but leave some space in the middle. Aim for a soft shape - don't overstuff: When you are satisfied with your shape, you can start filling it up with dried lavender. You can buy this in most craft shops, in the garden center or online. Fill up your cushion with the help of a funnel or use a small spoon. Seal off with some fibre on top: Now comes the tricky bit. You will need to slip stitch the opening closed. See? This is why you need that tab! Just go slowly and you'll be fine. If you still find this bit too fiddly, you can always use a simple overlapping stitch. Proceed in exactly the same way for the medium and small cushions. Now you have your three cushions ready to be stacked one on top of the other. Using your favourite ribbon (about 1 meter should be enough) wrap up your cushions like a parcel and tie with a bow on top. Finished! These make great gifts and smell wonderful! Keep one in your bathroom, on your bedside table or in your wardrobe to keep away moths. I hope you liked this tutorial. If you have any questions, I'll be glad to help. Just email me at dunibagz (at) freenet (dot) de I had so much fun doing this tutorial. I'm planning some more in future, for intermediate and advanced sewers. Hope to see you back!