
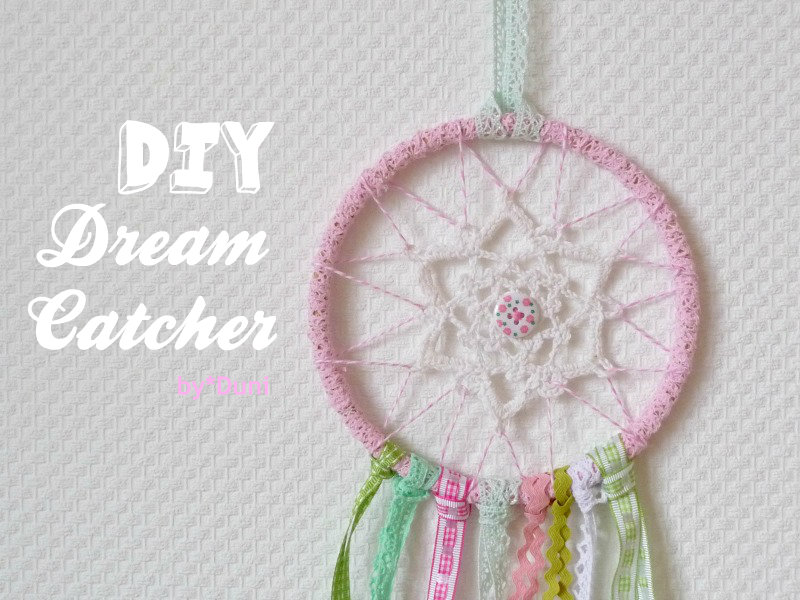
In my effort to dispel the winter blues I've been creating a lot of Spring-themed items! I was happily surprised when the good people at Union Knopf, a leading German manufacturer of buttons and misc. haberdashery sent me a box full of trims and laces in lovely pinks and greens :)
Since I wanted to utilize as many ribbons and trims as possible I came up with this shabby chic dream catcher DIY idea! This project can easily be done with school-age kids.
*
Allmählich bin ich des Winters überdrüssig. Umso mehr habe ich mich gefreut als ich neulich von den netten Kollegen von der Firma Union Knopf ein Paket mit sämtlichen frühlingshaften Bändern und Spitzen bekommen habe. Spontan kam mir diese DIY Traumfänger Idee, da ich so viele Bänder wie möglich in einem Projekt benutzen wollte! Dieses Projekt ist auch für Schulkinder geeignet.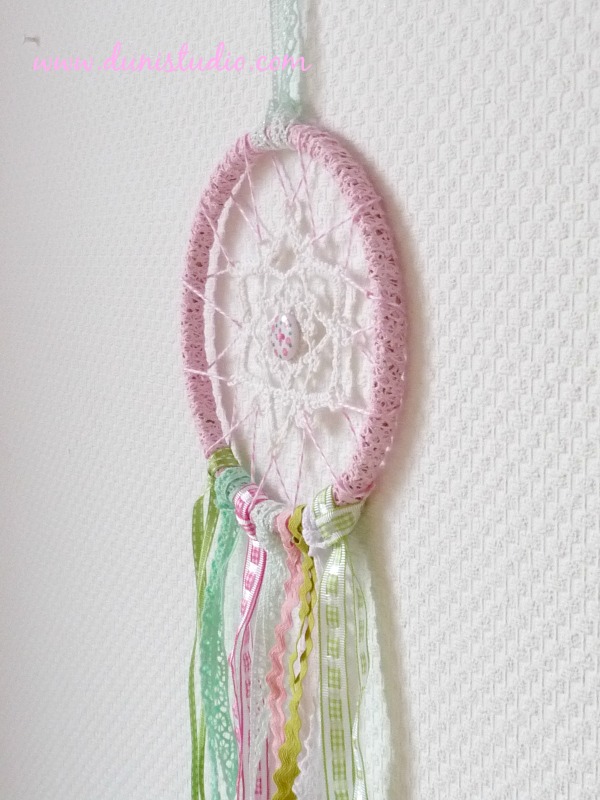
You will need
one Ø 16 cm (about 6") ring (the inside ring of an embroidery hoop works perfectly)
one crochet doily to fit in the center of the ring
one button
twine
a needle with a large eye (i.e. wool needle)
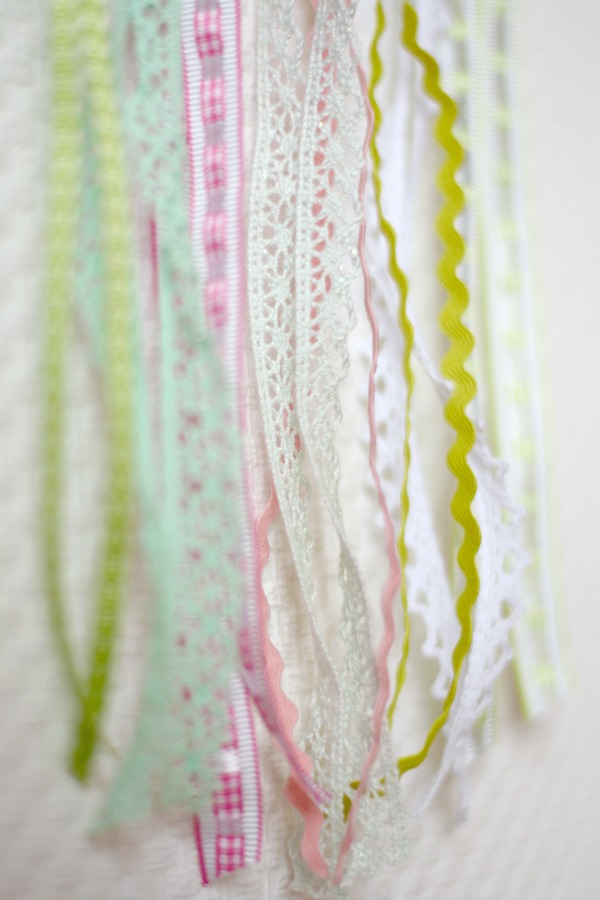
assortment of trims, lace, ribbons, rick rack (picture 1)
tape measure
*
Ihr benötigt
ein Ø 16 cm Ring (z.B. Innenring eines Stickrahmens)
ein/e Häkelstern- oder blume
ein Knopf
Kordel
Nadel mit großem Öhr (z.B. Wollnadel)
verschiedene Bänder, Spitze, Borten, Zackenlitze (Foto 1)
Maßband
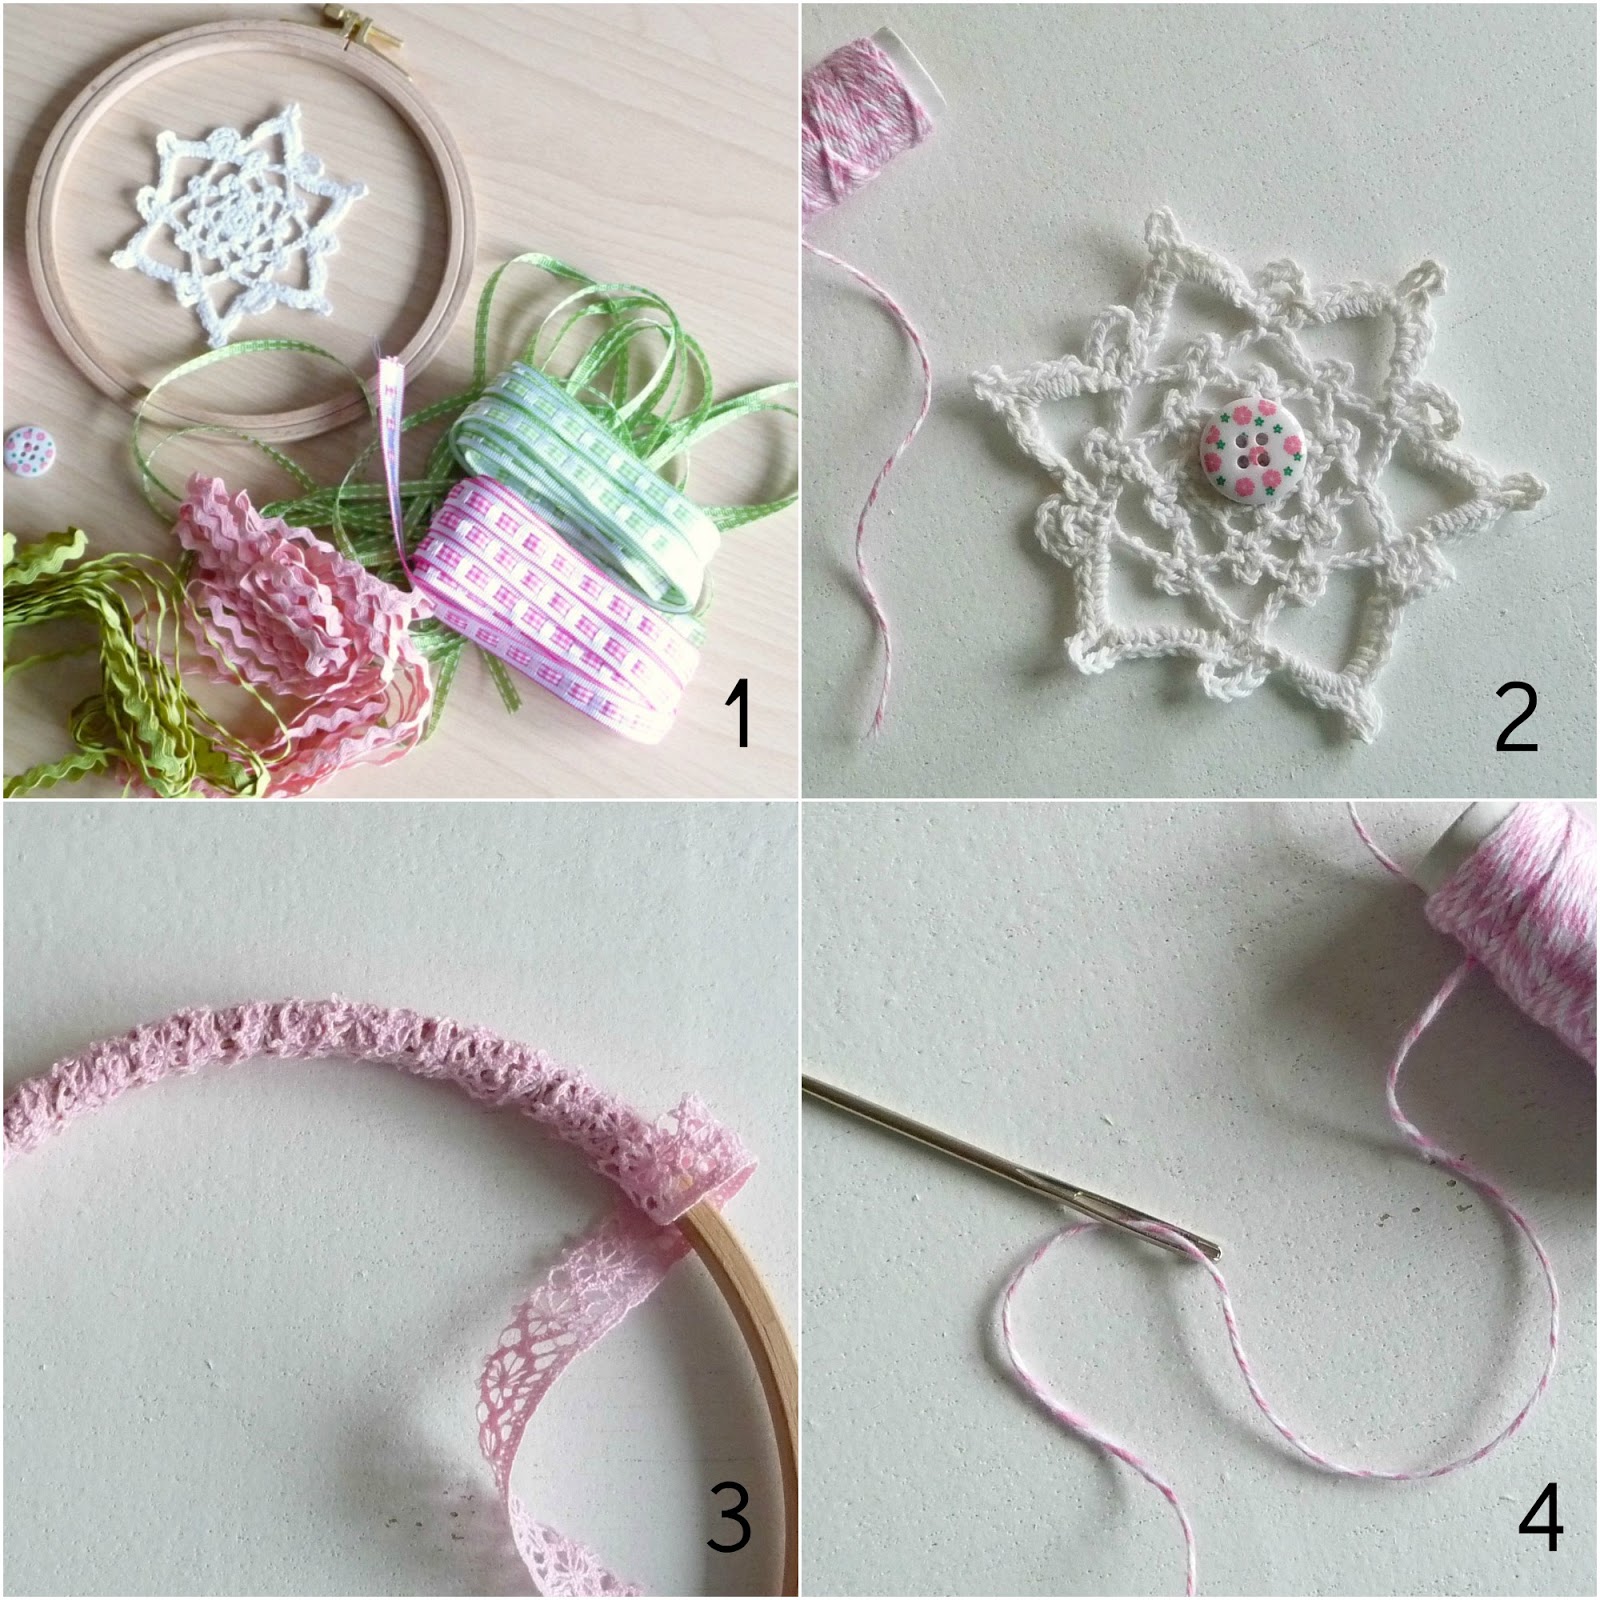
The pictures aren't great as it's been gloomy here for ages. Sorry about that! Anyway, start by sewing on the button to the middle of your crochet doily (picture 2). Next, cut a length of lace and wind it round and round the hoop until it is covered completely (picture 3). You may want to add a dab of glue to the beginning and end to secure. Thread the needle with the twine (picture 4).
*
Da es hier seit Wochen düster ist sind die Fotos entsprechend dunkel. Tut mir leid! Zunächst den Knopf mittig am Häkelstern oder der Häkelblume annähen (Foto 2). Dann ein langes Stück Spitze abschneiden und den Ring damit komplett umwickeln (Foto 3). Eventuell am Anfang und Ende mit einem Klecks Leim fixieren. Die Kordel in die Wollnadel einfädeln (Foto 4).
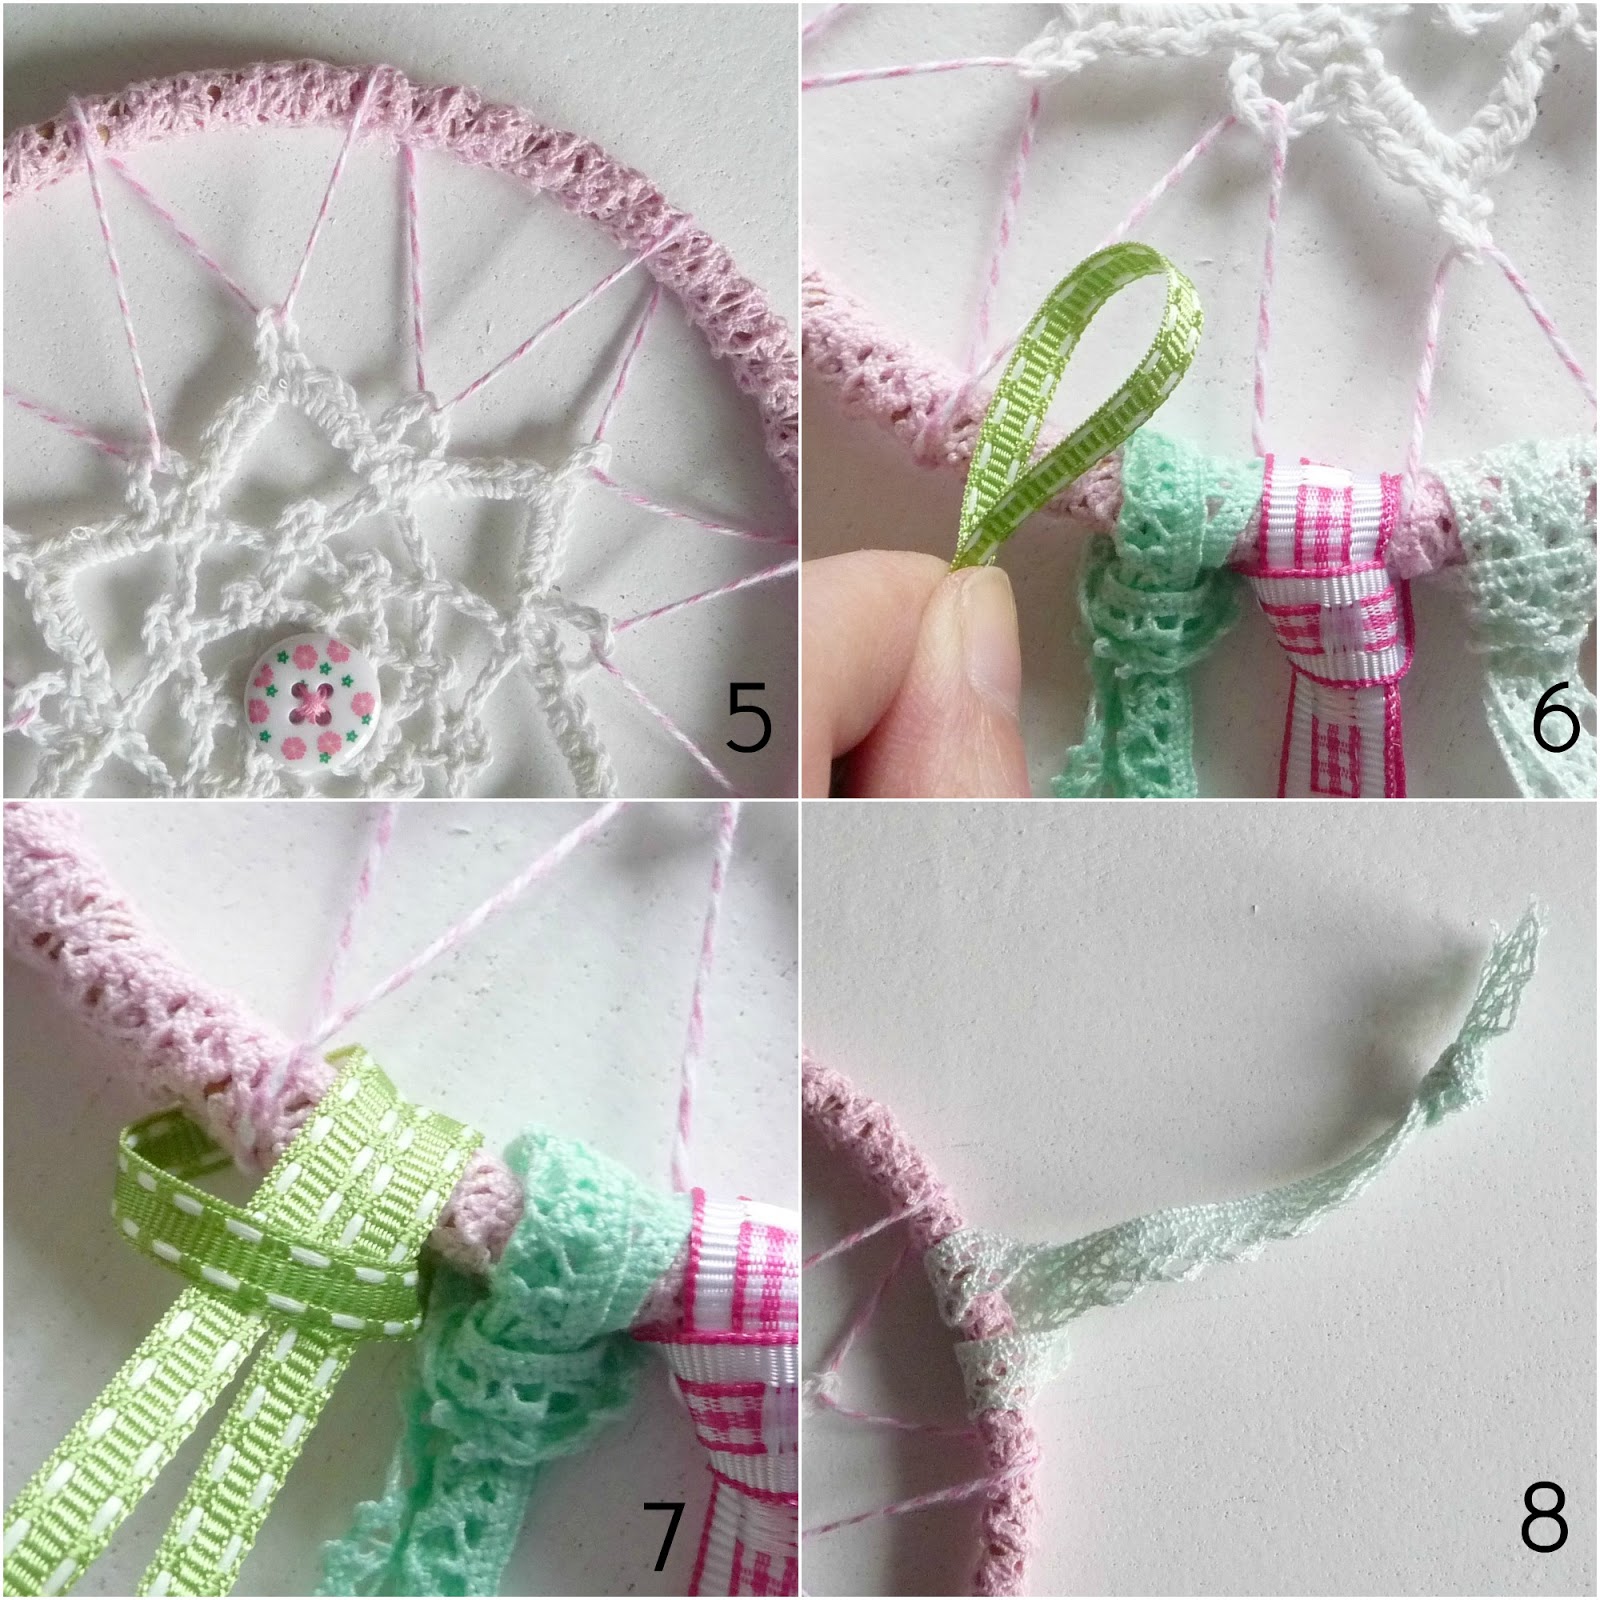
Place doily in center of hoop and push needle through one loop, then around the hoop and come up underneath and push through the next loop of the doily and so on...until you have attached it all around (picture 5). Adjust as necessary, cut twine and tie an unobtrusive knot. From trims cut lengths of 80 cm (about 31") each, double over and form a loop (picture 6). Loop around bottom of hoop and pull the two ribbons through. Tighten (picture 7). Tip: about 7 - 9 ribbons work quite well, spaced close together. Lastly, attach a piece of lace at the top for hanging (picture 8).
Den Häkelstern oder die Häkelblume in die Mitte des Rings platzieren. Nadel mit Kordel durch eine Schlaufe ziehen, um den Ring herum und von unten in die nächste Schlaufe etc....bis zum anderen Ende (Foto 5). Eventuell Kordel anpassen und Stern ausrichten. Kordel abschneiden und einen unauffälligen Knoten binden. Von den Borten je 80 cm abschneiden, doublieren und oben eine Schlaufe bilden (Foto 6). Schlaufe um den Ring legen und die zwei Enden der Borte durch und festziehen (Foto 7). Tipp: 7 - 9 Borten passen perfekt wenn sie nah beieinander geknotet werden. Zuletzt oben am Ring eine Spitzenschlaufe zum Aufhängen anbringen (Foto 8).

Enjoy the shabby chic dream catcher hung in the window or above your bed. Sweet pastel dreams :)
*
Nun kann der Traumfänger entweder vor dem Fenster oder über dem Bett aufgehängt werden. Ich wünsche süße pastellige Träume :)


 //
//