Tuesday, September 10

New fabric line, Handmade, Life lately & more fabric!

[Werbung/Anzeige/Advertisement]

Hello lovelies!

true to my new motto of "blogging without obligation" this happens to be only my second blog post this year. I admit it feels kind of weird after blogging three times per week for years. If you follow my business account on Instagram you'll find that I have been working on several projects which I'm excited to share here on the blog.
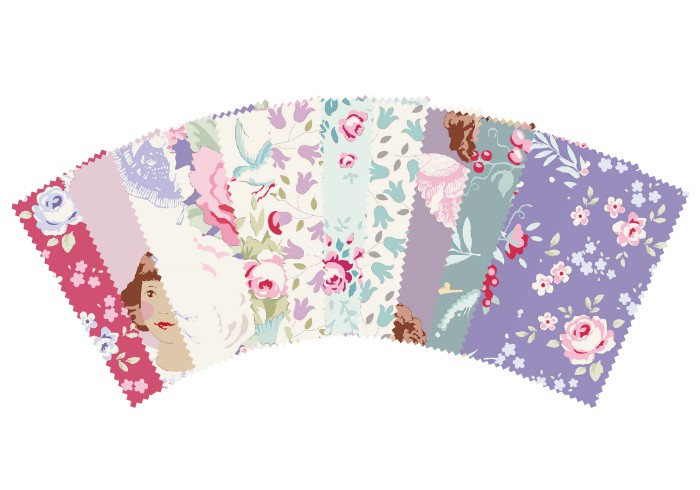
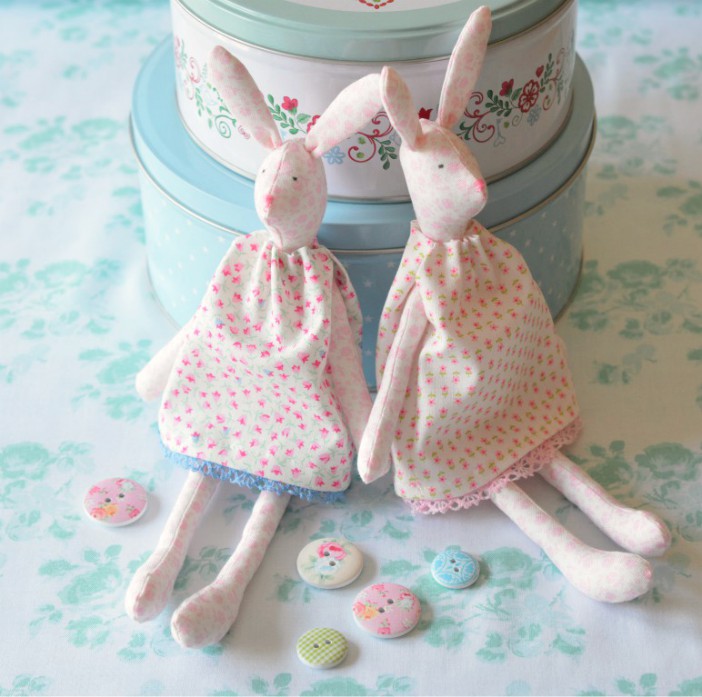
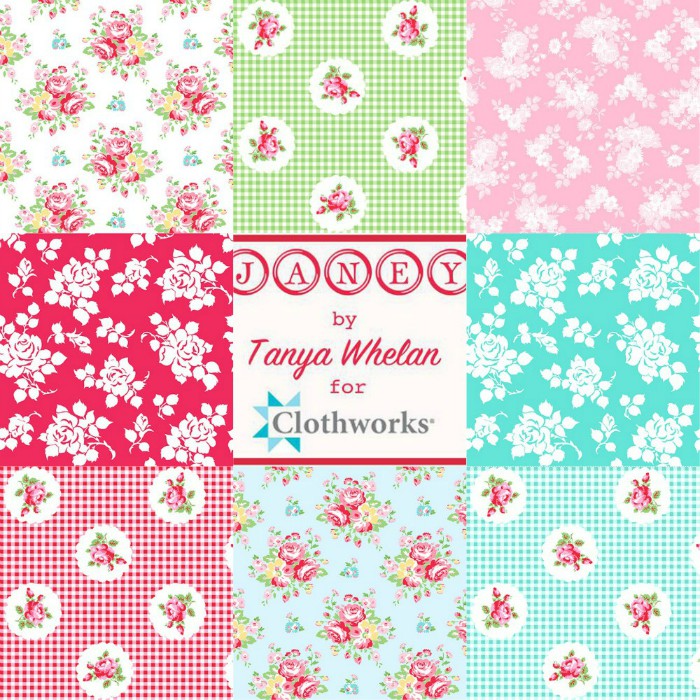
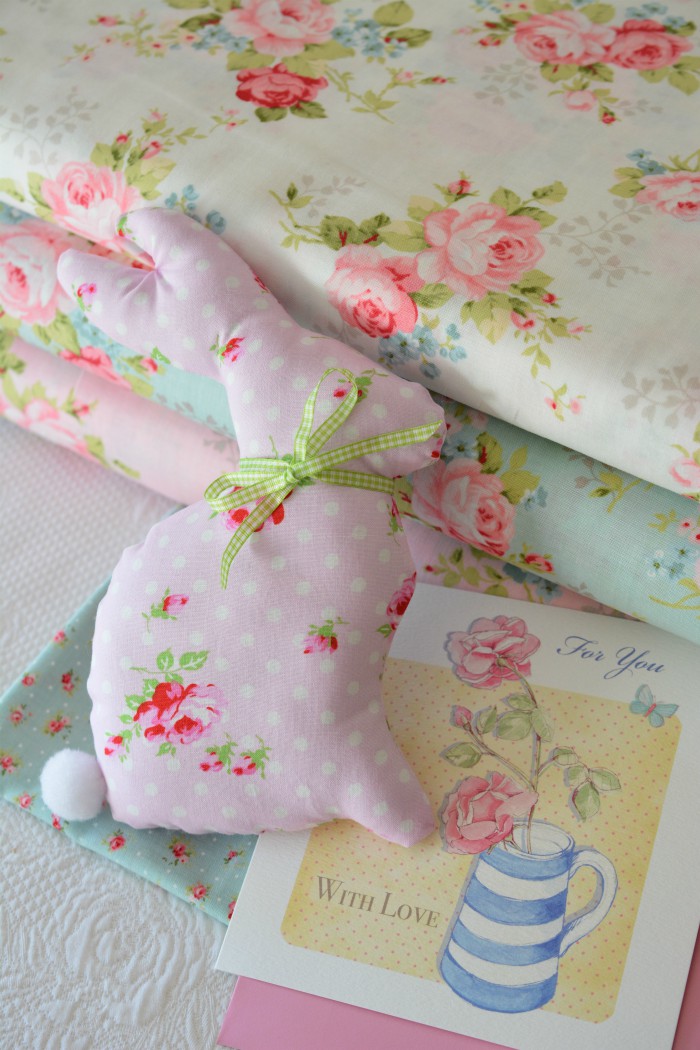
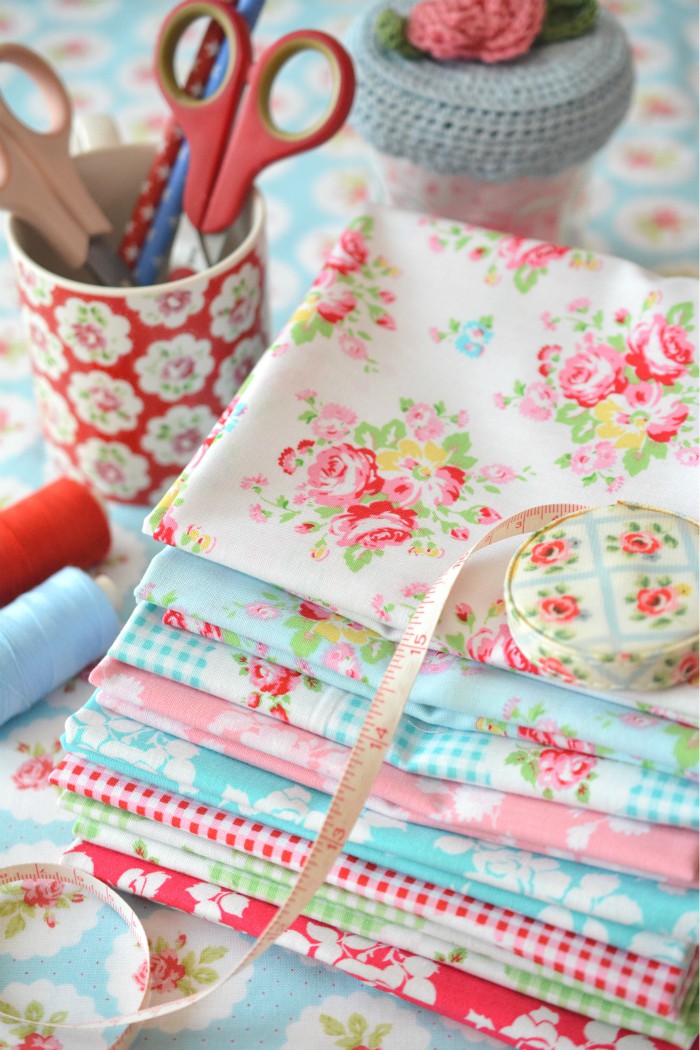
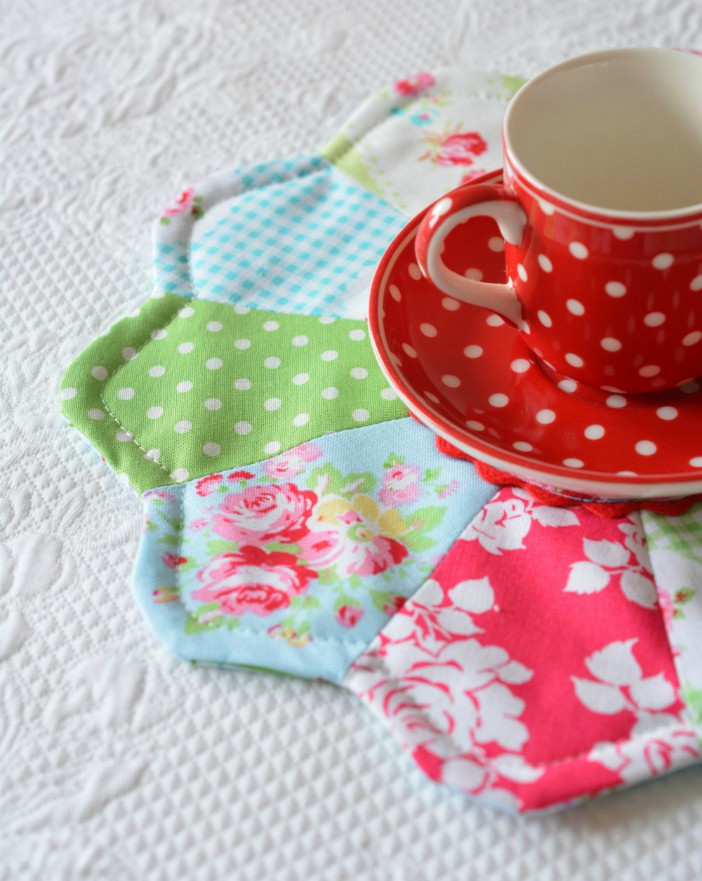
US fabric designer Tanya Whelan, who switched to a different manufacturer last year released a new collection - Janey. These fabrics have such a happy vibe and feature her signature nostalgic rose bouquets in fresh aqua, vibrant pink and red plus fun rose cameos on gingham. It took a while for these to arrive over here in Germany, but when they did I couldn't resist making a little something.

I honestly wish I could sew more, but since I'm still experiencing pain almost every day in varying intensity I can only do as much as my body will allow. As you can imagine I have seen one doctor after the other, sat for hours in stuffy waiting rooms and argued with (at least) one of them. It's frustrating, but I've vowed not to let this, whatever *this* is, become the focus of my attention. Nope.
We've had a weird summer, alternating between relatively cool, rainy days and exceptionally hot days. And two weeks in July were absolutely scorching. Every day I had to fill those water bowls that I had placed in shadow-y areas in the garden for the thirsty birds. Speaking of garden. Earlier this year we decided to turn ours into a low-maintenance one. Right now it's a pretty muddy mess - Leo loves it :) Ever seen a cat roll around in mud?
Also our upper balcony is getting a make-over! I know I mentioned this around three years ago, but you wouldn't believe how difficult it is to find and coordinate contractors. So far we've had a new balcony door and the electrical stuff installed, but the big part, the actual renovation is only going to start early next year. Still, I'm so glad we've made progress and finalized our design.


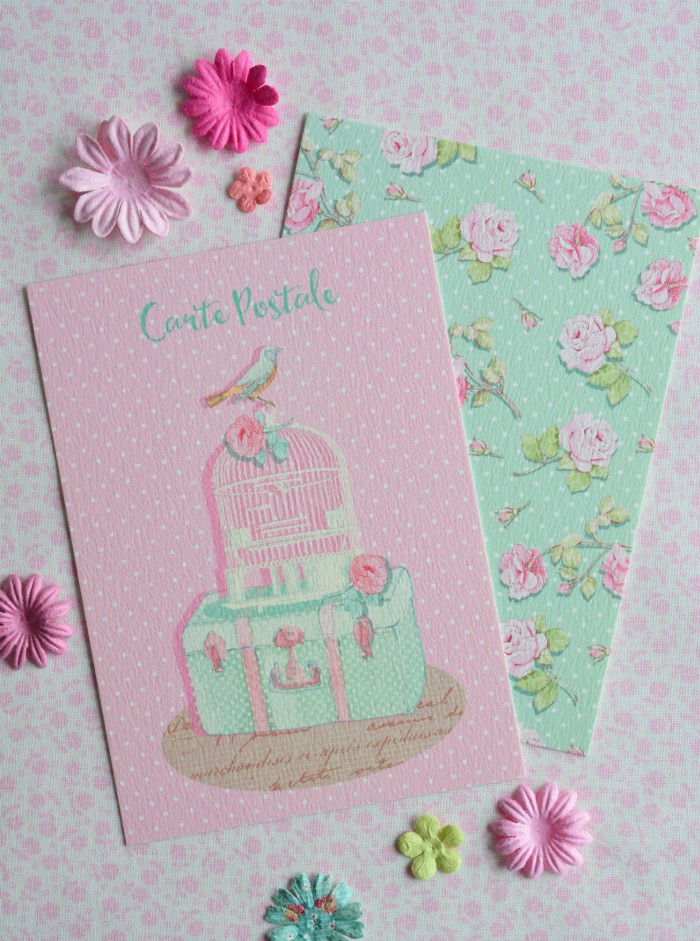
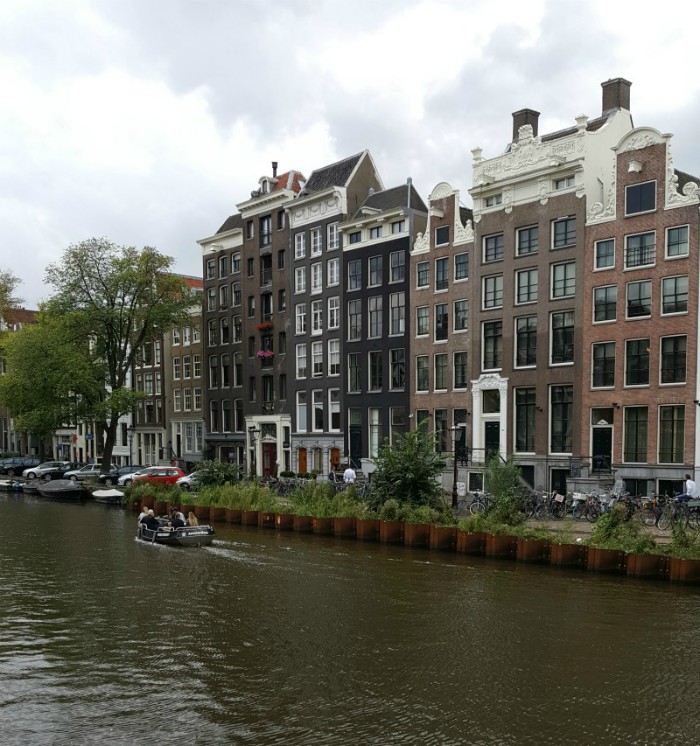
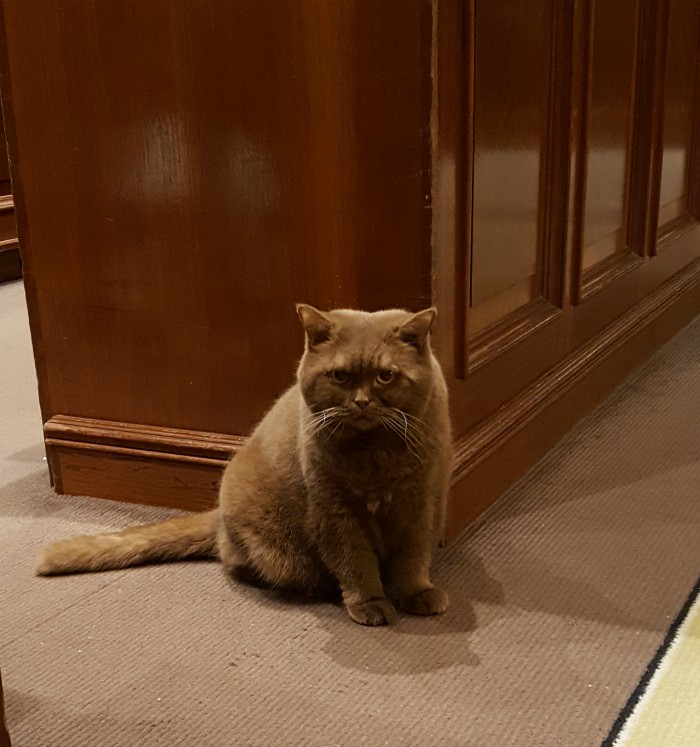
Over the summer my illustrator friend Siobhan and I collaborated on a cute new post card range!Check out these vintage style numbers cards. Coincidentally, I turned fabulous fifty this summer and I spent my birthday weekend in my favorite city Amsterdam. Too bad it was raining, but I enjoyed the scenery, the flower market and the food none the less...and how cute is that hotel kitty?
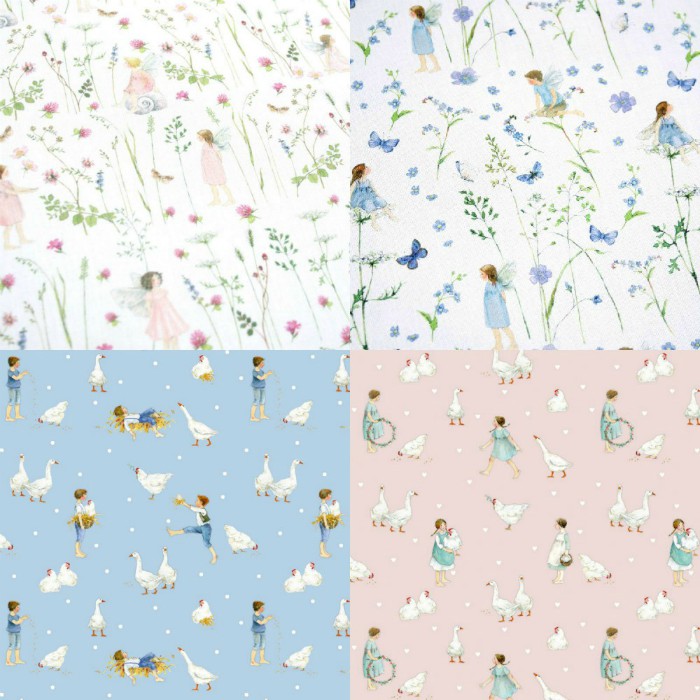
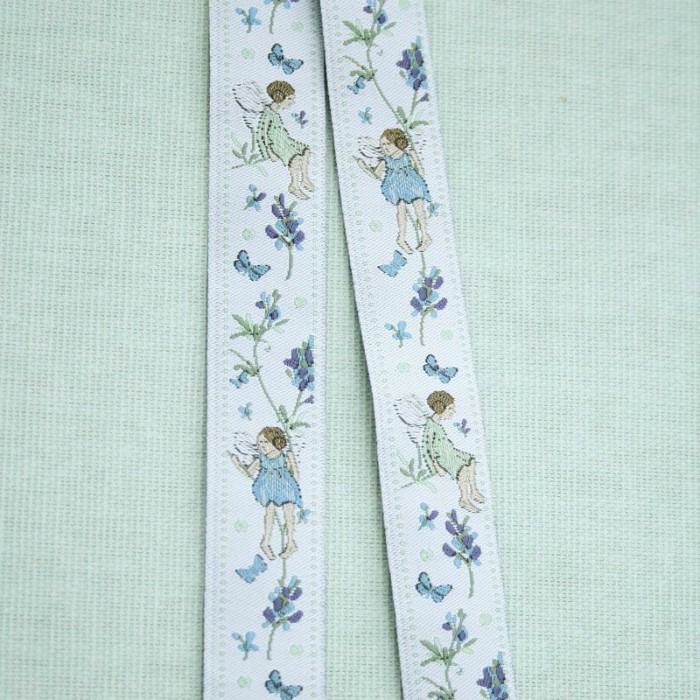
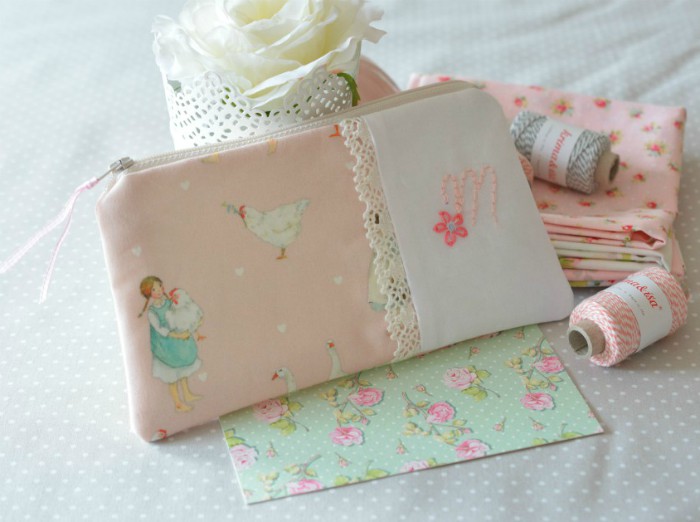
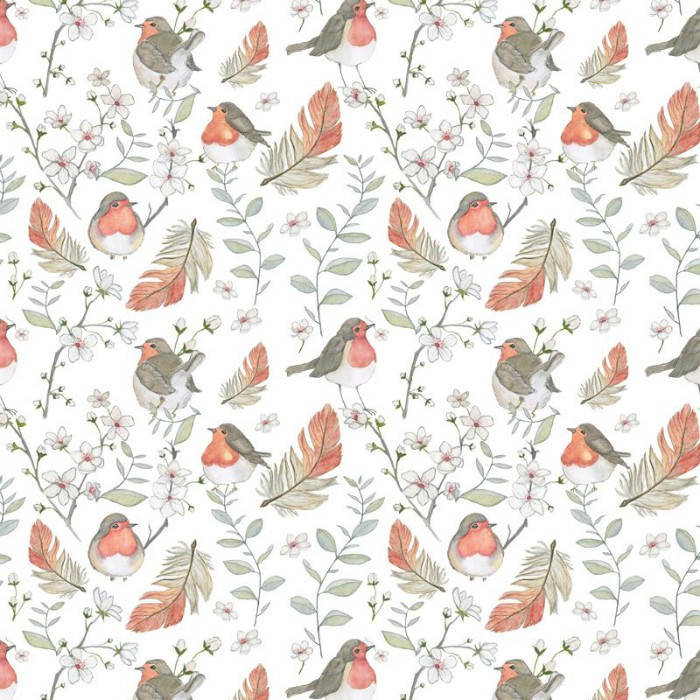
In additional fabric news, I don't know how I could have missed out on these whimsical fabrics by German company acufactum for so long. Particularly as the company headquarters is only about an hours drive from my home! These are selling really well in my shop. The delicate motifs featuring dainty girls, pretty flowers, birds, magical fairies and little mice are original illustrations by Daniela Drescher. There's also a matching range of satin ribbons. It's all so cute! I made a little zip pouch and tried my hand at stitching letters by hand.


Coming soon, hopefully beginning of October is another new fabric range, which has gained a huge following in Europe in the last ten years or so - the popular Tilda fabrics designed by Norwegian Tone Finnanger. She has published a number of craft books and is known for her sewing patterns for soft toys, home decoration and colorful quilts. Super excited to be receiving "Old Rose" this Fall.


There's some other items coming this Fall as well, but I'll keep that under wraps for now :) Take care everyone and thank you for reading along! Till next time...


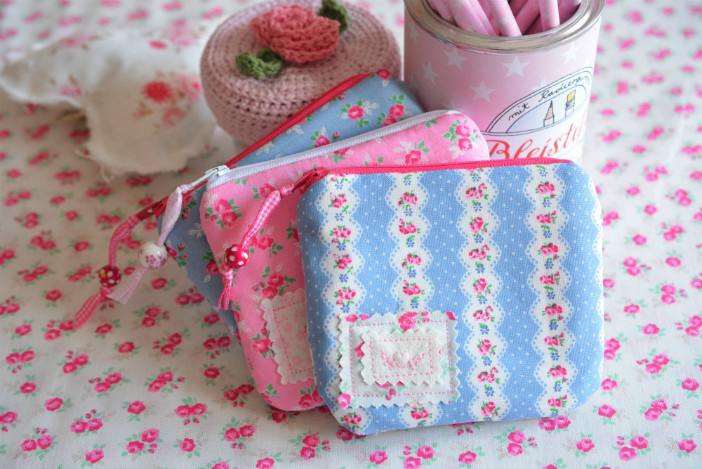
 photo signature_zpscqkypdzs.png

Saturday, April 6

Hello again!

[Werbung/Anzeige/Advertisement]

Amberley by Brenda Riddle
We're four months into 2019, so I guess it's a bit late to wish my dear readers a happy new year, assuming you are still reading my blog! I have an excuse for neglecting my blog all these months. Early January I had a major set back healthwise and ended up in hospital, not once but twice. I'm still not feeling all that great, so blogging is really the last thing on my mind right now. I apologize. 

Also, ever since the implementation of all these new rules and regulations effectively censoring online activity, it's become a lot less fun to blog. I remember back in 2008 (!) blogging was a mix of creative writing, journaling, sharing and exchanging information, the occasional promotion and link building. It was casual, easy, and fun! These days I have to weigh each word carefully and linking is a tricky business. Frankly, it's not worth the risk being fined. There are people out there being paid to scan (German) blogs for even the tiniest of "mistakes". And the fines are hefty. It sucks.
I have been a little more active on Instagram. But even on there I have to be careful what to post and how I formulate the description.


This year I didn't get around to sewing much, even though my fingers are itching to complete a couple of projects. I do still have a few of my foldable shopping bags available at Etsy. Heads up - international shipping has gone up this year, so it pays to buy more as it's a fixed price up to 1 kg.


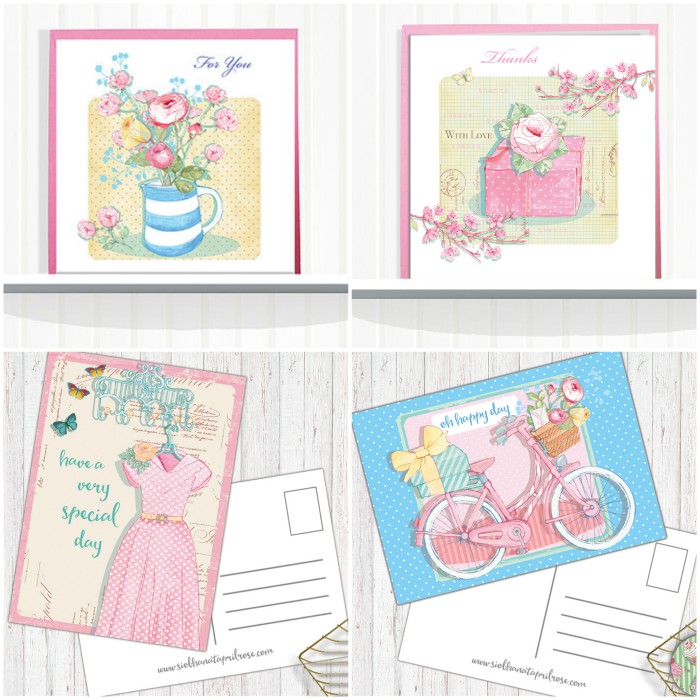
In between hospital stays and work commitments I have collaborated with my illustrator friend Siobhan on a wonderful design project for my main shop. Check out this gorgeous collection of postcards with vintage/shabby chic illustrations. There are 10 happy designs to choose from. Printed in UK on high quality, matte finish card. New in are also lovely "Thank You" and "Birthday" greeting cards with envelopes included. Below are some of my favorites.


Last weekend I managed to visit the trade fair in Cologne after all. This fair is important in my line of work, and although it was quite exhausting I was glad I got to meet up with some colleagues and preview the latest fabric collections. Here's a sneak peek of Tanya Whelan's latest "Janey" due to arrive in May. So pretty!


Easter is only two weeks away, can you believe? I'm hoping for some milder weather. It's been quite chilly and rainy these past few weeks. I generally feel better physically and emotionally in warmer weather. A bit of sunshine can do wonders. 
Wishing you a wonderful weekend, take care and enjoy every moment. Love,


 photo signature_zpscqkypdzs.png

Friday, December 14

Paper Stocking Garland - Easy Craft

[Werbung/Anzeige/Advertisement]


Hello lovelies! 💗 Hallo ihr Lieben!

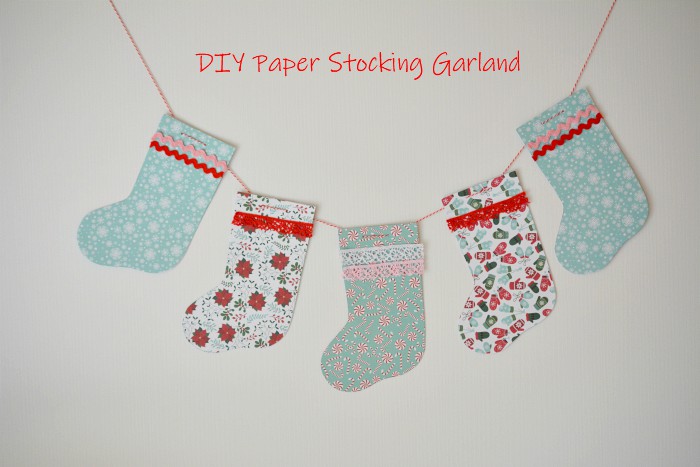
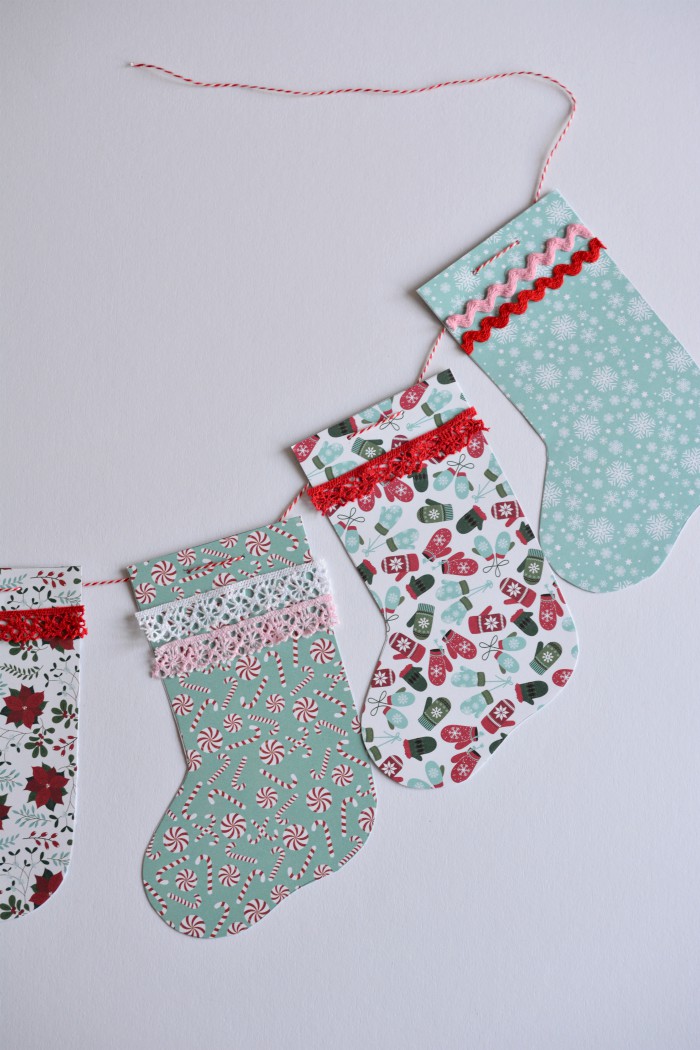
Here's a fun little paper craft project just in time for the holidays. It's been really dark these past few days, so the pics aren't the best quality. 

Hier zeige ich euch eine einfache und schnelle Deko-Idee. Leider war es in den letzten Tagen so dunkel, dass die Bildqualität nicht die Beste ist.


You will need // Ihr braucht

Assortment of Christmas-themed cardstock // Scrapbook Papier mit weihnachtlichen Motiven
Various bits of trims // kleine Stücke Spitze, Zackenlitze etc. zum Verzieren
Thin double-sided tape // Dünnes doppelseitiges Klebeband
Twine // Bastelgarn
Scissors // Schere
Needle with large eye // Nadel mit großem Öhr
Pencil // Bleistift
Awl // Ahle


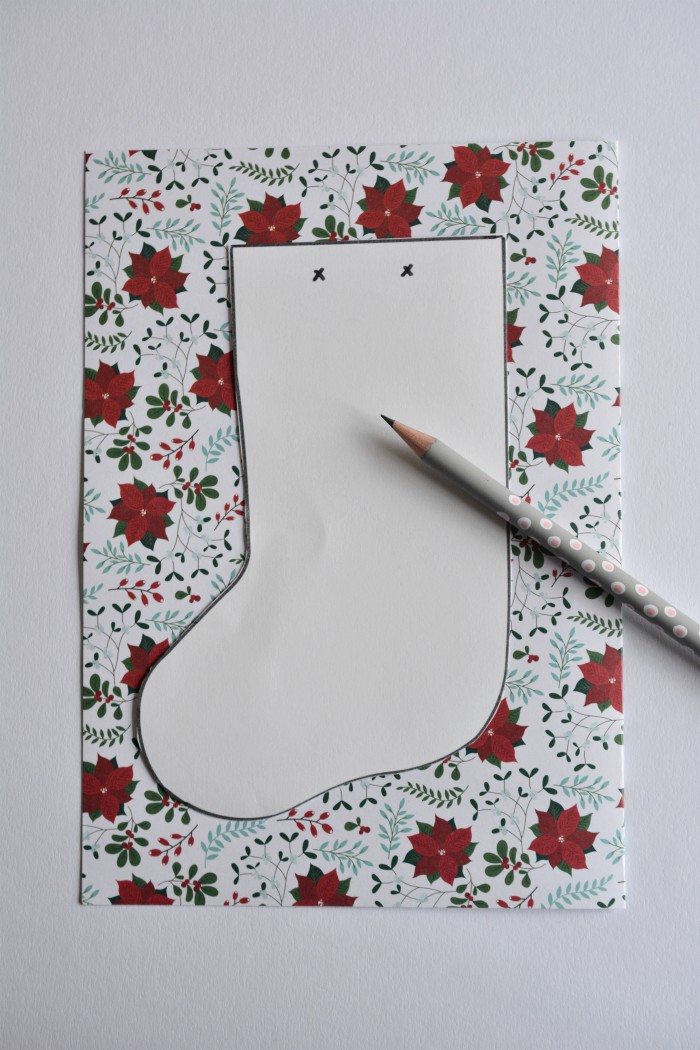
Download mini stocking template (see link above) and print. Cut out the shape. Use this template to trace as many stockings as you wish your garland length to be. Then cut them out. Since I don't have a lot of space for hanging mine is a small one with just five stockings. 


Die Vorlage downloaden (siehe Link oben) und ausdrucken. Entlang der schwarzen Linie ausschneiden. Diese Vorlage mit Hilfe des Bleistifts auf das Papier übertragen und soviel Socken ausschneiden wie die Girlande lang sein soll. Da ich nicht viel Platz zum Aufhängen habe, habe ich eine Mini-Girlande mit nur fünf Socken gebastelt.


Step One
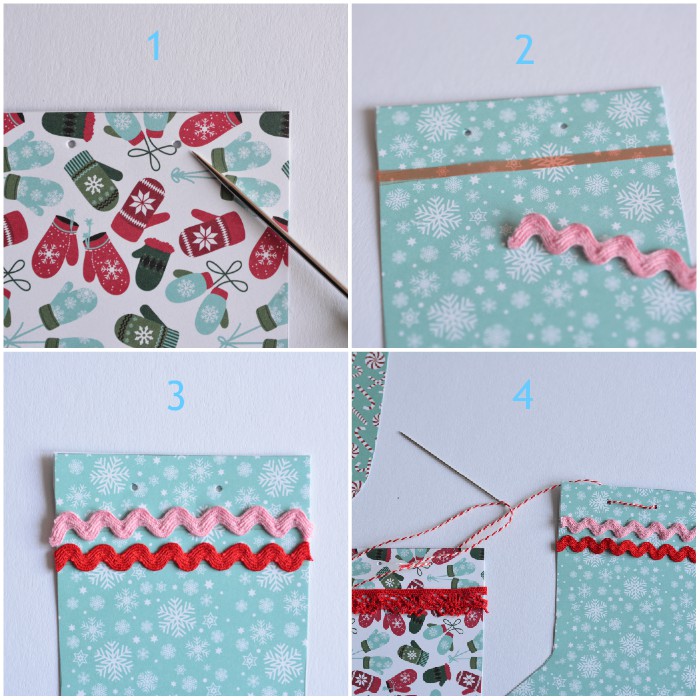
Mark the holes on each stocking. Then use the awl to gently punch the two holes.

Step Two
About 1 cm beneath the holes stick a strip of double-sided tape. Peel off the backing. Attach a bit of trim to it and press well. 

Step Three
You can customize your stocking as you wish, for example, add one or two more rows of trim.

Step Four
Thread the needle with a long piece of twine. Starting from one end, thread needle through the first hole from the back and down through the second hole. Up through the back of the next stocking and down again through the second hole until you have threaded all stockings. Space them apart equally.


Schritt Eins
Die Position der Löcher markieren. Dann mit der Ahle je zwei Löcher pro Socke machen.

Schritt Zwei
Circa 1 cm unter den Löcher ein Stück doppelseitiges Klebeband befestigen. Dann ein gleich langes Stück Borte, Spitze etc. abschneiden und fest andrücken. 

Schritt Drei
Je nach Wunsch könnt Ihr die Socken mit weiteren Borten verzieren.

Schritt Vier
Das Bastelgarn in die Nadel einfädeln und von einer Seite beginnend von hinten durch das erste Loch führen, dann von vorne durch das zweite Loch, dann in das erste Loch von hinten von der zweiten Socke und wieder von vorne durch das nächste Loch...bis alle Socken aufgefädelt sind. Die Socken gleichmäßig auf der Schnur verteilen.


And now the garland is ready for hanging in your favorite place!
💗
Und nun ist die Papiergirlande fertig zum Aufhängen!

 photo signature_zpscqkypdzs.png